QSFP+ Port
LED-to-Server bay mapping
Port 5
LED 17–Server bay 16
LED 18–Server bay 4
LED 19–Server bay 15
LED 20–Server bay 3
Port 6
LED 21–Server bay 14
LED 22–Server bay 2
LED 23–Server bay 13
LED 24–Server bay 1
Installing a data switch
CAUTION:
To prevent improper cooling and thermal damage, do not operate the chassis unless all
device bays are populated with either a component or a blank.
CAUTION:
To prevent damage to the connectors, carefully note the orientation in the following diagrams
before you install the switch.
IMPORTANT:
The chassis controller or HPE Apollo Platform Manager must be installed for a switch to
power on for the first time. Once the switch is powered on by the chassis controller or HPE Apollo
Platform Manager, you can remove the chassis controller, if needed.
Always install the data switch in bay 1. If redundancy is required, install a second data switch in bay 2.
Procedure
1.
Remove the plastic protective cover from the rear of the switch.
2.
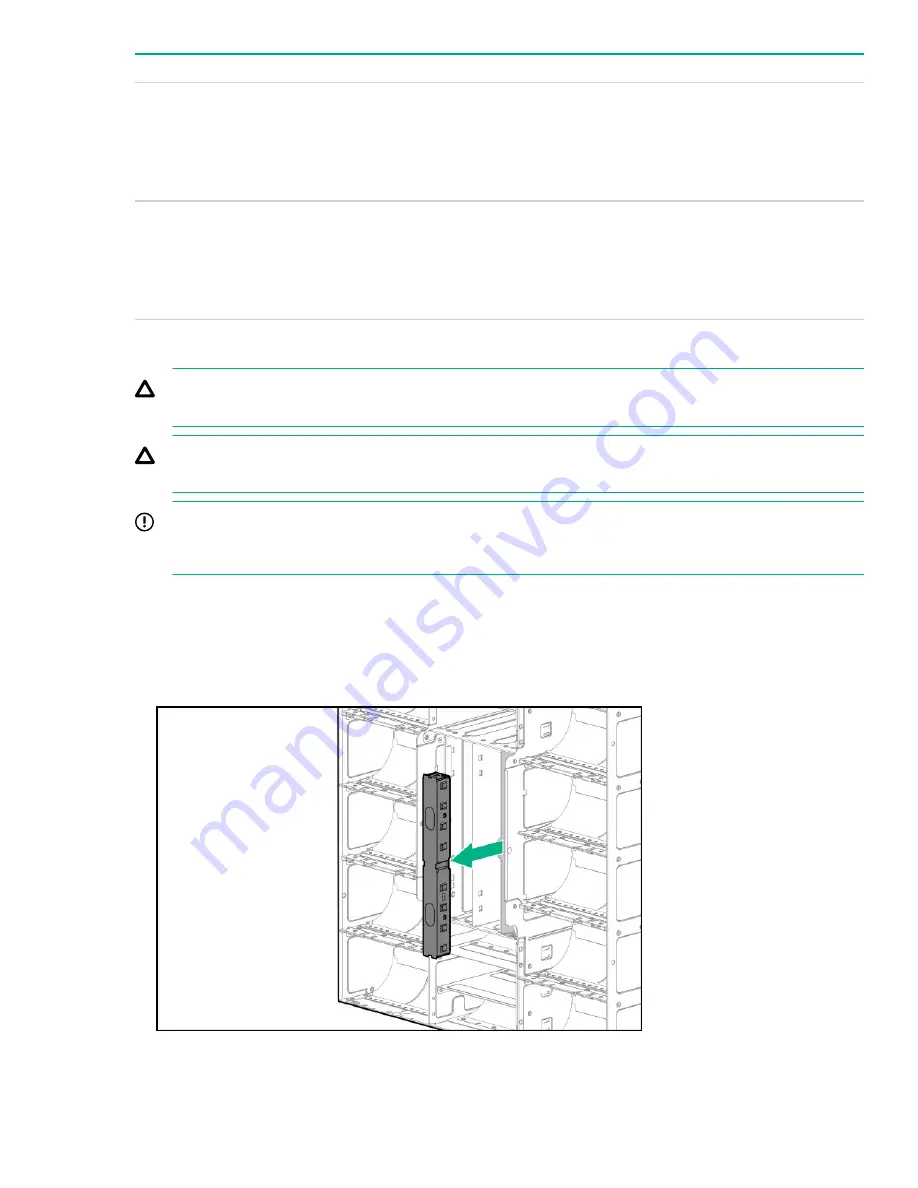
Remove the blank, if needed.
3.
To install the data switch in bay 1:
Installing a data switch
35


