Page
9 of 21
4.
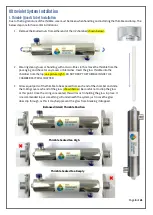
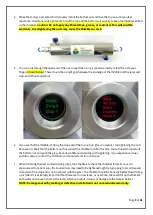
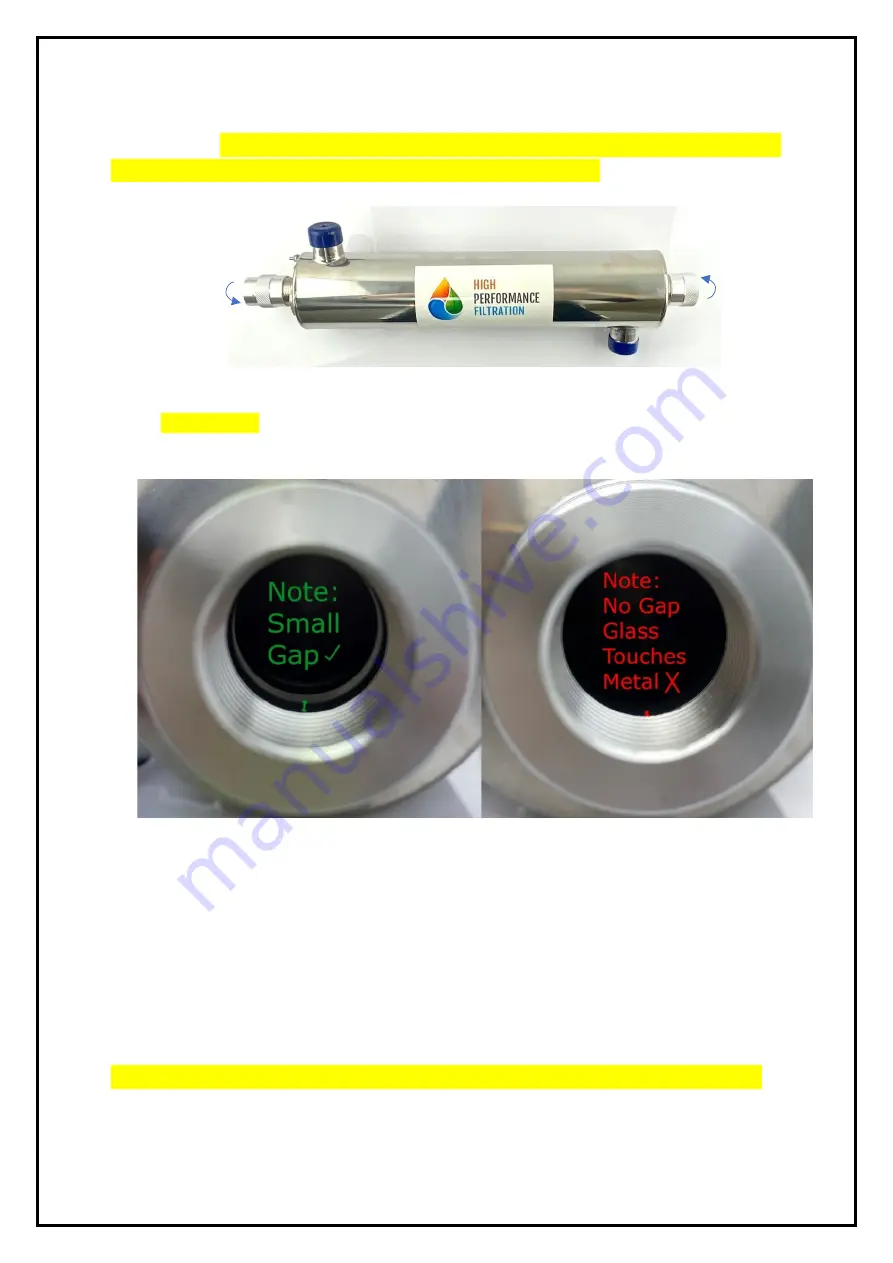
When the O-rings are seated, firstly loosely install the bottom nut and then the top nut until you feel
resistance. Simultaneously tighten (by hand) the top and the bottom nut equally to keep the thimble centred
in the chamber.
Caution: Do not apply any thread tape, grease, or sealant as this will void the
warranty. Overtightening the nuts may cause the thimble to crack.
5.
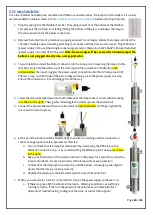
You can look through the open end of the nut to see if the o-ring is seated correctly or feel this with your
fingers (shown below). There should be a slight gap between the end edge of the thimble and the recessed
stop-end of the knurled nut.
6.
If you see that the thimble is hitting the stop end of the top nut (i.e. glass on metal), stop tightening the nuts
because it is likely that the bottom nut has caused the thimble to shift off centre. You will need to loosen off
the bottom nut and push the glass back down before continuing with tightening. If you experience issues
with this, please contact the distributor or manufacturer for assistance.
7.
When following the next commissioning steps, take the time to check the chamber for leaks once it is
pressurised. If a leak occurs, the knurled nuts may need to be tightened slightly. A gripping tool can be used
if required if the stop-end is not in contact with the glass. The thimble should be bone dry before the UV lamp
is installed. It is extremely important that there are no slow leaks, as over time, these will fill up the thimble
with water and cause a short in the lamp, which can result in injury or damage to the lamp & ballast.
NOTE: Damage caused by leaking or defective installation is not covered under warranty.

