8
HT130003 / HT130042
HT130030 / HT130043
User Manual
CorTemp
®
Data Recorder v4.3
9001 Series
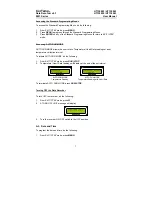
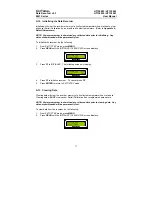
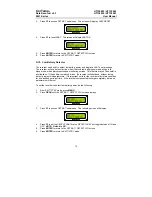
2. The
DATE / TIME
screen will display.
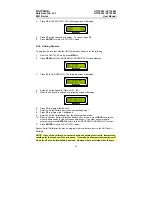
3. Press
F1
to program the
DATE.
4.
Enter the Date (mm-dd-yy).
NOTE: Default is 00-00-00.
5. Press
F2
to program the
TIME
.
6.
Enter the Time (hh:mm:ss).
NOTE: Default is 00:00:00.
A 24HR format is used,
for example 6:00pm would be entered and displayed as 18:00:00.
7. Press
ENTER
to return to
EXIT / STBY
mode.
NOTE: The recorder does not display a changing date, but counts hours and days
from when the date was last entered to keep an accurate elapsed-day record. The
date initially entered will display in the downloaded data as well as all changed dates
with corresponding "H" markers. To display the actual date, simply re-enter the
date. (Refer to Appendix 3: Data Interpretation Key).
A.6. Temperature Collection Interval
The temperature collection interval can be programmed anywhere between every
10 seconds to once every 24 hours (23:59:59). Data is collected at the
END
of the set
interval. The default interval is 10 seconds.
If the heart rate option is to be used, the
required minimum temperature collection interval is 20 seconds.
To program the temperature collection interval, do the following:
1. From
EXIT / STBY
mode, press
MENU
.
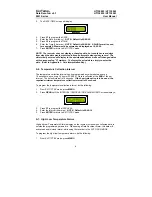
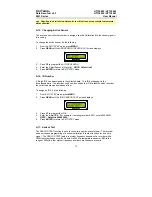
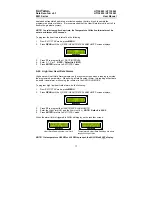
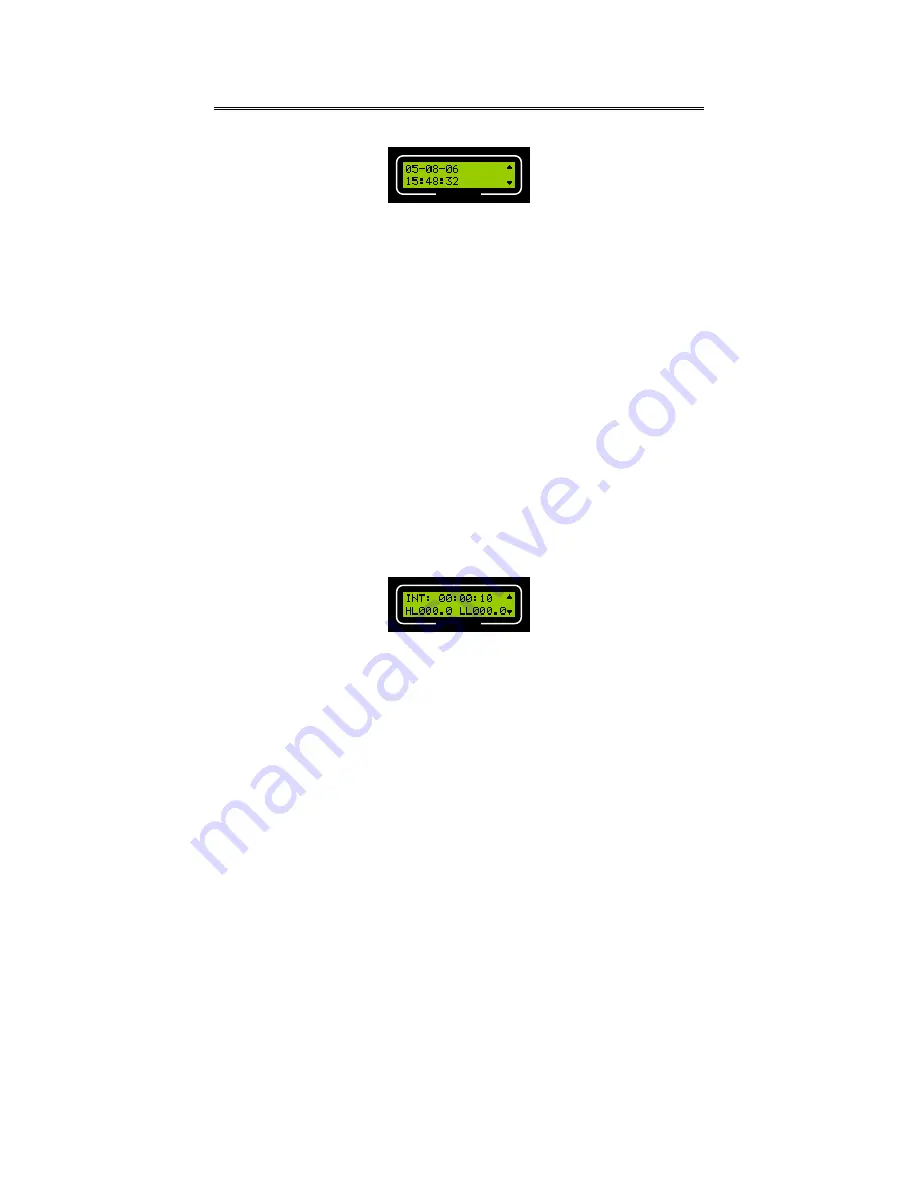
2. Press
READ
until the
INTERVAL / TEMPERATURE ALARM LIMITS
screen displays:
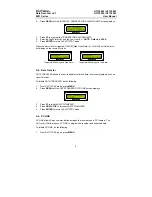
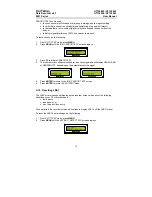
3. Press
F1
to program the
INTERVAL
.
4.
Enter the Interval (hh:mm:ss).
NOTE: Default is 00:00:10.
5. Press
ENTER
to return to
EXIT / STBY
mode.
A.7. High / Low Temperature Alarms
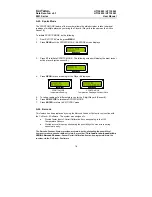
High and Low Temperature Alarms display on the recorder screen when collected data is
outside the programmed parameters. When using a Data Recorder Alarm, this data will
activate an audio / visual alarm, while using the recorder in the
AUTO RUN MODE.
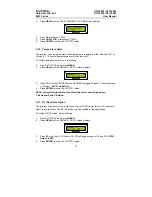
To program the high / low temperature alarms, do the following:
1. From
EXIT / STBY
mode, press
MENU
.
CorTemp
®
CorTemp
®


