2 and 4 Port DVI Switch
3
3.0 Installation
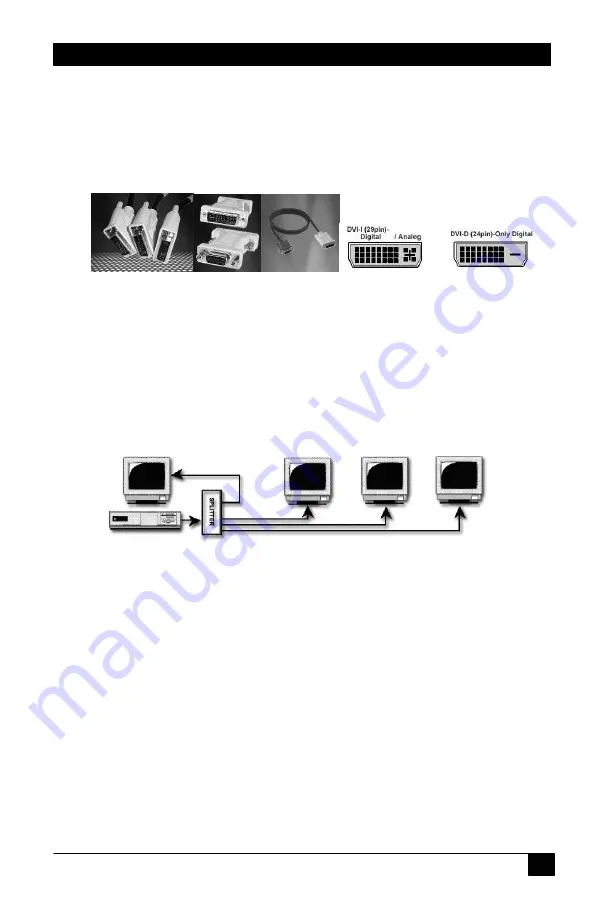
1. Your package includes the Splitter box, a power supply and this Manual (the
4 port Splitter also includes rack-mount kit). You need to purchase an input
cable for connection to your video source and possible output extension
cables to go to your monitors. Hall Research sells high quality DVI cables
and adapters at various lengths.
2. Make sure the PC, the Splitter, and the monitors are all turned off
3. Plug the monitor’s cables into the DVI OUT ports of the Splitter
(Note that
at least one monitor needs to be connected to the output 1 of the Splitter)
4. Plug a male-to-male extension cable from PC’s DVI port to the Splitter
5. Plug the supplied power adapter to the unit (The green LED on the front
panel turns on)
6. Turn on the monitors.
7. Turn on the PC.
4.0 Cascade Operation
For more outputs you can connect output #1 of the Splitter to the input of a Slave
Splitter. It is recommended to keep cascading to only 2-levels deep.
5.0 Troubleshooting
Cable Length Limitations
The splitter can accept up to 5 meters of cable on its input and 10 meters on its
output for a total of 15 meters (50 feet total). At long distances if you start to
experience video degradation, you should turn the refresh rate and/or resolution
of the video signal lower.
HDCP (Content Protection) Problems in Home-theatre A/V applications
The Splitter is designed to work with PC’s with DVI outputs. It may or may not
work fine with A/V equipment that has integrated DVI connectors. Hall


