HT7052
EN - 25
6.7 INSULATION
RESISTANCE
WITH STEP VOLTAGE TEST
6.7.1 Setting
of
parameters
1. Switch on the instrument by pressing the
ON/OFF
key
2. Select with arrow keys
or
the item “STEP VOLTAGE” on main menu and confirm
with
SELECT
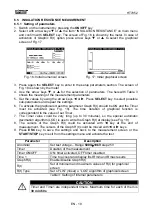
key. The screen of Fig. 34 is shown by the meter. In case of activation of
Graphic R(t) option press arrow keys
or
to select the graphical screen of Fig. 35
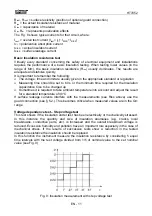
Fig. 34: Initial numerical screen
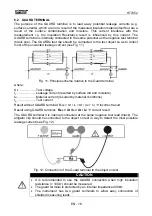
Fig. 35: Initial graphical screen
3. Press again the
SELECT
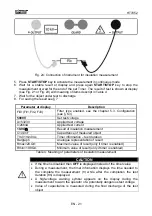
key to enter in the setup parameters section. The screen of
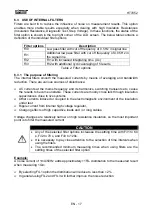
Fig. 36 is shown by the meter
4. Use the arrow keys
or
for the selection of parameters. The herewith Table 7
shows the meaning of the measurement parameters
5. Set the values by using the arrow keys
or
. Press
SELECT
key to select possible
sub-parameters and repeat the settings
6. To activate the graphical screen the parameter Graph R(t) should be ON and the Timer
must be activated (see Fig. 36). The time duration of graphical function is
correspondent to the value of Step Timer multiplied by 5
7. The Timer value could be very long (up to 150 minutes), so the special automatic
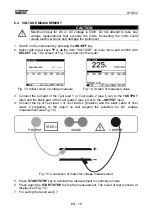
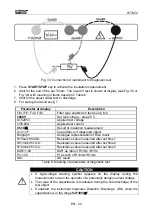
decimation algorithm (LOG) is use to write the Graph R(t) at display (see Fig. 37)
8. The cursors of the Graph R(t) could be activated with
key at the end of
measurement. The cursors of the Graph R(t) could be moved with
or
keys
9. Press
ESC
key to save the settings and back to the measurement screen or the
START/STOP
key to exit from the settings menu and activate the test
Parameter Description
Unominal
Set test voltage – Range
2kV
10kV
step 125V
Step time
Duration of measurement per step
Graph R(t)
Enable/Disable Graph R(t)
R(t)
Set of minimum and maximum values of R(t) for graphical
screen
R(t) Type
Set of “LIN” (linear) o “LOG” algorithm of graphical screen
Table 7: Setting of internal parameters
Fig. 36: Setting parameters
Fig. 37: Setting of graph R(t) parameters

