20
OUTSIDE UK: +44 (0) 1670 700 018
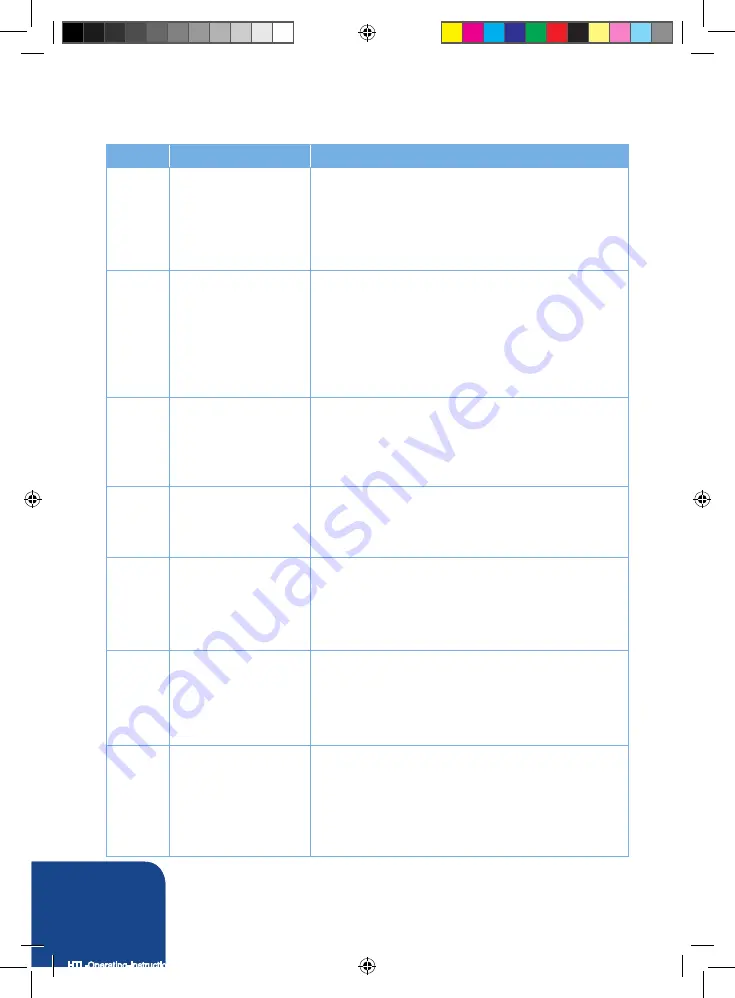
Symptom
Probable Cause
Action Required
Gauge
records no
pressure.
1.
Gauge connection is
loose.
2.
Bad gauge.
3.
Pump will not build
pressure.
4.
Tool seals are blown.
1. Tighten coupling.
2. Replace gauge
3. Return to HTL
4. Replace defective seals. Return to HTL.
Pump will
not build
pressure.
1.
Air or electric supply
is low.
2.
Defective relief or
regulator valve.
3.
Low oil or clogged filter.
4.
Internal leak in oil line
from external relief valve
to pump body.
5.
Worn sub-plate.
1.
Check air pressure or voltage.
2.
Replace valve Return to HTL.
3.
Fill reservoir and clean filter.
4.
Open reservoir, inspect oil line while trying to build pressure if leaking
tighten fittings or replace.
5.
See cylinder pressure will not build pressure above.
Motor
slow and
inefficient
Sounds
laboured.
Slow
to build
pressure.
1.
Air or electric supply
is low.
2.
Clogged filter.
1. See #1 in preceding block
2. Clean or replace filter
Pump
heats
up.
1.
Improper use.
2.
Remote control is left in.
3.
On position when pump
is not actively in use.
1. Have operator release advance stroke after accuracy assurance
levers spring forward.
2. Turn pump off whenever not actually being used. DO NOT leave pump
running when tool is not in use.
Hose or tool
fitting is
damaged or
leaks.
1.
Broken or melted plastic
outer covering.
2.
Frayed Kevlar or steel
strands.
3.
Oil leaks through fibers.
4.
Broken fittings.
1. If underlying Kevlar or steel is still intact continue operation. Inspect
frequently.
2. Cut hose in half and discard. Replace hose.
3. Remove old fitting and replace with STEEL high pressure fittings only.
Electric
pump will
not run.
1.
Loose electric
connections in control
box.
2.
Bad brushes.
3.
Motor burned up.
1. Replace motor components whichever is
necessary. Return to HTL.
2. Change defect fuse.
Tool locks
on to nut.
1.
Drive segment is loaded
when the tool is maxed
out in torque.
2.
Tool is operating
backwards.
3.
Tool is wedged under a
fixed object.
1. Press advance button on remote and build pressure - continue to
press down on remote while pulling back on one of the accuracy
assurance levers - release remote while continuing to hold back on
levers.
2. Push advance button down - tool should immediately fall free.
3. Remove shroud from around ratchet. Using any tool available, pry the
drive segment out of the ratchet and at the same time pull back on the
accuracy assurance levers. Tool should swing free or burnaway the
socket or obstruction.
19
Troubleshooting
HTL-Operating-Instructions-DS.indd 20
11/04/2017 10:15
Summary of Contents for DS Series
Page 2: ...HTL Operating Instructions DS indd 2 11 04 2017 10 15 ...
Page 28: ...28 OUTSIDE UK 44 0 1670 700 018 HTL Operating Instructions DS indd 28 11 04 2017 10 16 ...
Page 29: ...HTL Operating Instructions DS indd 29 11 04 2017 10 16 ...
Page 30: ...HTL Operating Instructions DS indd 30 11 04 2017 10 16 ...
Page 31: ...HTL Operating Instructions DS indd 31 11 04 2017 10 16 ...


