14
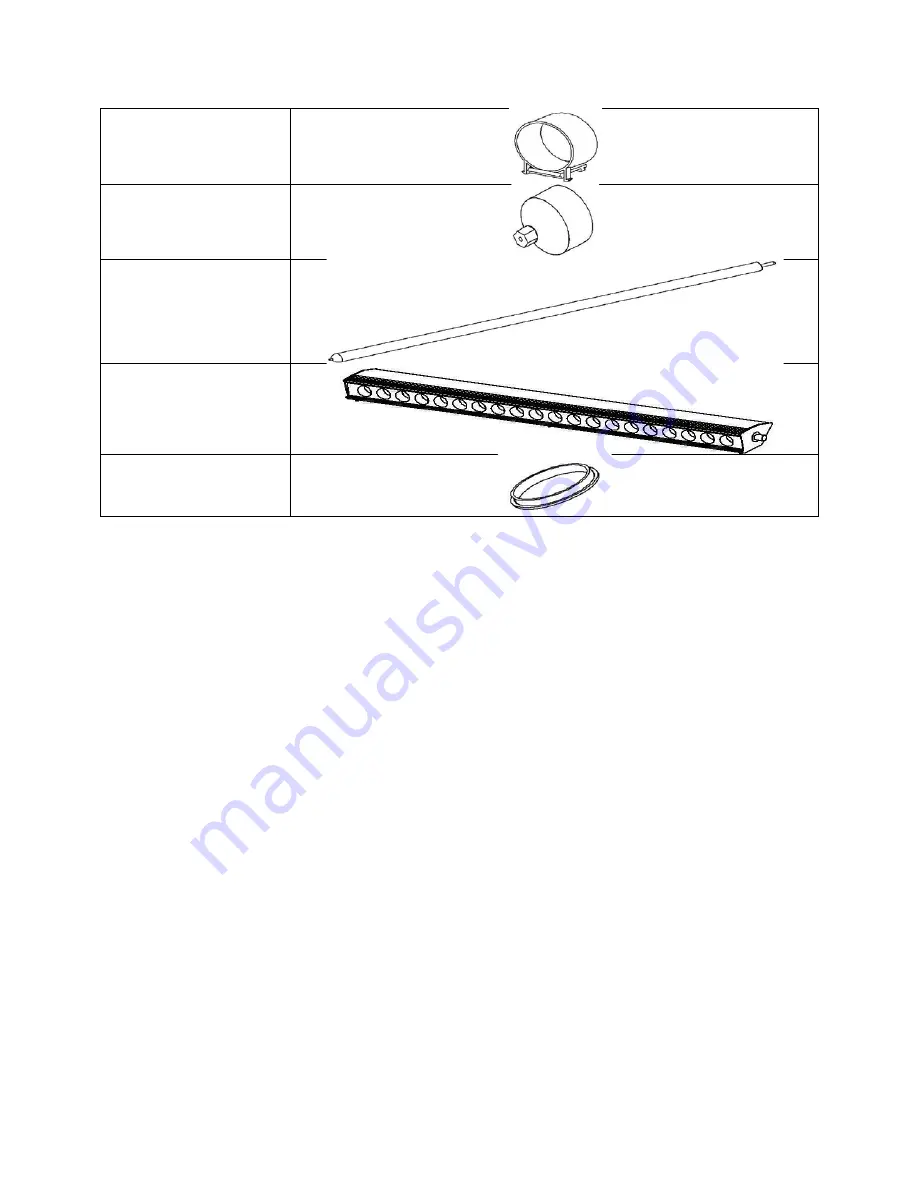
PART K-1:
PLASTIC END CAP
(FEMALE)
PART K-2:
PLASTIC END CAP
(MALE)
PART L:
EVACUATED TUBE
PART M:
MANIFOLD
PART N: FIT RING
Table 3
2. TUBE AND HEAT PIPE INSPECTION
Open the tube boxes, which contain the evacuated tubes with inserted heat pipes. Make certain all tubes
are intact, and the bottom of each tube is silver. If a tube has a white or clear bottom, it is damaged and
should be replaced. The heat pipe should be removed from the damaged tube and inserted into a
replacement tube, available at your local HTP dealer.
Heat pipes are bright and shiny when newly manufactured, but will dull and may form dark-grey surface
discoloration over time. This mild surface oxidation happens when the pipe is exposed to air. This
reaction is completely normal and does not affect the integrity of the pipe.
Do not remove and/or expose the tubes to sunlight until ready to install, otherwise the heat pipe tip will
become hot enough to cause serious burns.
NOTE: HTP DOES NOT WARRANT THE TUBE OR HEAT PIPES AGAINST FAILURE AS A RESULT
OF DAMAGE INCURRED DURING TRANSPORT OR INSTALLATION.
3. TOOLS AND MATERIALS
NOTE:
Make sure you have all necessary tools, materials and accessories before beginning work on the
drain back solar system.
Electric Drill
Torch and Striker
Drill Index (w/ ½” and ¾” Wood Bits)
Putty Knife
Hack Saw
High Temperature Joint Compound
Tubing Cutter
Wire Nuts or Connectors
Tin Snips
Miscellaneous Copper Pipe & Fittings (3/4”)
Solder Flux
1” Copper Tee
16’ Tape Measure
1” by ½” Bush
Summary of Contents for HP-30SC
Page 37: ...37 MAINTENANCE NOTES ...


