NO TE
● To facilitate installation, it is recommended that you lay out cables to the measured
cable route length plus about 1 m.
● Do not tread on the plastic-coated metal hose during cable layout and routing.
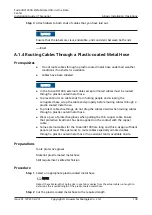
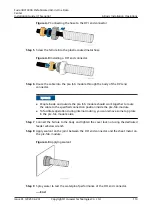
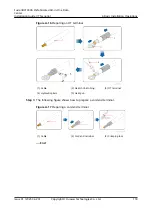
Step 3 Route cables through the plastic-coated metal hose.
NO TICE
All monitoring cables must be routed at the same time through the same plastic-
coated metal hose.
1. Put a thin copper cable through a plastic-coated metal hose, with sufficient
length reserved at both ends to facilitate subsequent operations.
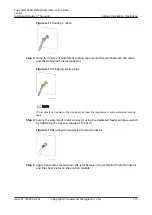
2. Lay out the plastic-coated metal hose with the thin copper cable in a straight
line.
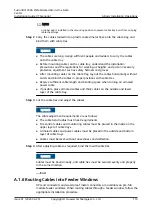
3. When installing cables, bind all cables of the same category between two
devices.
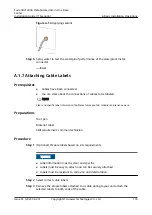
4. Tie a cable or a bundle of cables with the thin copper cable at one end of the
plastic-coated metal hose. Pull the thin copper cable at the other end when
another person is holding the plastic-coated metal hose to pull the cables
through the hose.
----End
A.1.5 Mounting Cables on the Cable Tray
Prerequisites
●
Do not mount cables on a cable tray outdoors under bad weather conditions
if no shelter is available.
●
The selected cables have been routed through a plastic-coated metal hose.
NO TE
Some external cables for the FusionDC1000 are long and have a large diameter. Assign
sufficient people to mount cables especially armored cables on cable trays if no assistant tool is
available onsite.
Preparations
Tools: step ladder, protective gloves, and safety helmet
Materials: cable tie and rubber pad
Skill requirement: skilled technician
Procedure
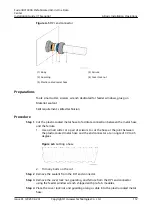
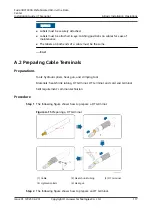
Step 1 (Optional) Install a rubber pad in the position where external mains or diesel
generator power cables will be mounted on a cable tray.
FusionDC1000A Prefabricated All-in-One Data
Center
Installation Guide (IT Scenario)
A Basic Installation Operations
Issue 01 (2021-04-20)
Copyright © Huawei Technologies Co., Ltd.
109


