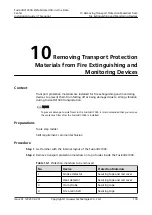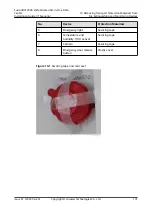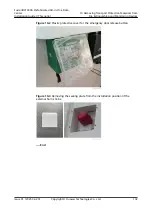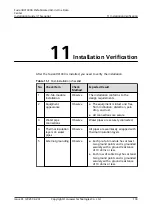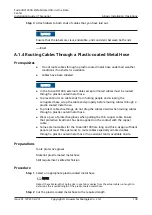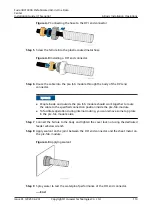
NO TE
A rubber pad is installed in the mounting position to prevent cable tray burrs from scraping
cable sheathings.
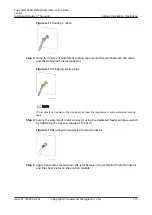
Step 2 Carry the cables routed into a plastic coated metal hose onto the cable tray, and
bind them with cable ties.
NO TICE
● The cables are long. Assign sufficient people and ladders to carry the cables
onto the cable tray.
● Before mounting cables on the cable tray, understand the installation
precautions and the regulations for working at heights, and put on necessary
protective equipment such as safety helmets and gloves.
● After mounting cables on the cable tray, lay out the cables horizontally without
twists and bind the cables in proper positions with cable ties.
● Reserve sufficient cable length and bending space when turning an armored
power cable.
● If possible, place armored cables and thick cables on the outside and lower
layer of the cable tray.
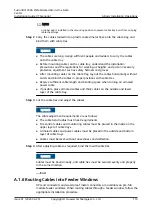
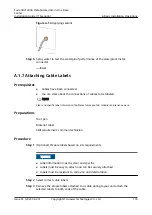
Step 3 Cut the cable ties and adjust the cables.
NO TICE
The cable adjustment requirements are as follows:
● The cable bend radius must meet requirements.
● Fire control cables and monitoring cables must be placed in the inside on the
upper layer of cable trays.
● Armored cables and power cables must be placed in the outside and bottom
layer of cable trays.
● Cables must be level, without unevenness and deflection.
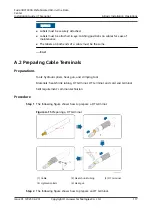
Step 4 After adjusting cables as required, bind them with cable ties.
NO TICE
Cables must be bound neatly, and cable ties must be secured evenly and properly
in the same direction.
----End
A.1.6 Routing Cables into Feeder Windows
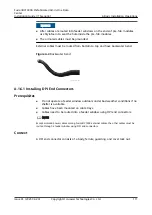
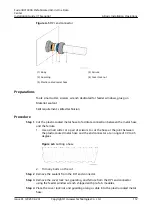
DPJ end connectors and waterproof metal connectors are available on pre-fab.
module feeder windows. When routing cables through a feeder window, follow the
appropriate installation procedure.
FusionDC1000A Prefabricated All-in-One Data
Center
Installation Guide (IT Scenario)
A Basic Installation Operations
Issue 01 (2021-04-20)
Copyright © Huawei Technologies Co., Ltd.
110


