Product Overview
7
Interfaces and Buttons
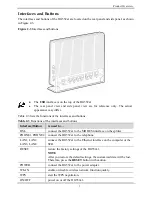
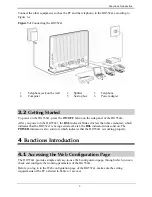
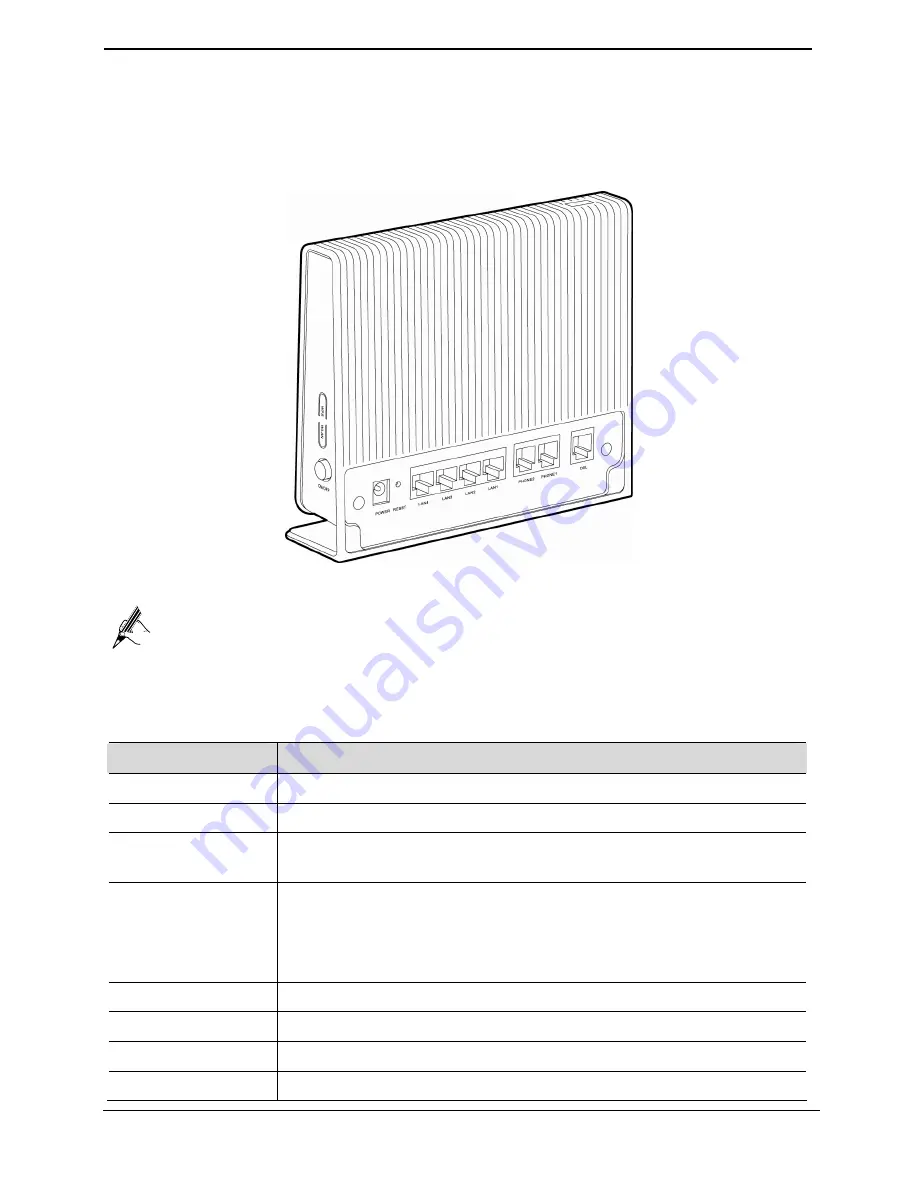
The interfaces and buttons of the HG552a1 are located on the rear panel and side panel, as shown
in Figure 2-3.
Figure 2-3
Interfaces and buttons
z
The
USB
interface is on the top of the HG552a1.
z
The rear panel view and side panel view are for reference only. The actual
appearance may differ.
Table 2-3 lists the functions of the interfaces and buttons.
Table 2-3
Functions of the interfaces and buttons
Interface/Button
is used to…
DSL
connect the HG552a1 to the MODEM interface on the splitter.
PHONE1, PHONE2 connect the HG552a1 to the telephone.
LAN1, LAN2,
LAN3, LAN4
connect the HG552a1 to the Ethernet interface on the computer or the
STB.
RESET
restore the factory settings of the HG552a1.
NOTE
After you restore the default settings, the customized data will be lost.
Therefore, press the
RESET
button with caution.
POWER
connect the HG552a1 to the power adapter.
WLAN
enable or disable wireless network function quickly.
WPS
start the WPS negotiation.
ON/OFF
power on or off the HG552a1.


