15
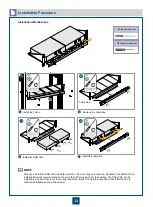
Installation Procedure
b
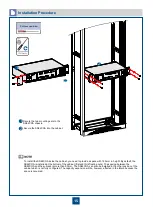
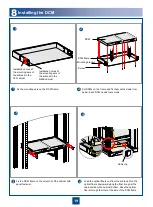
Secure the two mounting ears to the
SS62COA chassis.
Secure the SS62COA into the cabinet.
1
2
Phillips screwdriver
To install the SS62COA inside the cabinet, you need to provide a space with 125 mm in height. By default, the
SS62COA is installed at the bottom of the cabinet (first and third floating nuts). The spacing between the
SS62COA and the subrack is more than 50 mm. The SS62COA can also be installed in the other position of the
cabinet which is not fully configured. The capacity expansion will be, however, affected in the future because the
space is occupied.
1
2
Summary of Contents for OptiX OSN 2500
Page 1: ...HUAWEI TECHNOLOGIES CO LTD OptiX OSN 2500 Quick Installation Guide Issue 12 Date 2017 09 30 ...
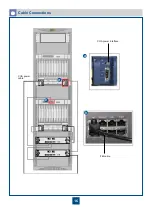
Page 19: ...16 Cable Connections c COA power interface F f cable a b a b COA power cable ...
Page 36: ...33 Upward Cabling c Cable distribution plate To the alarm monitor SEI board ...
Page 37: ...34 Downward cabling d Cable distribution plate SEI board To the alarm monitor a a ...


