6
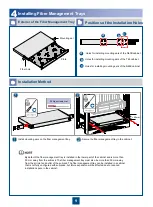
Structural
component
Position of the
Installation Hole
Lower OSN 2500 subrack
8, 10, 24 and 26
Middle OSN 2500 subrack
31, 33, 47 and 49
Upper OSN 2500 subrack
54, 56, 70 and 72
PDU
78 and 82
Front view of the cabinet
Remove the front door and side panels of the cabinet before routing cables. For information
about how to remove the doors, see the
N63E Cabinet Installation Guide
. To ensure safe
operations, assign a minimum of two persons to install the subrack.
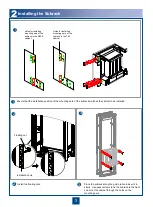
Positions of the installation holes
Installing Components
1
Positions of the Installation Holes
First install subracks in the lower part and then in the upper part of a cabinet. If there is only one
subrack, install it in the lower part of the cabinet.
10
24
26
8
33
47
49
31
56
70
72
54
78
82
Summary of Contents for OptiX OSN 2500
Page 1: ...HUAWEI TECHNOLOGIES CO LTD OptiX OSN 2500 Quick Installation Guide Issue 12 Date 2017 09 30 ...
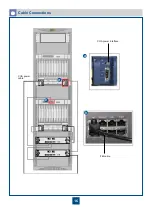
Page 19: ...16 Cable Connections c COA power interface F f cable a b a b COA power cable ...
Page 36: ...33 Upward Cabling c Cable distribution plate To the alarm monitor SEI board ...
Page 37: ...34 Downward cabling d Cable distribution plate SEI board To the alarm monitor a a ...


