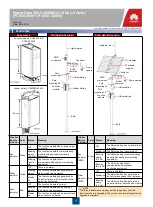

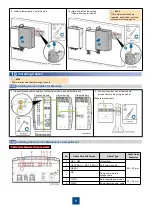

14
Changing the NE IP Address
14.4
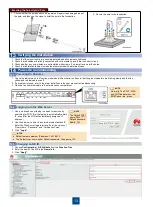
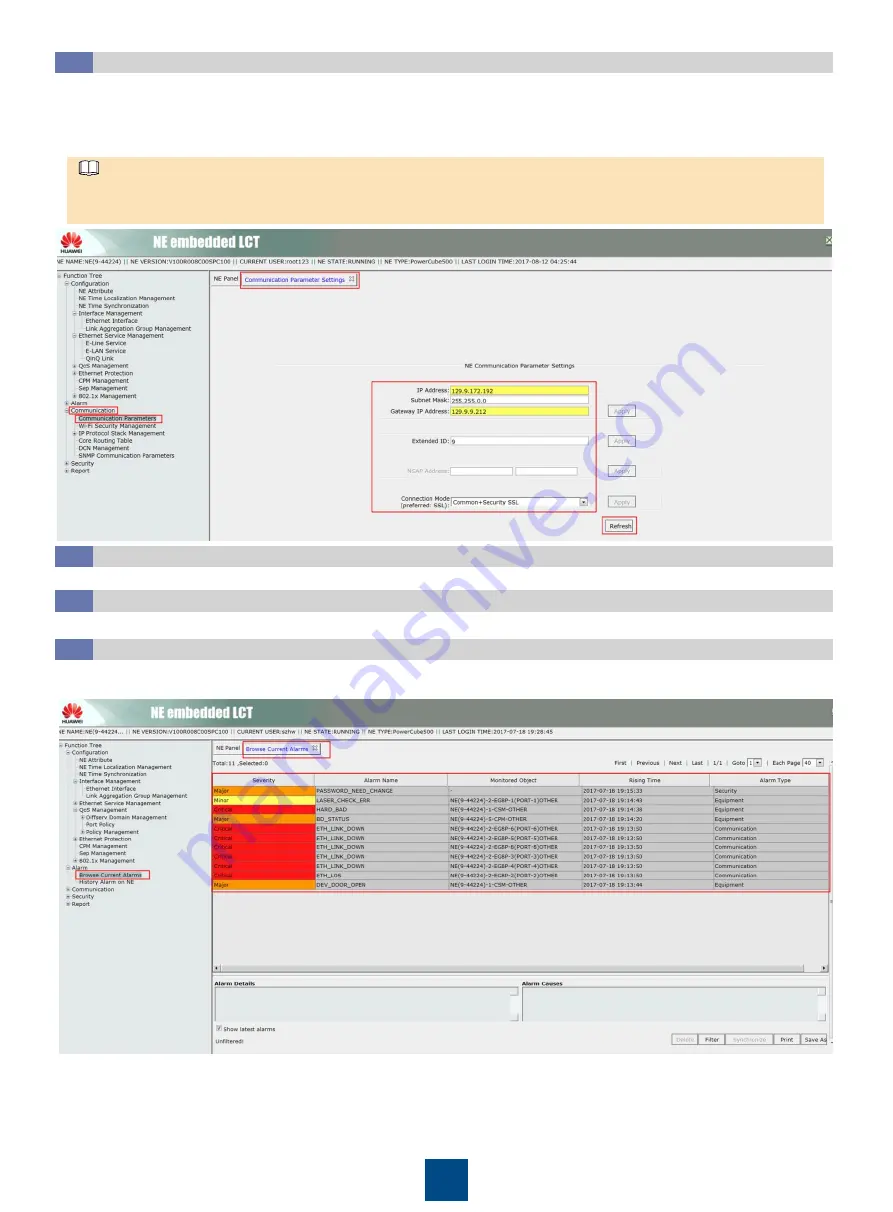
1. Choose
Communication
>
Communication Parameters
from the
Function Tree
.
2. Configure the communication parameters of the NE.
3. Click
Refresh
.
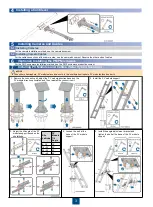
During site commissioning, the IP address of the gateway NE needs to be configured in compliance with the external DCN requirements but
other non-gateway NEs use IP addresses that are automatically generated based on NE IDs.
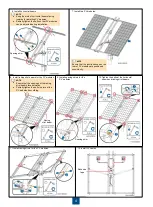
Commissioning Cameras
14.5
Commissioning PMP Microwave
14.6
For the camera commissioning method, see the camera document.
For the PMP microwave commissioning method, see the PMP microwave document.
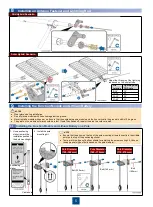
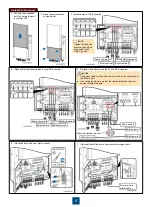
Checking Alarms
14.7
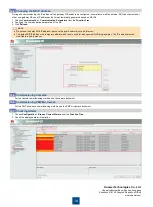
1. Choose
Configuration
>
Browse Current Alarms
from the
Function Tree
.
2. Check the displayed alarm information.
NOTE
Do not use the default NE IP address to access the public network (such as Internet).
The default NE IP address is a temporary address, and is only used for management DCN plug-and-play. The IP address must be
modified in a timely manner.
Huawei Technologies Co., Ltd.
Huawei Industrial Base, Bantian, Longgang
Shenzhen 518129 People's Republic of China
www.huawei.com


