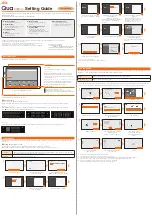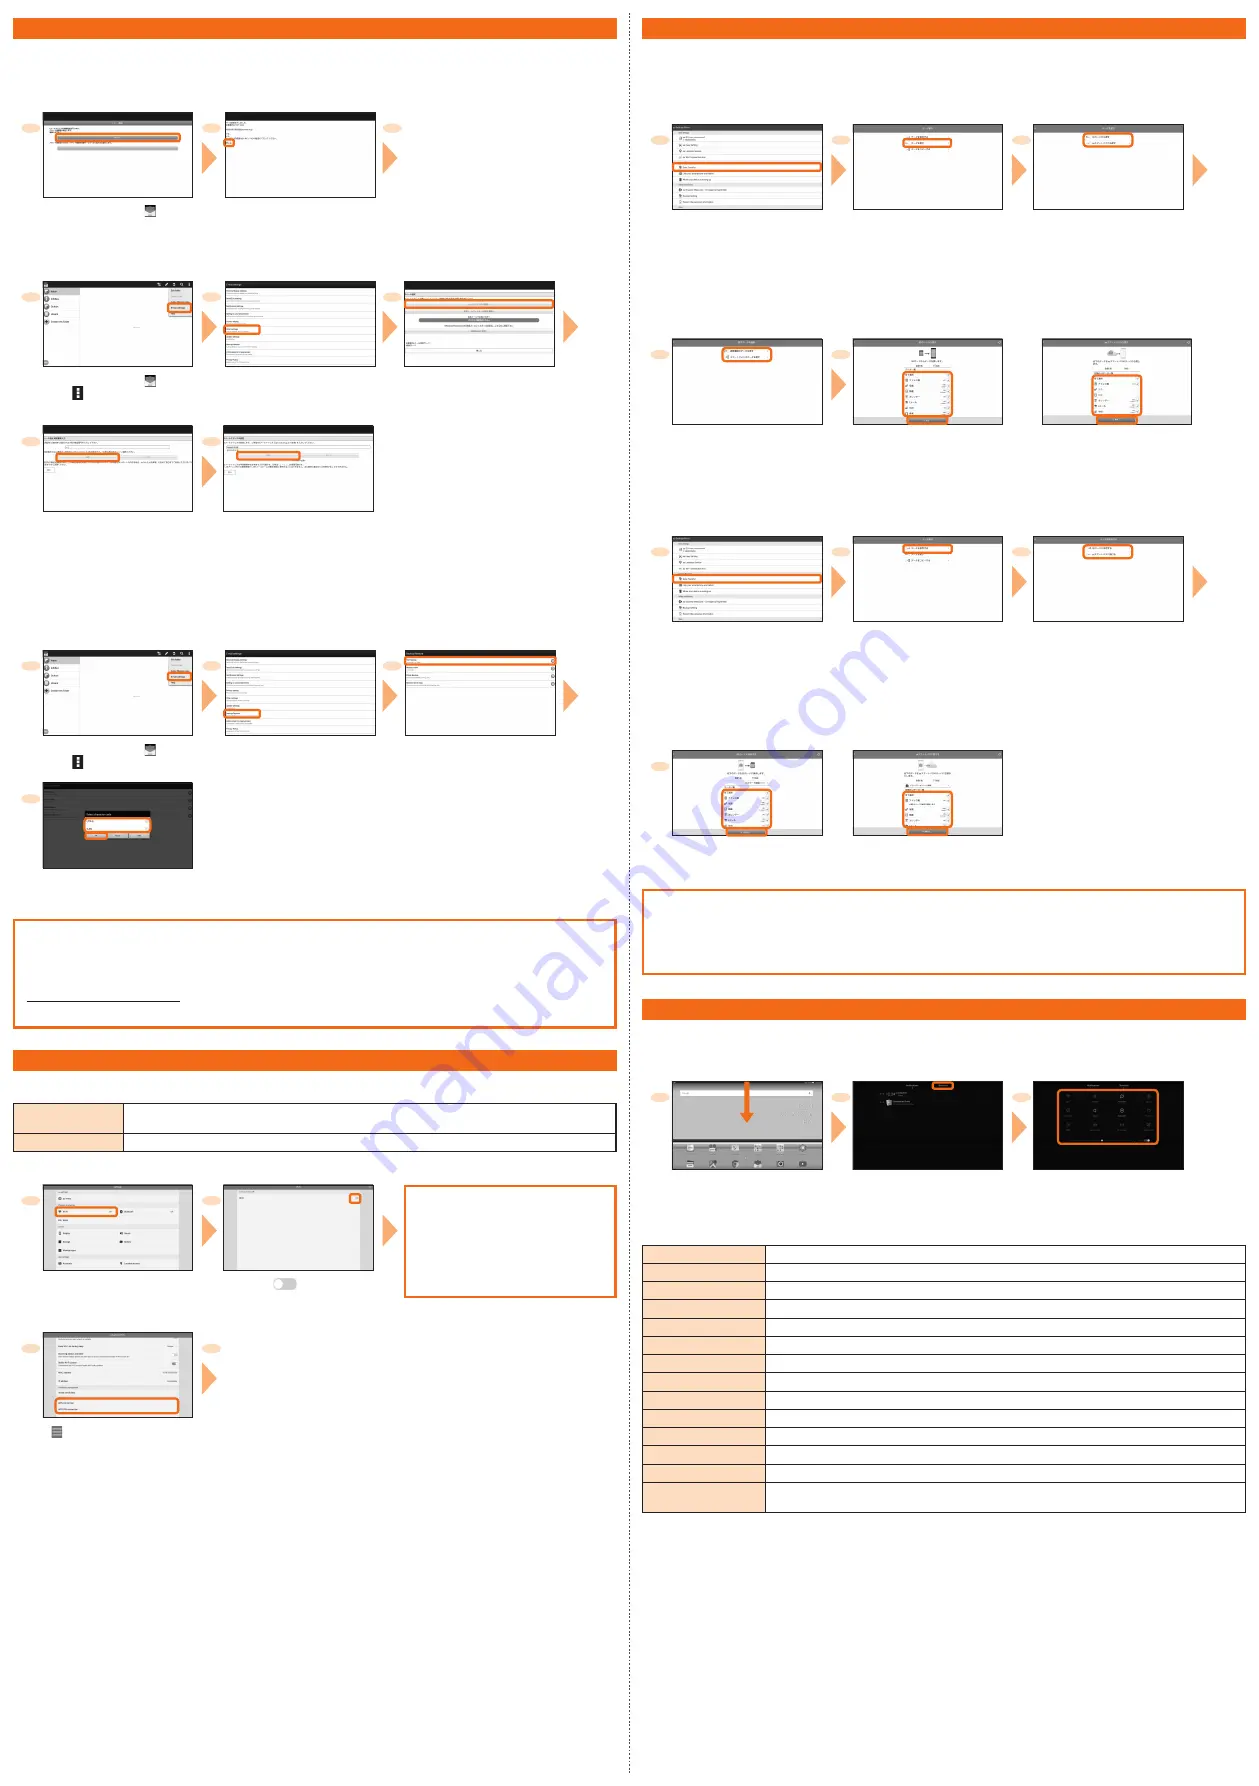
To use E-mail (@ezweb.ne.jp), subscription to LTE NET is required.
If you did not subscribe it when you purchased the product, contact an au shop or Customer Service Center.
Your E-mail address is determined automatically after initial setting. You can change the E-mail address later.
■
Initial settings
1
2
3
When the overview of send
information of "About use of
customer information" appears, tap
[Accept].
When the description screen for
E-mail function appears, confirm
the content and tap [Close].
Home screen
→
[ ]
→
Check the contents,
then [
接続する
(Connect)]
Check your Email address
→
[
閉じる
(Close)]
→
Check the contents,
then [Agree]/[Disagree]
→
[Done]
■
Changing your e-mail address
1
2
3
Home screen
→
[ ]
→
[
]
→
[E-mail settings]
[Other settings ]
→
Check
the contents, then [
接続する
(Connect)]
[E
メールアドレスの変更へ
(To Change E-mail address)]
4
5
Enter the security code
→
[
送信
(Send)]
→
Check the contents,
then [
承諾する
(I accept)]
Enter E-mail address
→
[
送信
(Send)]
→
[OK]
→
[
閉じる
(Close)]
■
Backing up E-mail
You can back up E-mail data on the internal storage (/storage/emulated/0/private/au/email/BU/).
• Home screen
→
[Settings]
→
[Storage]
→
When [Default location] is set to [SD card], data is backed up on the microSD memory card (/
storage/sdcard1/private/au/email/BU/).
* When you connect the product to a PC and check the back up data location, the folder name may be displayed differently.
1
2
3
Home screen
→
[ ]
→
[
]
→
[E-mail settings]
[Backup/Restore]
[Mail Backup]
→
Confirm the notes and [OK]
4
Select a character code to make backup data
→
[OK]
→
Select a folder to back up
→
[OK]
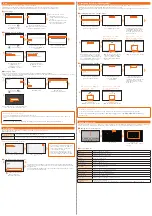
Mail Settings Other Than E-mail
You can use mail addresses other than E-mail (@ezweb.ne.jp).
Use of other mail addresses requires accounts to be set. When using another mail address for the first time, set the address as
follows.
Example: When you use Gmail
Home screen
→
[Google]
→
[Gmail]
→
Follow the onscreen instructions and enter mail information.
Wi-Fi
®
Setting
Use your home Wireless LAN (Wi-Fi
®
) or public wireless LAN to connect to the Internet.
Main settings are as follows.
Select Wi-Fi
®
network
to connect
Search for and connect to an available Wi-Fi
®
network.
WPS system
Use for registration of access point compatible with Wi-Fi
®
Protected Setup™ with WPS mark.
* If you turn on wireless LAN (Wi-Fi
®
) function, battery consumption increases. It is recommended that you turn wireless LAN (Wi-Fi
®
) function to OFF
when not using wireless LAN (Wi-Fi
®
) function.
1
2
Available Wi-Fi
®
networks are listed. Select
a Wi-Fi
®
network to connect
→
Enter a
password as required
→
[Connect] to
connect the Wi-Fi
®
network.
If an access point you want to connect
cannot be detected, tap [Add network...]
and connect the Wi-Fi
®
network manually.
Home screen
→
[Settings]
→
[Wi-Fi]
Tap [
] to turn ON
■
Using WPS system access point
3
4
For using WPS button, tap [WPS connection] and then press and hold the WPS button
of the access point to set to WPS mode. The access point is automatically detected and
registration starts.
For entering WPS PIN, tap [WPS PIN connection] and enter displayed PIN code on the
access point, then registration starts.
[
]
→
[Advanced settings]
→
[WPS connection]/
[WPS PIN connection]
Transferring Data from au Settings Menu
Return or store data from your previously used au phone to this product using a microSD card or the au Smart Pass server.
• Setting au ID is required for returning/storing data using the au Smart Pass server.
• For returning data using a microSD memory card, save the data to the microSD memory card using your previously used au phone in
advance.
■
Returning data from au Settings Menu
1
2
3
Home screen
→
[Settings]
→
[au menu]
→
[Data Transfer]
In the data transfer screen,
[
データを戻す
(Return data)]
Select a method for returning data
* To return data from "auスマー
トパスから戻す (Return from au
Smart Pass)" (data stored on
the au Smart Pass server), you
must set an au ID.
When "SD
カードから戻す
(Return from SD card)"
is selected
When "au
スマートパスから
戻す
(Return from au Smart
Pass)" is selected
4
5
When you select "SD
カードから戻す
(Return from SD card)", select the type of
your previously used au cell phone
* This menu does not appear when "au
スマートパスから戻す (Return from au
Smart Pass)" is selected in step 3.
Select data to return
→
[
戻す
(Return)]
→
[
完了
(Done)]
* This screen appears when
" スマートフォンのデータを戻す
(Return smartphone data)" is
selected.
Select data to return
→
[
戻す
(Return)]
→
[
完了
(Done)]
■
Saving data from au Settings Menu
1
2
3
Home screen
→
[Settings]
→
[au menu]
→
[Data Transfer]
In the data transfer screen,
[
データを保存する
(Save data)]
Select a saving location
* To save data from "auスマート
パスに預ける (Store to au Smart
Pass)" (Store data to the au
Smart Pass server), you must
set an au ID.
When "SD
カードに保存する
(Saving to SD card)"
is selected
When "au
スマートパスに預け
る
(Store to au Smart Pass)"
is selected
4
Select data to save
→
[
保存する
(Save)]
→
[
完了
(Done)]
Select data to store
→
[
預ける
(Store)]
→
[
完了
(Done)]
Using "Data Storage" app
To use "Data Storage" app to back up photos and contacts to the au Smart Pass server automatically, set as follows.
Home screen
→
[Settings]
→
[au menu]
→
[Backup Setting]
→
Turn on "
定期的に自動で預ける
(Back up
periodically)"
Saving Battery Power
From the shortcut items list, you can configure the setting such as Wi-Fi
®
function, Bluetooth
®
function, and screen brightness adjustment.
You can save battery consumption by switching the communication function to OFF or adjusting brightness of the display.
■
Opening the shortcut items list
1
2
3
Slide down the status bar
"Shortcuts" tab
Set each item
* To show hidden items, slide up
or down.
■
Shortcut items list
Wi-Fi
ON/OFF of the Wi-Fi
®
function
Bluetooth
ON/OFF of the Bluetooth
®
function
Auto-rotate
ON/OFF of the auto-rotate screen
Settings
Open the settings menu
Screenshot
Capture the screen
Sound/Silent
ON/OFF of Manner mode
Mobile data
ON/OFF of the mobile data communication
Flashlight
ON/OFF of flash/photo light
GPS
ON/OFF of the location information function
Eyes protection
ON/OFF of the eyesight protection
Wi-Fi hotspot
ON/OFF of the Wi-Fi
®
tethering function
Airplane mode
ON/OFF of the airplane mode
Auto-sync
ON/OFF of the account auto synchronize function
(Adjusting screen
brightness)
Adjust the screen brightness
* When you tap "Auto" to ON, the screen brightness is automatically adjusted according to your condition.

