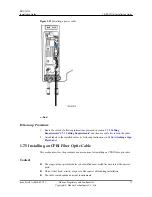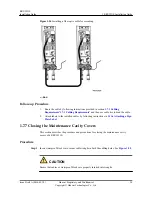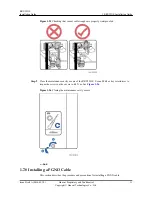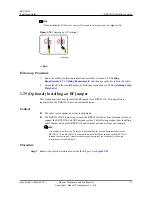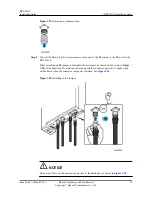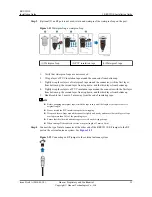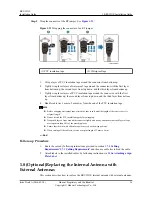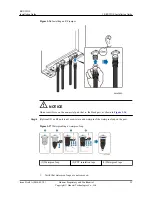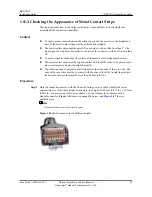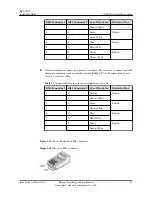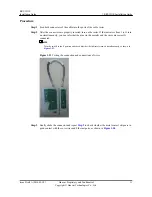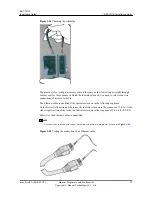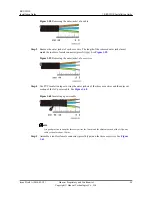
b.
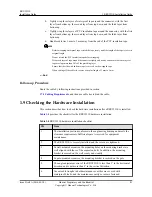
Tightly wrap three layers of waterproof tape around the connector, with the first
layer from bottom up, the second layer from top down, and the third layer from
bottom up.
c.
Tightly wrap three layers of PVC insulation tape around the connector, with the first
layer from bottom up, the second layer from top down, and the third layer from
bottom up.
d.
Bundle cable ties 3 mm to 5 mm away from the end of the PVC insulation tape.
NOTE
– Before wrapping waterproof tape, stretch the tape evenly until the length of the tape is twice its
original length.
– Do not stretch the PVC insulation tape before wrapping.
– Wrap each layer of tape around the connector tightly and neatly, and ensure that each layer of
tape overlaps more than 50% of the preceding layer
– Ensure that the side with adhesive tape is covered on the wrapped tape.
– When cutting off the cable tie, reserve a surplus length of 3 mm to 5 mm.
----End
Follow-up Procedure
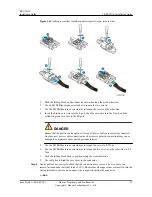
Route the cable by following instructions provided in section
1.7.1 Cabling Requirements
, and then use cable ties to bind the cable.
1.9 Checking the Hardware Installation
This section describes how to check the hardware installation after a RRU3931E is installed.
Table 1-4
provides the checklist for the RRU3931E hardware installation.
Table 1-4
RRU3931E hardware installation checklist
SN
Item
1
The installation position conforms to the engineering drawing and meets the
clearance requirements. Sufficient space is reserved for equipment
maintenance.
2
The RRU3931E is securely installed, and the screws are tightened.
3
In wall-mounted scenarios, the mounting holes on the mounting bracket are
well aligned with those of the expansion bolts. In addition, the mounting
bracket is secured on the wall evenly and steadily.
4
In pole-mounted scenarios, the mounting bracket is secured on the pole.
5
The angle adjustment error of the RRU3931E is less than 3° in the horizontal
direction and is not more than 3° in the vertical direction.
6
Vacant cable troughs in both maintenance cavities are covered with
waterproof blocks, and the maintenance cavity covers are fastened.
RRU3931E
Installation Guide
1 RRU3931E Installation Guide
Issue Draft A (2016-03-30)
Huawei Proprietary and Confidential
Copyright © Huawei Technologies Co., Ltd.
41

