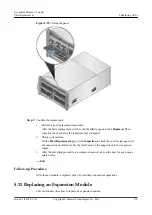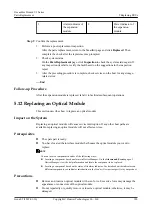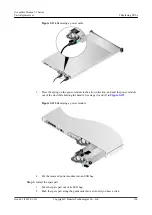
1
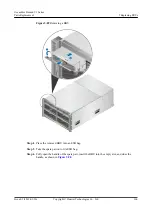
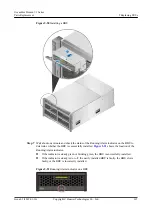
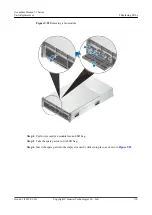
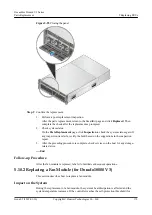
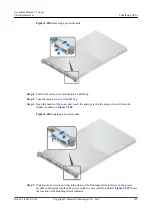
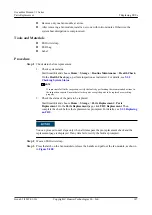
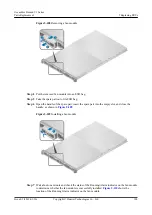
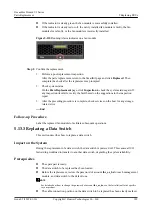
Alarm indicator of
the expansion
module
2
Power indicator of
the expansion
module
Step 9
Confirm the replacement.
1.
Perform a post-replacement inspection.
After the parts replacement, return to the SmartKit page and click
Replaced
. Then
complete the check after the replacement as prompted.
2.
Check system status.
On the
Parts Replacement
page, click
Inspection
to check the system status again. If
any inspection item fails, rectify the fault based on the suggestions in the inspection
report.
3.
After the preceding procedure is complete, check services on the host for any storage-
related error.
----End
Follow-up Procedure
After the expansion module is replaced, label it to facilitate subsequent operations.
5.12 Replacing an Optical Module
This section describes how to replace an optical module.
Impact on the System
Replacing an optical module will cause service interruption. If any other host paths are
available, replacing an optical module will not affect services.
Prerequisites
l
The spare part is ready.
l
You have located the interface module that houses the optical module you want to
replace.
NOTE
You can locate a component in either of the following ways:
l
Locating a component based on alarms in DeviceManager: On the
Alarms and Events
page of
DeviceManager, view the help information and locate the component to be replaced.
l
Locating a component based on the status of its alarm indicator: For details about the indicators on
different components, see indicator introduction in the
Product Description
specific to your product.
Precautions
l
Remove and insert an optical module with even force. Excessive force may damage the
appearance or connectors of the optical module.
l
Do not repeatedly or quickly remove or insert an optical module; otherwise, it may be
damaged.
OceanStor Dorado V3 Series
Parts Replacement
5 Replacing FRUs
Issue 05 (2019-01-30)
Copyright © Huawei Technologies Co., Ltd.
180

