background image

- 5 -

3. Operation

3.1 Connect to SF6 electrical equipment

Connect the screw thread port to the switch joint

screw up it

then close the

needle valve on the other head of the tube.

Connect the quick coupling of the test tube to the inlet of the meter.
Connect the vent tube to the outlet.
At last

screw up the switch joint to the SF6 electrical equipment.

3.2

Initialization

Power on the meter

it will take 5 seconds to initialize.

3.3

Check the battery

The meter takes precedence for use alternating current.
Or when use direct current

view the battery on top right corner

ensure to power

off and charge battery when less than 20%.

3.4

Start

Open all needle valves of stream tube

use flow valve adjust flow to about

0.5L/M

then meter the dew point of SF6.

The first equipment is tested in 5

10minutes

and the next ones needs 3

5minutes.
3.5

Save data

After test

save the data

press menu

see menu in part4 for details.

3.6

Test other equipment

When complete one set of equipments

close the needle valve of the stream tube

and turn off flow valve. Take the adapter off from SF6 electrical equipment. If any
equipment needs to be tested

repeat steps above.

3.7

Test complete

After all tests, power off the meter.

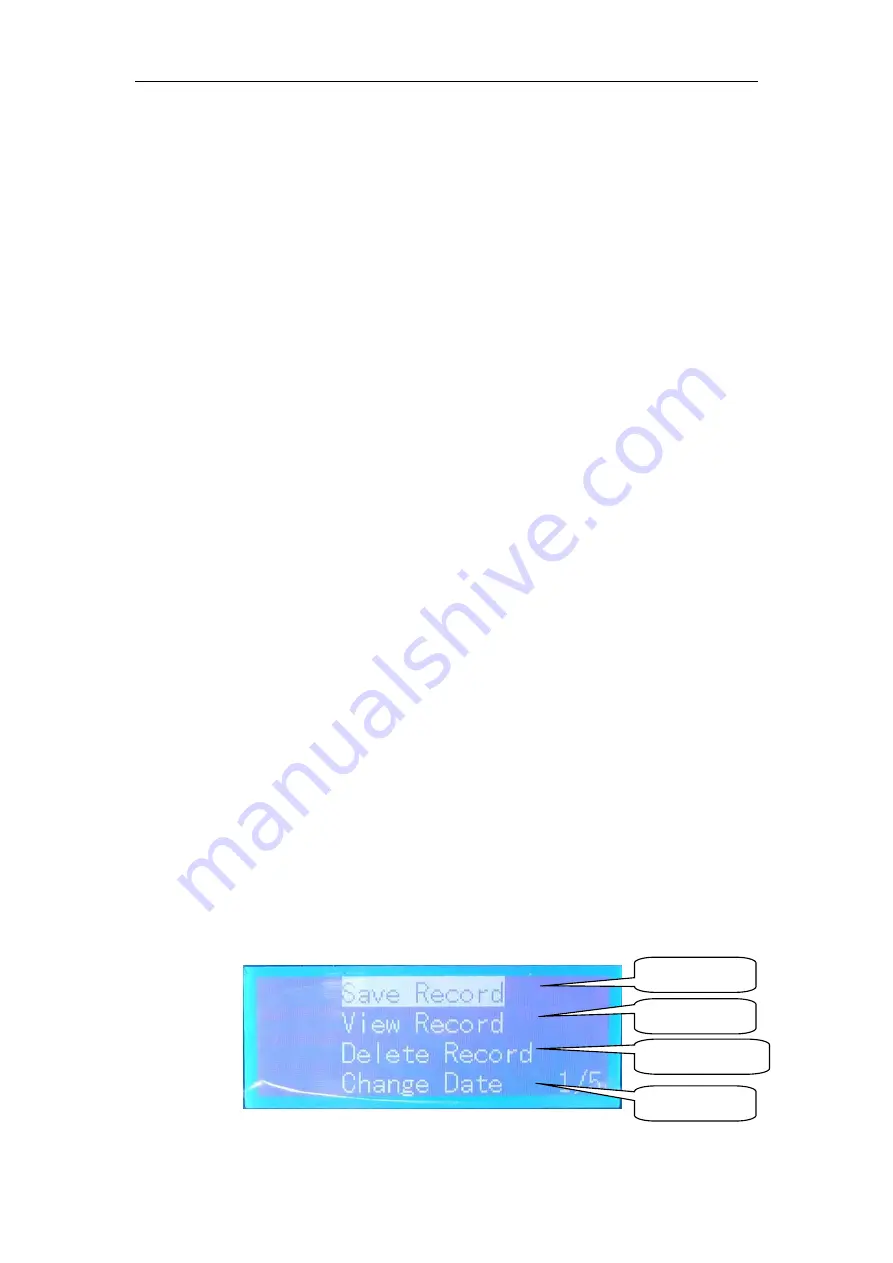
4. Menu

In test status

press enter to the menu.

4.1 Save data

Save record

View record

Delete record

Change date

Summary of Contents for HZSM-701

Page 1: ...0 SF6 Intelligent Accuracy Dew Point Meter Operation Manual ...

Page 2: ...just flow And when test complete do the two steps conversely Do not power off when the instrument at a continuous work it can work continuously at least 10 hours by a high capacity lithium battery It may leave some air in the stream tube and gas room after non use for a long term The wet air will influence the test speed because the sensor brush up against it before SF6 gas We ll find more faster ...

Page 3: ...2 Content 1 Feature and specification 3 2 Instruction of panel 4 3 Operation 5 4 Menu 5 5 Matters need attention 6 ...

Page 4: ...a Legible display dew point Micro moisture ppm ambient temperature ambient humidity time date battery etc can be read from the LCD RS232 port can be connected with serial printer carry on data printing Built in power supply built in 4Ah rechargeable lithium battery it can work continuously at least 10 hours 1 2 Specification dew point Ranges 60 20 Accuracy 1 60 20 Test time 20 3 minutes ambient te...

Page 5: ... of panel 2 1 Front panel CAUTION You can adjust mount angle by pressing the two adjusting buttons on each side 2 2 Back panel 2 3 LCD Dew point Micro moisture Date and time Battery Ambient temperature Ambient humidity ...

Page 6: ... right corner ensure to power off and charge battery when less than 20 3 4 Start Open all needle valves of stream tube use flow valve adjust flow to about 0 5L M then meter the dew point of SF6 The first equipment is tested in 5 10minutes and the next ones needs 3 5minutes 3 5 Save data After test save the data press menu see menu in part4 for details 3 6 Test other equipment When complete one set...

Page 7: ... 3 Delete record In test status press enter to the menu Then press up or down to select delete record press enter will delete all records 4 4 Modify time In test status press enter to the menu Then press up or down to select change date press enter to time page Press up or down to adjust time value press left or right to select hour minute and second Press enter goes to date setting 5 Matters need...

Page 8: ... 7 ...

Reviews: