13
➍
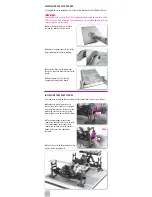
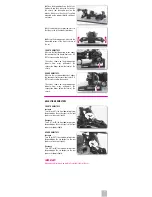
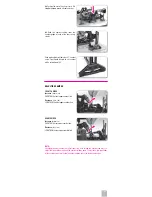
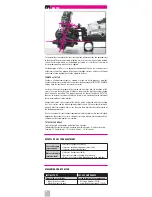
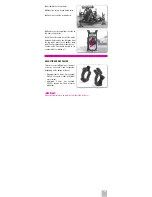
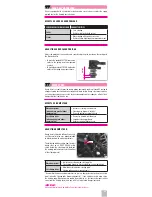
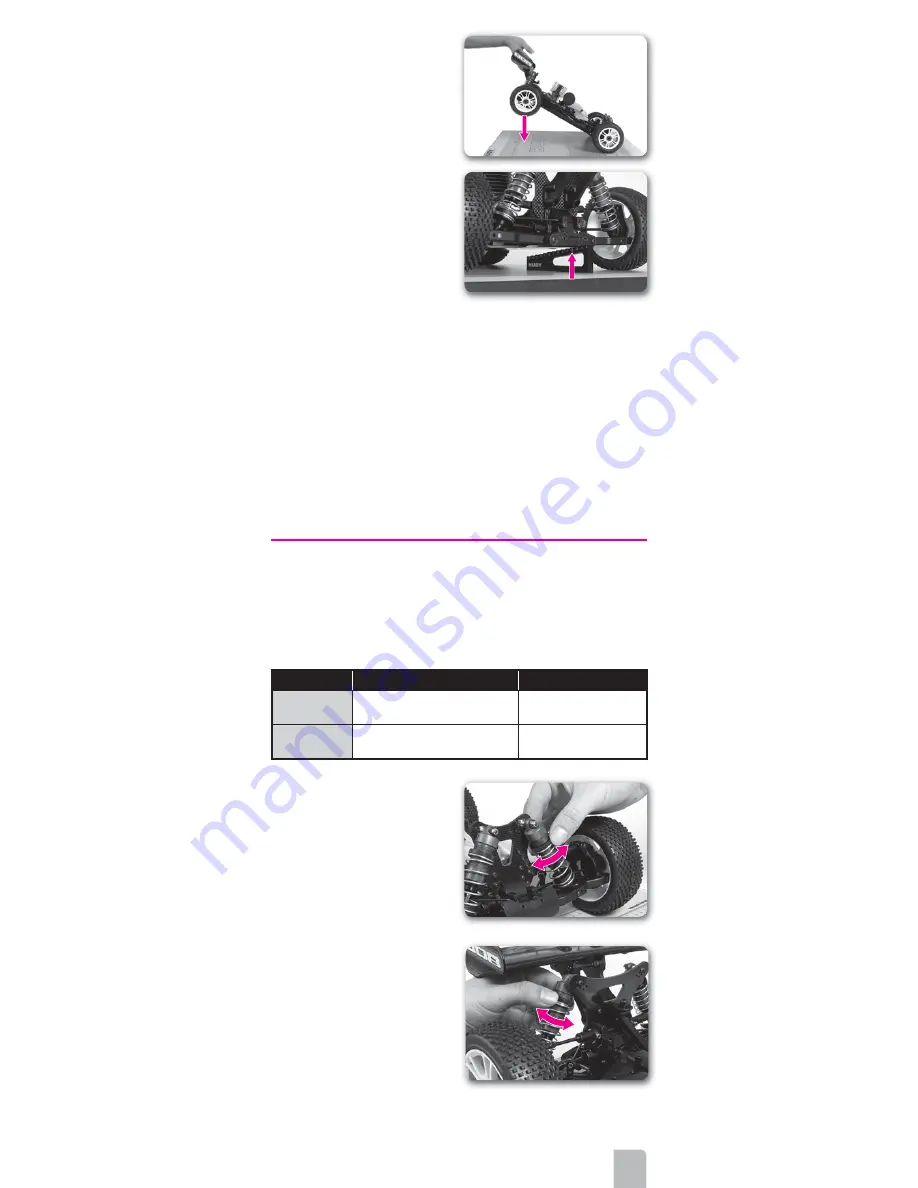
Lift the rear of the car and let it fall back
to the set-up board by itself.
➎
Using the droop gauge, measure the
ride height value at the rear of the car.
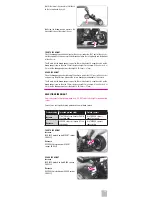
FRONT RIDE HEIGHT
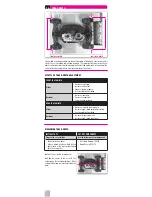
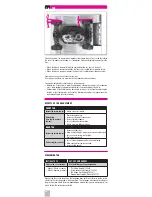
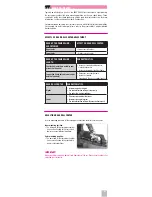
Place the droop gauge under the front of the chassis (under the FLAT part of the chassis,
not the angled part) and measure the difference between the set-up board and the bottom
of the chassis.
The
0
mark on the droop gauge is equal to 30mm ride height. A negative value on the
droop gauge is lower than the 30mm reference height. For example, if the chassis is at
-3mm on the droop gauge, your ride height is 30-3mm = 27mm.
REAR RIDE HEIGHT
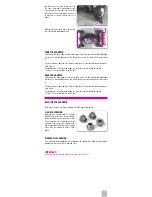
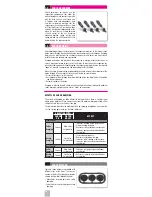
Place the droop gauge under the rear of the chassis (under the FLAT part of the chassis)
and measure the difference between the set-up board and the bottom of the chassis.
The
0
mark on the droop gauge is equal to 30mm ride height. A negative value on the
droop gauge is lower than the 30mm reference height. For example, if the chassis is at
-3mm on the droop gauge, your ride height is 30-3mm = 27mm.
ADJUSTING RIDE HEIGHT
Adjust ride height using spring preload only; DO NOT adjust ride height using downstop
screws.
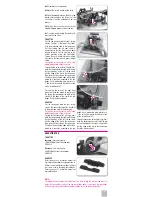
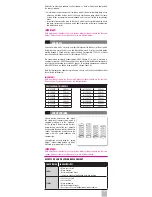
Your car may use threaded spring preload collars or preload spacers.
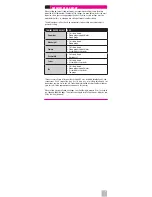
Preload setting
Threaded preload collar
Preload spacers
Increase
TIGHTEN collar so it moves DOWN
the shock body
Use THICKER spacers
above the spring
Decrease
LOOSEN collar so it moves UP the
shock body
Use THINNER spacers
above spring
FRONT RIDE HEIGHT
Increase
INCREASE preload on both FRONT springs
EQUALLY.
Decrease
DECREASE preload on both FRONT
springs EQUALLY.
REAR RIDE HEIGHT
Increase
INCREASE preload on both REAR springs
EQUALLY.
Decrease
DECREASE preload on both REAR springs
EQUALLY.


