020-9905 User Manual Q3 (Advanced 3 year old child) Rev G Page 37 of 82
© 2016 Humanetics Innovative Solutions
Assembly and Disassembly
Disassembly
1.
Remove the upper torso by removing the two M6 x 43 screws at the thoracic
spine/lumbar spine interface.
2.
Remove the abdomen from the lower torso
3.
Remove the four M5 x 12 countersunk head screws, which are used to fasten the load
cell (or structural replacement) to the pelvis.
4.
Remove the load cell (or load cell structural replacement) from the lumbar spine by
removing the four M5 x 12 socket head cap screws.
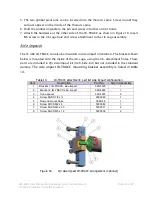
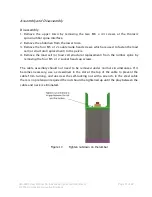
The cable assembly should not need to be removed under normal circumstances. If it
becomes necessary, use a screwdriver in the slot at the top of the cable to prevent the
cable from turning, and unscrew the self-locking nut with a wrench. In the steel cable
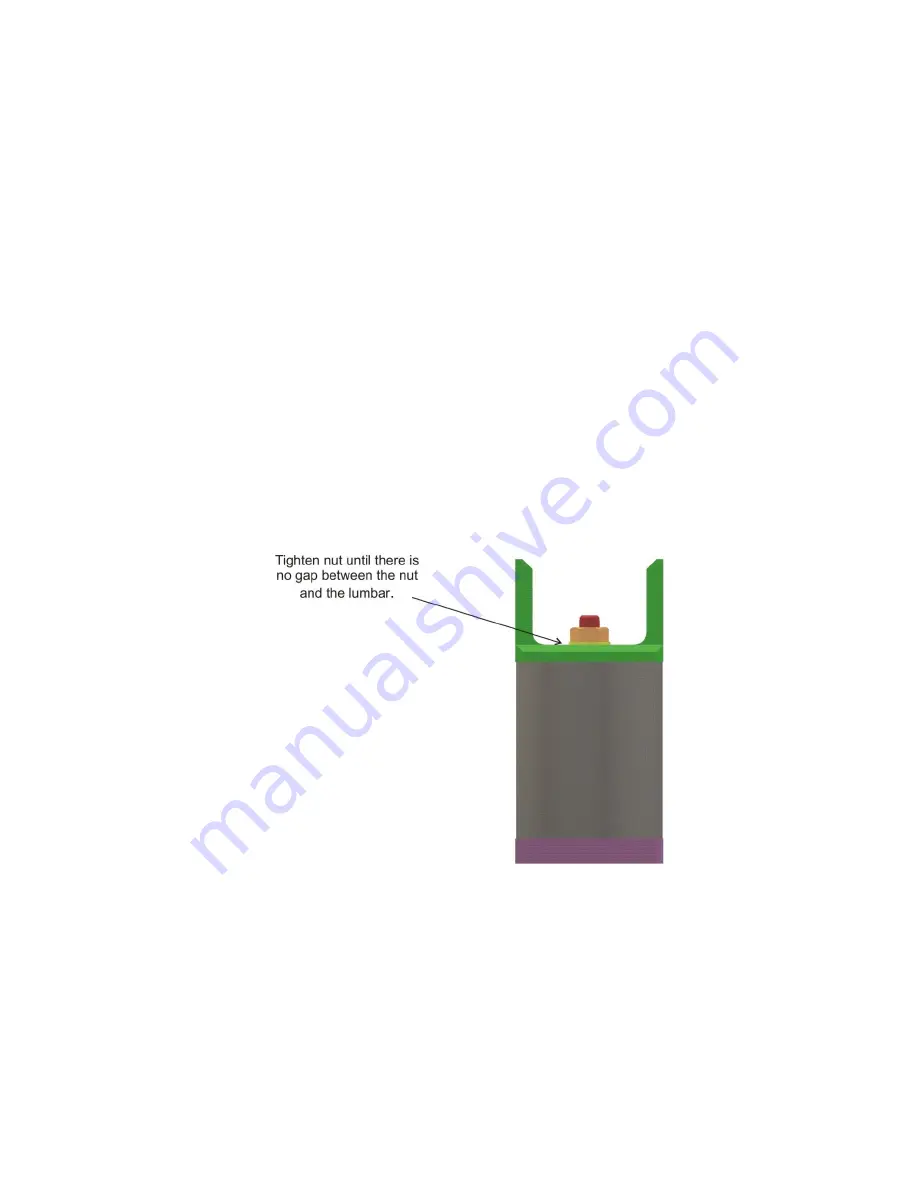
there is no pretension required the nut should be tightened up until the play between the
cable and neck is eliminated.
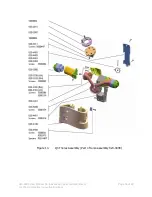
Figure 17.
Tighten nut down on the lumbar

