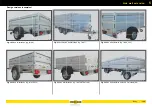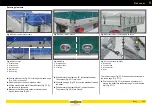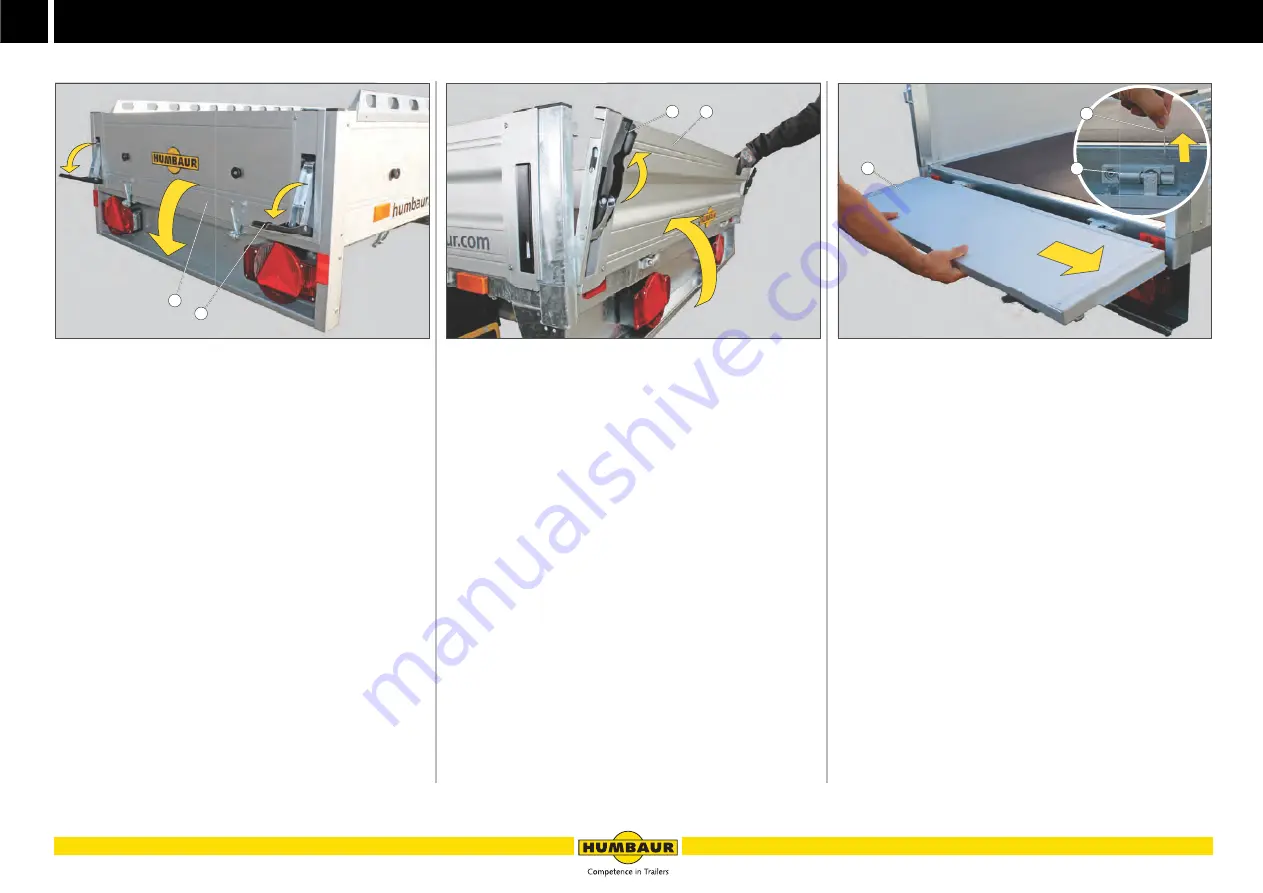
Drop sides
5
106
Body
Handling drop side
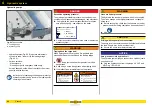
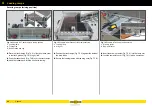
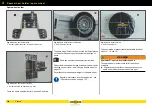
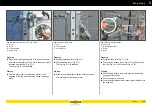
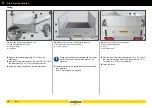
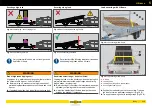
Fig. 11
Open drop side (e.g. STARTRAILER)
1
Lock
2
Drop side
Unlocking
Release the locks (Fig. 11 /1).
- While doing so, hold the drop side (Fig. 11 /2) with one
hand.
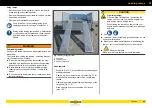
Folding down
Fold down the drop sides down in a controlled way - do
not allow them to fall down.
If applicable, close the locks.
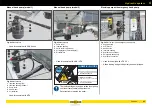
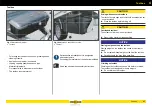
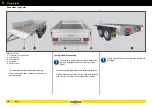
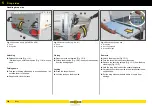
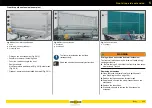
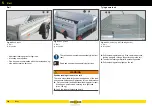
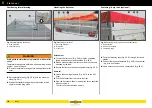
Fig. 12
Close drop side (e.g. HA, HT)
1
Lock
2
Drop side
Closing
Open the locks as required (Fig. 12 /1).
Fold up the drop side (Fig. 12 /2) - keep your hands away
from the closing edges.
Locking
Press the drop side shut.
Lock the locks on the drop side.
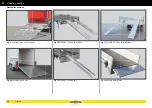
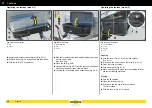
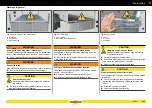
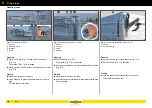
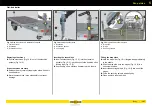
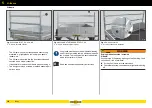
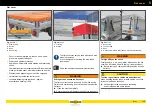
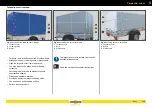
Fig. 13
Removing the drop side
1
Drop side
2
Securing split pin
3
Drop side hinge
Removal
Unlock the drop side (Fig. 13 /1).
Fold the drop side to a horizontal position.
Remove the securing split pin (Fig. 13 /2) from the drop
side hinge (Fig. 13 /3).
Hold the drop side in about the middle lengthwise.
Carefully pull out the drop side in the direction that is now
unobstructed.
Put the drop side somewhere where it is safe from
damage.
A - 008
2
1
A - 009
1
2
A - 012
2
3
1
Summary of Contents for 1000 Series
Page 1: ...GENERAL CAR Program PART 1 OPERATING MANUAL humbaur com 1000 8400 SERIES EN ...
Page 9: ...1 7 Safety ...
Page 21: ...2 19 General information ...
Page 31: ...3 29 Operation ...
Page 67: ...3 65 Operation Trailer safety ...
Page 75: ...4 73 Chassis ...
Page 103: ...5 101 Body ...
Page 134: ...Cover net 5 132 Body ...
Page 135: ...6 133 Electrical system ...
Page 145: ...7 143 Testing care and maintenance ...
Page 185: ...8 183 Troubleshooting guide ...
Page 194: ...Hydraulics 8 192 Troubleshooting guide ...
Page 195: ...9 193 Proof of inspection ...

