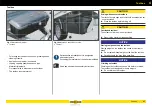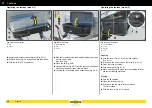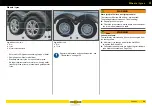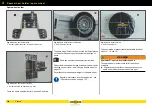
Drop sides
107
Body
5
Flat-bed trailer
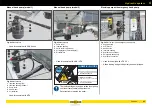
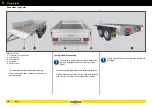
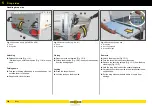
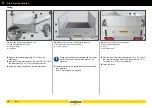
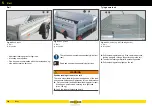
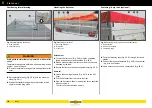
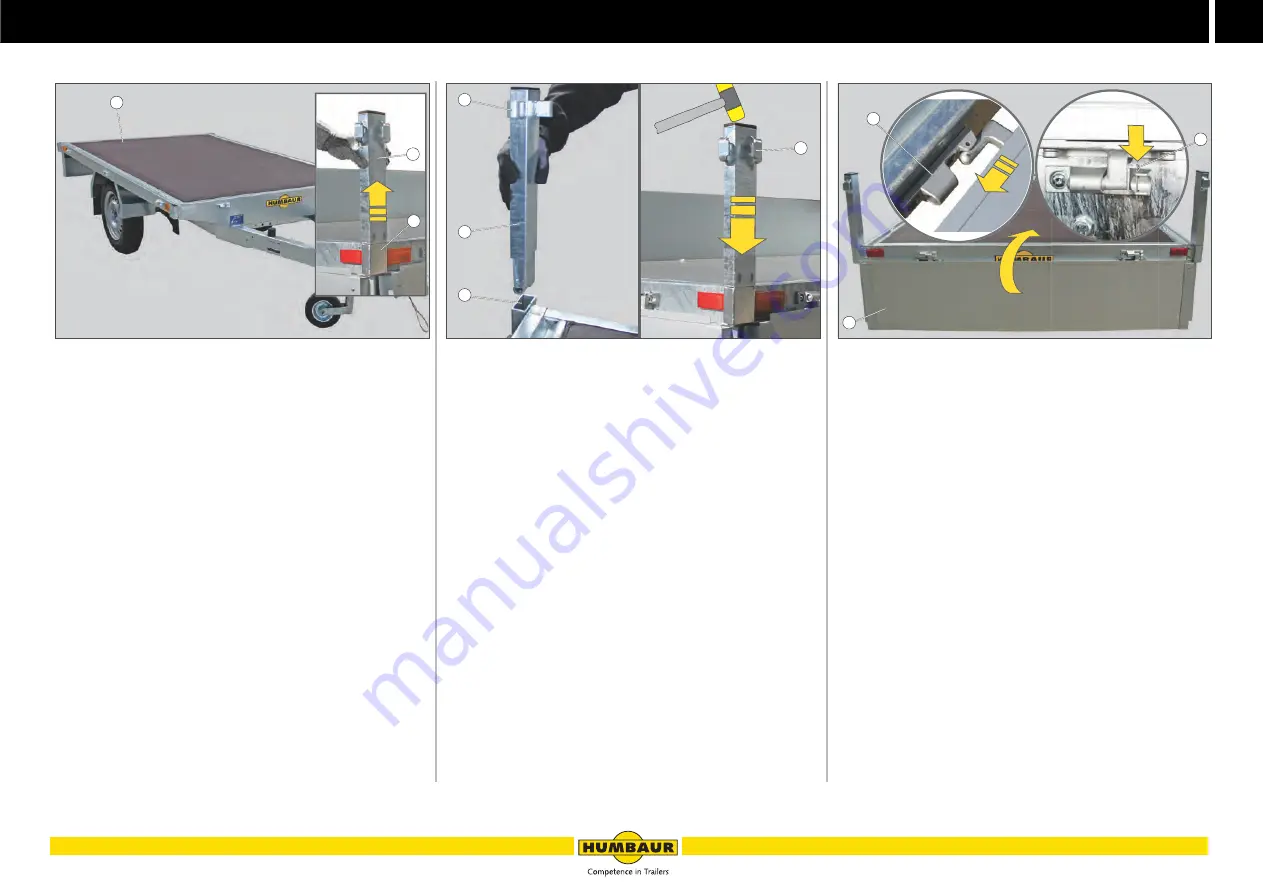
Fig. 14
Drop sides removed, stanchions removed
1
Flat-bed trailer
2
Stanchion
3
Stanchion pocket
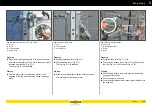
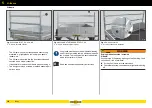
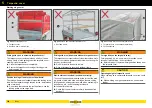
Removing stanchions
Pull the stanchions (Fig. 14 /2) out of the stanchion
pockets (Fig. 14 /3).
If the stanchions are stuck
Release them by carefully tapping the side with a soft-
head hammer.
Store the stanchions / drop sides safely to prevent
damage.
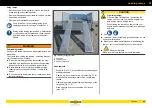
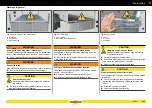
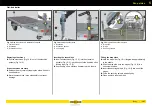
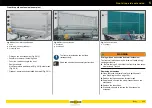
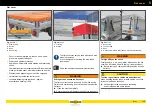
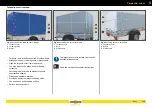
Fig. 15
Inserting the stanchions
1
Stanchion
2
Stanchion pocket
3
Locking lug
Inserting the stanchions
If necessary, use a soft-face hammer to drive them in.
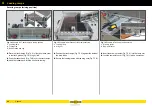
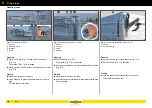
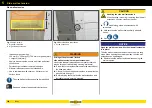
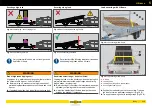
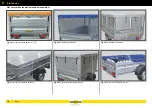
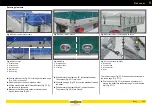
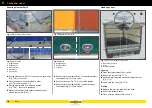
Fig. 16
Drop sides mounted / secured
1
Drop side
2
Hinge
3
Securing split pin
Fitting the drop sides
Hold the drop side (Fig. 16 /1) lengthwise approximately
in the middle.
Slide the drop side on to the hinges (Fig. 16 /2) in a
horizontal position.
Insert the securing split pin (Fig. 16 /3) into one of the
hinges.
Force the securing split pin apart slightly.
Close and lock the drop sides.
A - 013
1
2
3
A - 014
1
2
3
3
A - 016
1
3
2
Summary of Contents for 1000 Series
Page 1: ...GENERAL CAR Program PART 1 OPERATING MANUAL humbaur com 1000 8400 SERIES EN ...
Page 9: ...1 7 Safety ...
Page 21: ...2 19 General information ...
Page 31: ...3 29 Operation ...
Page 67: ...3 65 Operation Trailer safety ...
Page 75: ...4 73 Chassis ...
Page 103: ...5 101 Body ...
Page 134: ...Cover net 5 132 Body ...
Page 135: ...6 133 Electrical system ...
Page 145: ...7 143 Testing care and maintenance ...
Page 185: ...8 183 Troubleshooting guide ...
Page 194: ...Hydraulics 8 192 Troubleshooting guide ...
Page 195: ...9 193 Proof of inspection ...

