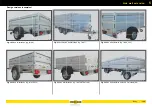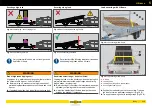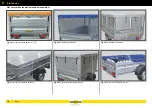
Side wall extension
5
110
Body
Fitting
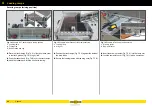
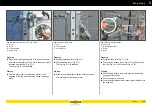
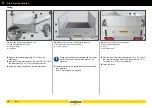
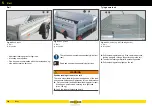
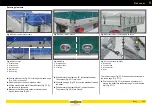
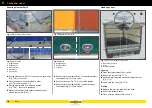
Fig. 25
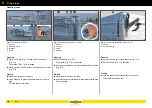
Fitting side wall extensions on side
1
Side wall extension to the side
2
Lamellar plugs
3
Stanchion
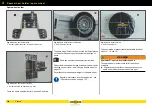
Remove the lamellar plugs (Fig. 25 /2) from the
stanchions.
Screw the side wall extension into the stanchions.
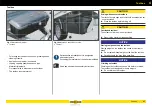
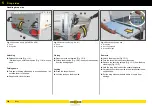
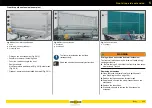
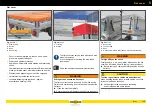
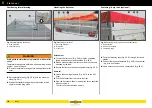
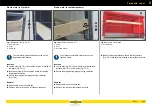
Fig. 26
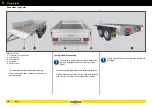
Rear drop side / side wall extension removed
1
Side wall extension on side (secured)
2
Front drop side
When transporting long materials, the front / rear
wall extension and the rear drop side can be
removed.
Comply with the safety regulations when transporting
long materials.
See “Projecting load” on page 39.
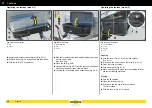
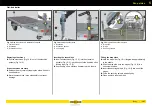
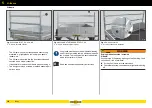
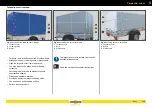
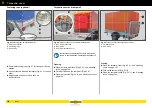
Fig. 27
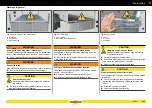
Fit rear / front side wall extension
1
Rear side wall extension
2
Lock
3
Rear drop side
Plug the rear / front side wall extension (Fig. 27 /1) onto
the secured rear drop side / base drop side (Fig. 27 /3).
The locks (Fig. 27 /2) point outwards.
Close the locks.
A - 090
A - 090
1
2
3
A - 092
1
A - 092
1
1
1
1
1
2
A - 092
1
2
3
Summary of Contents for 1000 Series
Page 1: ...GENERAL CAR Program PART 1 OPERATING MANUAL humbaur com 1000 8400 SERIES EN ...
Page 9: ...1 7 Safety ...
Page 21: ...2 19 General information ...
Page 31: ...3 29 Operation ...
Page 67: ...3 65 Operation Trailer safety ...
Page 75: ...4 73 Chassis ...
Page 103: ...5 101 Body ...
Page 134: ...Cover net 5 132 Body ...
Page 135: ...6 133 Electrical system ...
Page 145: ...7 143 Testing care and maintenance ...
Page 185: ...8 183 Troubleshooting guide ...
Page 194: ...Hydraulics 8 192 Troubleshooting guide ...
Page 195: ...9 193 Proof of inspection ...

