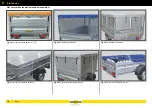
Tarpaulin cover
5
122
Body
Securing element Part 2
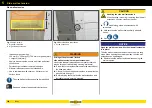
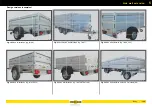
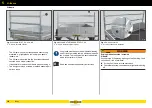
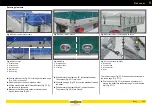
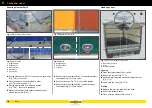
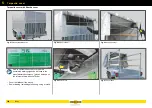
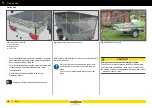
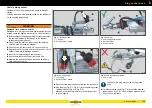
Fig. 73
Elastic cable corner version
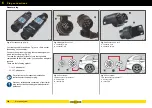
Fig. 74
Elastic cable
1
Elastic cable
2
Plastic hook
3
Round button
4
Metal hook
5
Round ring
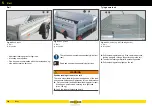
Pull the elastic cord (Fig. 74 /1) through the round rings
(Fig. 74 /5) in the cover.
Hook the ends of the hook into each other -
see “Flat cover” on page 115.
Pull the elastic cable over all round buttons
(Fig. 76 /3) - the cover is tensioned.
Make sure that the elastic cable is routed properly
around the corners (Fig. 73 ).
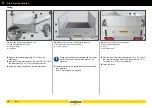
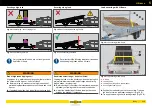
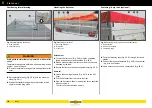
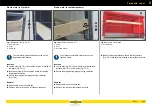
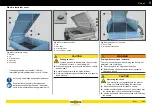
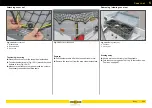
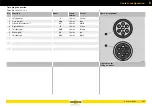
Fig. 75
Staples corner version
Fig. 76
Staples
1
Staples, open
2
Staple, closed
3
Flat ring
Pull and rotate the staples by 90° (horizontal position).
The staples (Fig. 76 /1) are open.
Push the flat rings (Fig. 76 /3) over all the staples.
Pull and rotate the staples by 90° (vertical position).
The staples (Fig. 76 /2) are closed.
Handling cover
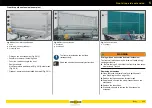
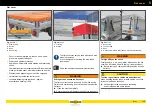
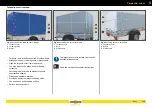
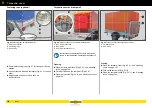
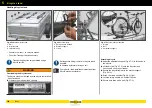
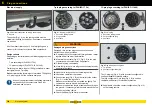
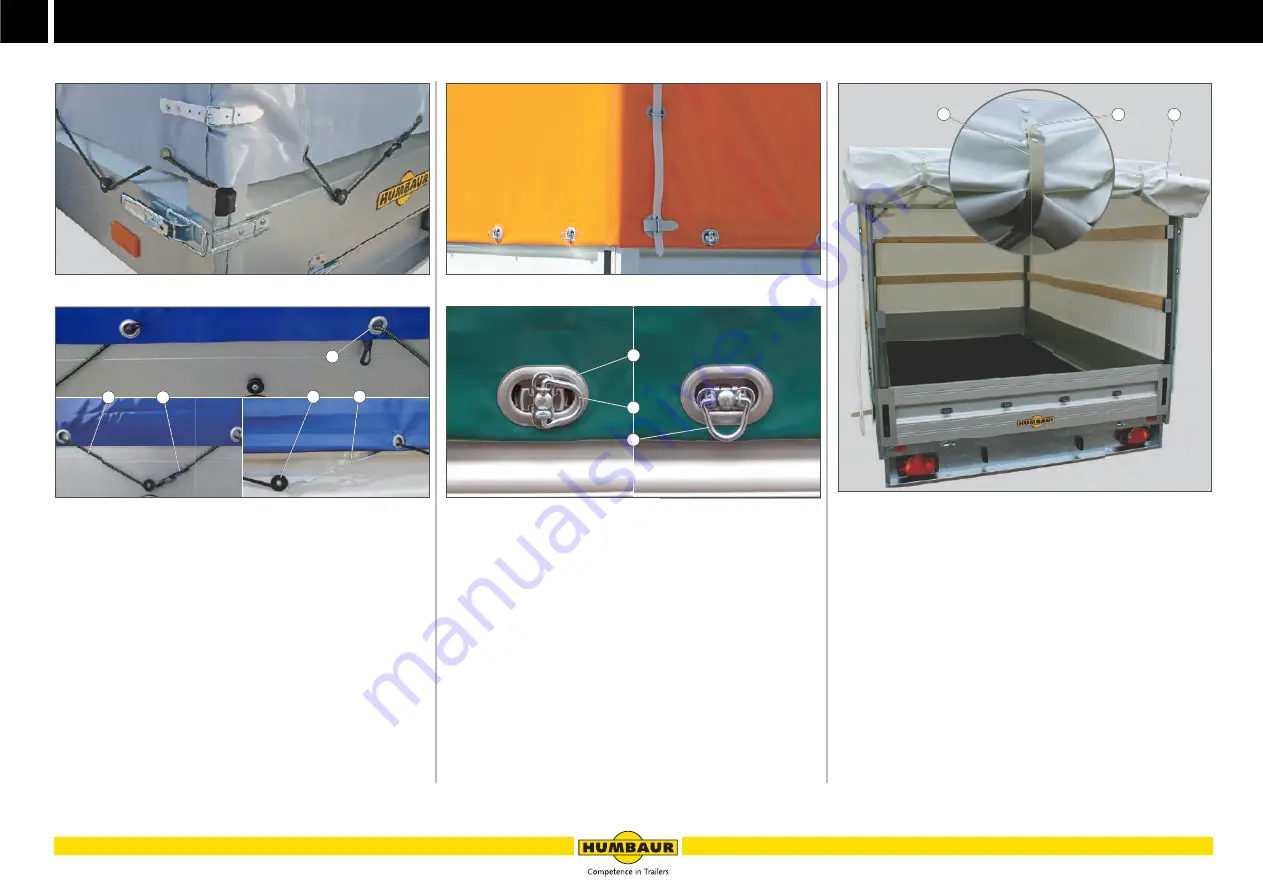
Fig. 77
Rear wall / tarpaulin cover open
1
Rear wall, rolled up
2
Hook
3
Retraining strap
Opening
Open securing elements Part 1 and 2.
Roll up the rear wall (Fig. 77 /1).
Wrap the retaining strap around the tarpaulin cover
(Fig. 77 /3).
Hook it into the hook (Fig. 77 /2).
Closing
Release the retaining strap from the hook.
Roll off the tarpaulin cover.
Close securing elements Part 1 and 2.
A - 065
A - 031
1
2
4
3
5
A - 066
A - 032
2
1
3
A - 069
A - 069
2
1
3
Summary of Contents for 1000 Series
Page 1: ...GENERAL CAR Program PART 1 OPERATING MANUAL humbaur com 1000 8400 SERIES EN ...
Page 9: ...1 7 Safety ...
Page 21: ...2 19 General information ...
Page 31: ...3 29 Operation ...
Page 67: ...3 65 Operation Trailer safety ...
Page 75: ...4 73 Chassis ...
Page 103: ...5 101 Body ...
Page 134: ...Cover net 5 132 Body ...
Page 135: ...6 133 Electrical system ...
Page 145: ...7 143 Testing care and maintenance ...
Page 185: ...8 183 Troubleshooting guide ...
Page 194: ...Hydraulics 8 192 Troubleshooting guide ...
Page 195: ...9 193 Proof of inspection ...

