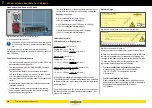
Lubrication
161
Testing, care and maintenance
7
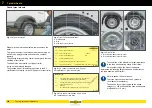
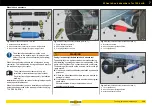
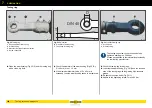
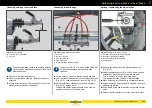
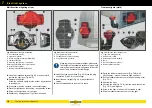
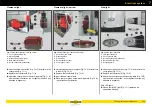
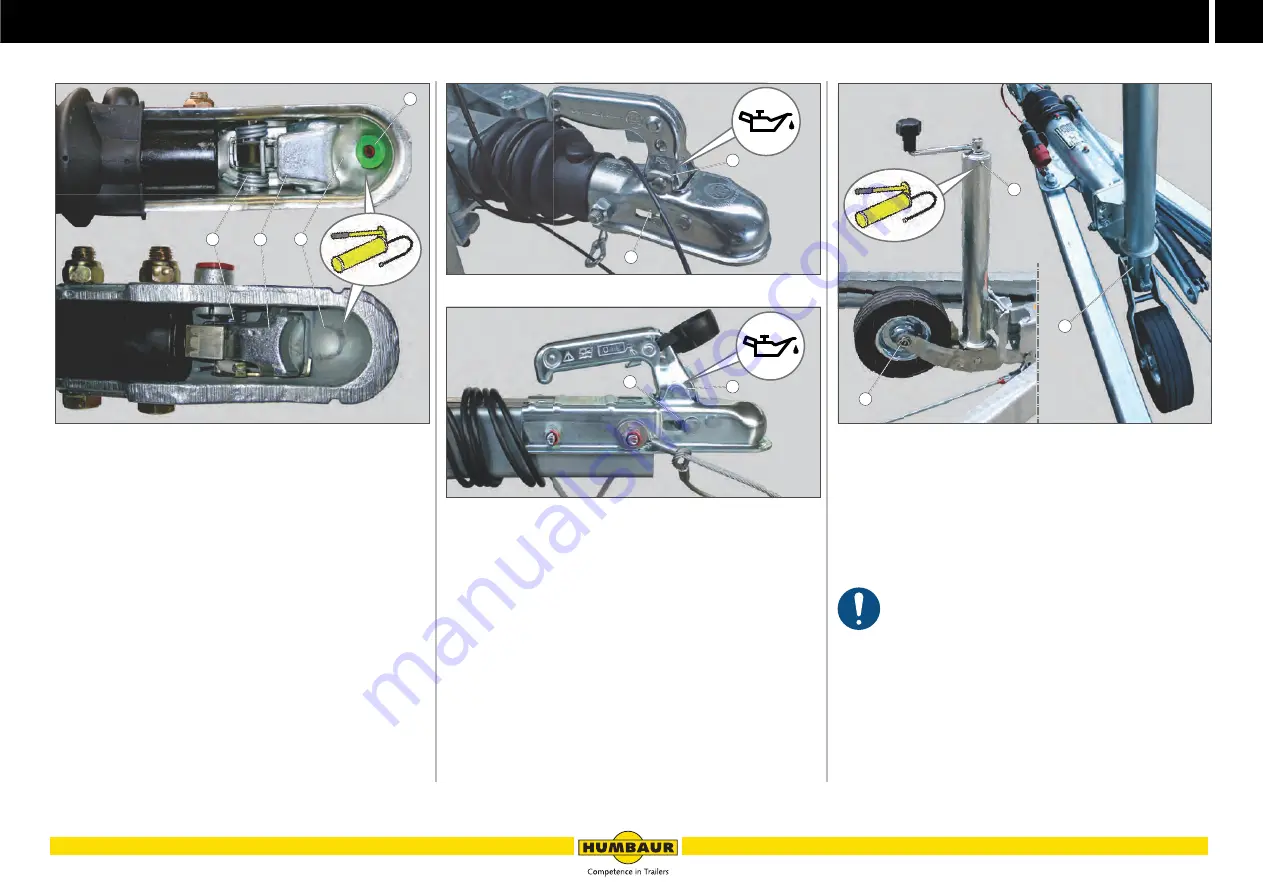
Ball coupling
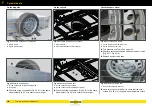
Fig. 42
Ball coupling: Bottom view
1
Safety indicator / mechanics
2
Spherical cap
3
Coupling cup
4
Spring mechanism
Clean the ball head coupling on the inside as well.
Check the spherical cap (Fig. 42 /2) and the coupling
shell (Fig. 42 /3) for wear.
If the ball head coupling shows significant signs of wear
or the spring mechanism (Fig. 42 /4) is malfunctioning,
have it replaced.
Apply multi-purpose grease onto the spherical cap /
coupling shell from below.
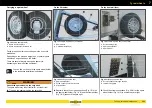
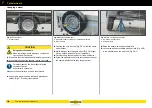
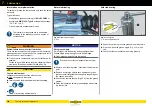
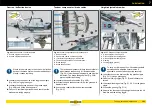
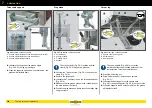
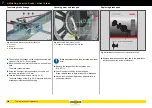
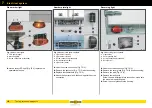
Fig. 43
braked: Top view
Fig. 44
unbraked: Side view
1
Oiling points
2
Lubrication / sliding points
Drip some standard machine oil onto the bearings and
joint areas (Fig. 43 /1 and Fig. 44 /1).
Grease the lubrication / sliding points (Fig. 43 /2 and
(Fig. 44 /2).
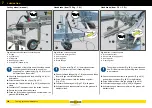
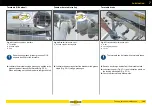
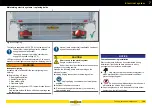
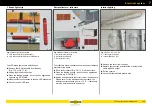
Automatic jockey wheel
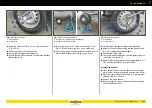
Fig. 45
Automatic jockey wheels: Lubrication points
1
Grease nipple
2
Sliding point
3
Bearing point / wheel
Lubrication of the jockey wheel should be carried
out while the trailer is coupled to a vehicle.
Check the bearing point and the wheel (Fig. 45 /3) for
deformation.
Lubricate the jockey wheel at the grease nipple
(Fig. 45 /1) using a grease gun.
Grease the sliding point (Fig. 45 /2).
Crank the jockey wheel up and down several times - the
grease will distribute itself.
W - 053
1
2
3
4
W - 054
1
2
W - 055
1
2
W - 056
1
2
3
Summary of Contents for 1000 Series
Page 1: ...GENERAL CAR Program PART 1 OPERATING MANUAL humbaur com 1000 8400 SERIES EN ...
Page 9: ...1 7 Safety ...
Page 21: ...2 19 General information ...
Page 31: ...3 29 Operation ...
Page 67: ...3 65 Operation Trailer safety ...
Page 75: ...4 73 Chassis ...
Page 103: ...5 101 Body ...
Page 134: ...Cover net 5 132 Body ...
Page 135: ...6 133 Electrical system ...
Page 145: ...7 143 Testing care and maintenance ...
Page 185: ...8 183 Troubleshooting guide ...
Page 194: ...Hydraulics 8 192 Troubleshooting guide ...
Page 195: ...9 193 Proof of inspection ...

