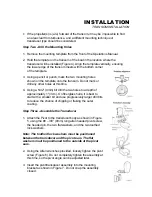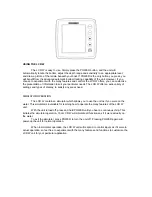
INSTALLING THE LCR W UNIT
Before mounting the LCR W unit, gather the parts you need: LCR W, mounting hardware
kit, power cable, and transducer cable.
Next, consider where to mount the LCR W. To choose the best location, consider the
following:
• Temporarily install the power and transducer connectors to the LCR W to ensure that the cables
reach the mounting area.
• The mounting area should allow at least 2" clearance around the back of the unit for connection,
air flow, and ease of installation.
• Any VHF radio you have may incur some degree of interference with the depth sounder.
Humminbird depthsounders are designed to minimize this interference; however it is best to route
the transducer cable and antenna cable as far away from each other as possible, for example, on
opposite sides of the boat.
After you have determined the best location for your LCR W, proceed with the following
instructions.
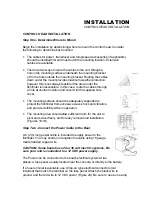
Drill a 3.5" hole to accommodate the LCR W unit. 3.5" hole saws are readily available at most
hardware stores. If you do not want to buy a saw for this purpose, tool rental stores or marine
dealers may be another source.
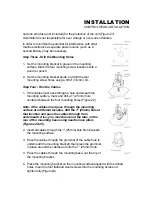
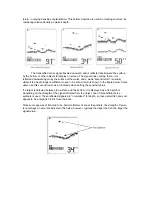
From the front of the console, place the unit into the 3.5" hole. Be sure that the unit's
orientation reads properly before continuing.
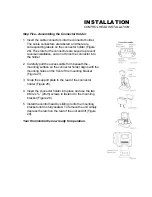
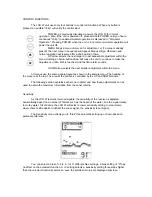
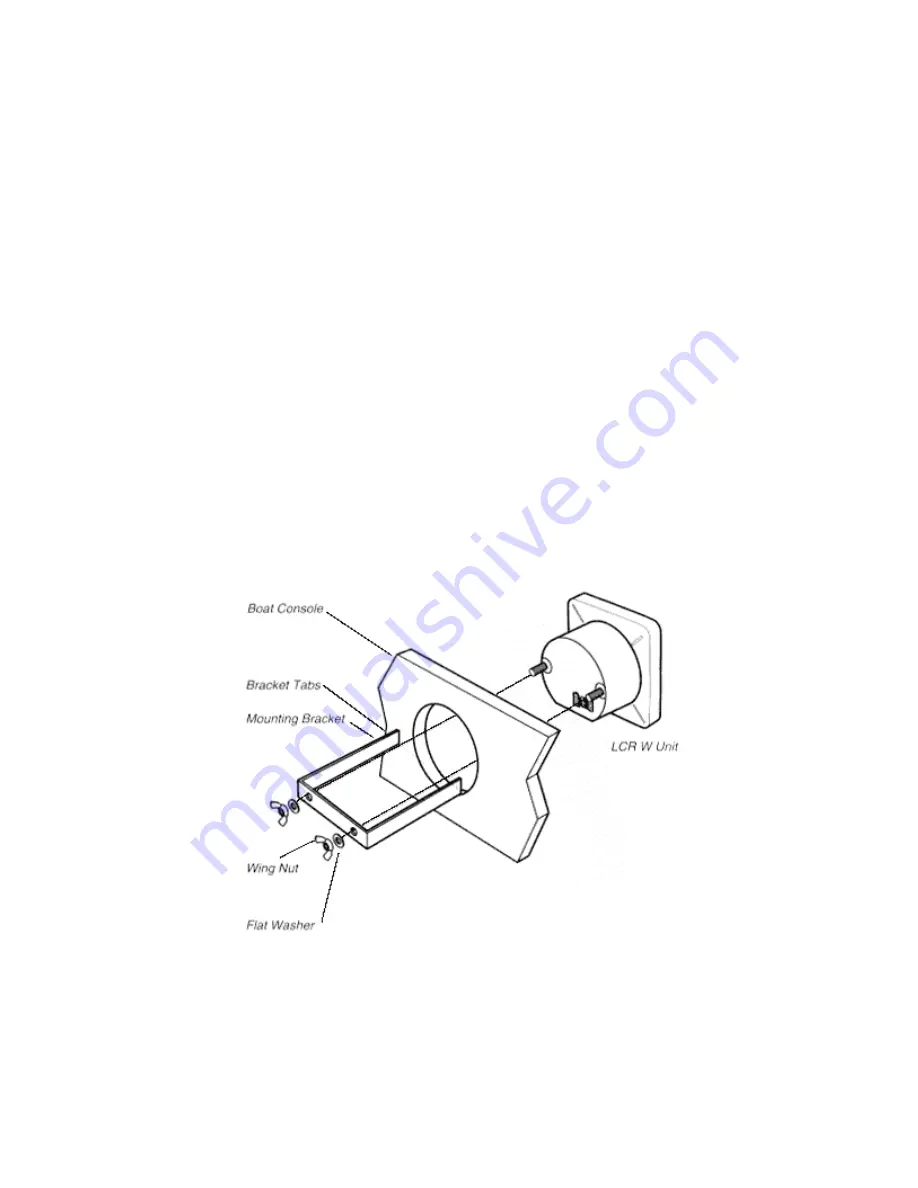
From behind the console, install the "U" bracket over the rear of the unit and align the
mounting holes in the bracket with the two bolts. Install the flat washer under the wing nut and
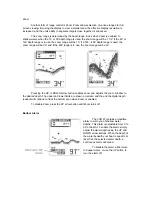
tighten. Due to the console or dash thickness the bracket may not fit onto the two bolts. If this
occurs, the bracket can be easily shortened to fit. Use pliers to bend and break

