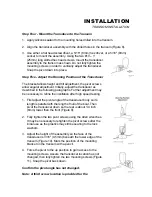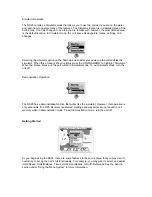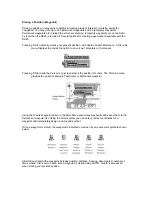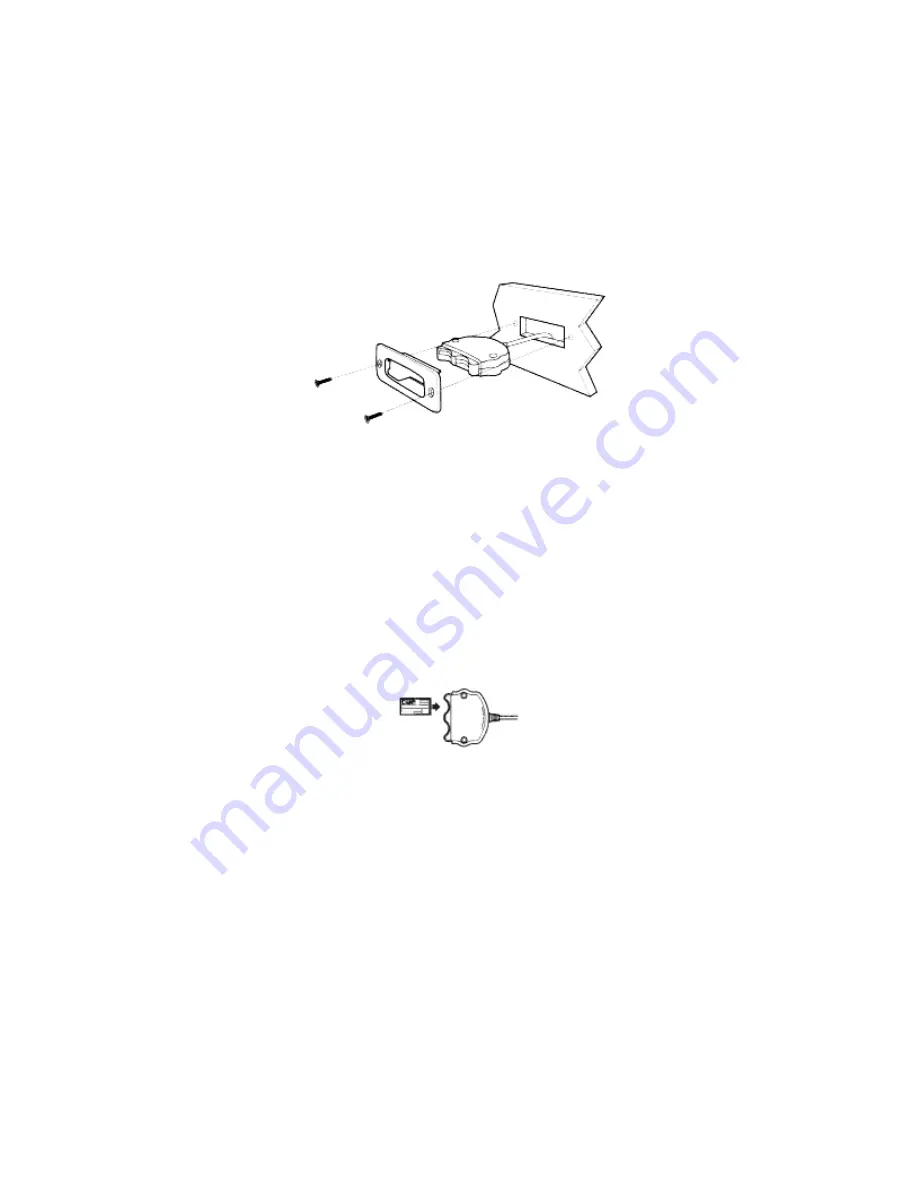
3. Use a 9/64” drill bit to drill holes at each end of the bezel template. At a location inside the
dotted line, drill a hole large enough to insert blade of reciprocating saw. Carefully begin
cutting up toward dotted line, then follow dotted line around template. Remove template when
finished.
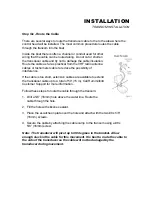
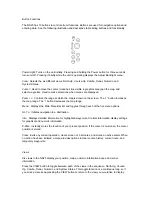
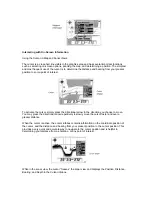
4. Insert card reader housing through back side of bezel until bezel snaps onto card reader
housing. Ensure larger tab of bezel is on top and the serial number on the card reader is
facing downward.
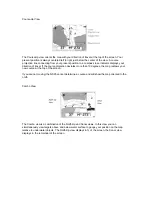
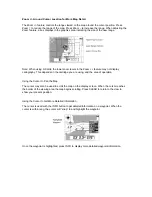
5. Mount card reader into hole from the front. Ensure larger tab of bezel is on top and serial
number on the card reader is facing downward.
Secure bezel/card reader to dash using two #8 x 5/8 screws. Feed cable up through cable
hole to the swivel mount location.
Working with C-Cards
Cartography stored on a C-Card provides detailed coverage for the area you are navigating.
Buoys, lighthouses, wrecks, beacons, etc., display in the map view. The card reader equipped
with the NS25 holds two C-Cards simultaneously and automatically detects which one to use
while you are navigating.
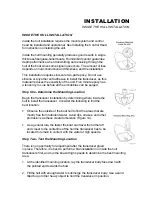
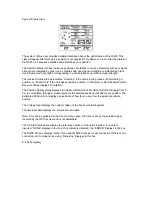
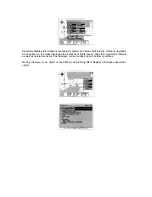
The NS25 cannot recognize a C-Card if it is not properly placed in the card reader. To place a C-
Card in your card reader, gently insert it face up with the gold plating facing downward. The C-
Card and the slots on the card reader are keyed for correct insertion. Press the C-Card all the
way in, then press it downward past the stops on each side of the slot. This will prevent the C-
Card from coming out while in use and is needed to complete the electrical connection of the C-
Card to the card reader.
Note: When using only one C-Card, it can be inserted in either slot.
NS25 Control Head Installation
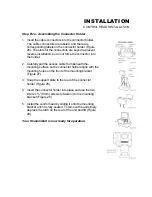
Before starting, consider where to mount the control head You can preassemble the unit to the
mounting bracket and try different locations on the boat. The cables for power, GPS receiver,
card reader and transducer should be installed first and must reach the mounting location.
Extension cables are available.


