37
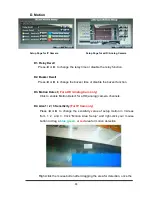
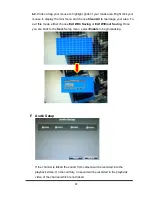
Then you may click on each grid or simply drag your mouse around the
video image where you want to set up the Motion area, or simply choose
Enable All
from the mini menu to deselect areas which you do not wish to
keep. After the set up, choose
Exit With Saving
or
Exit Without Saving
.
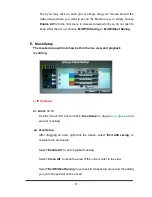
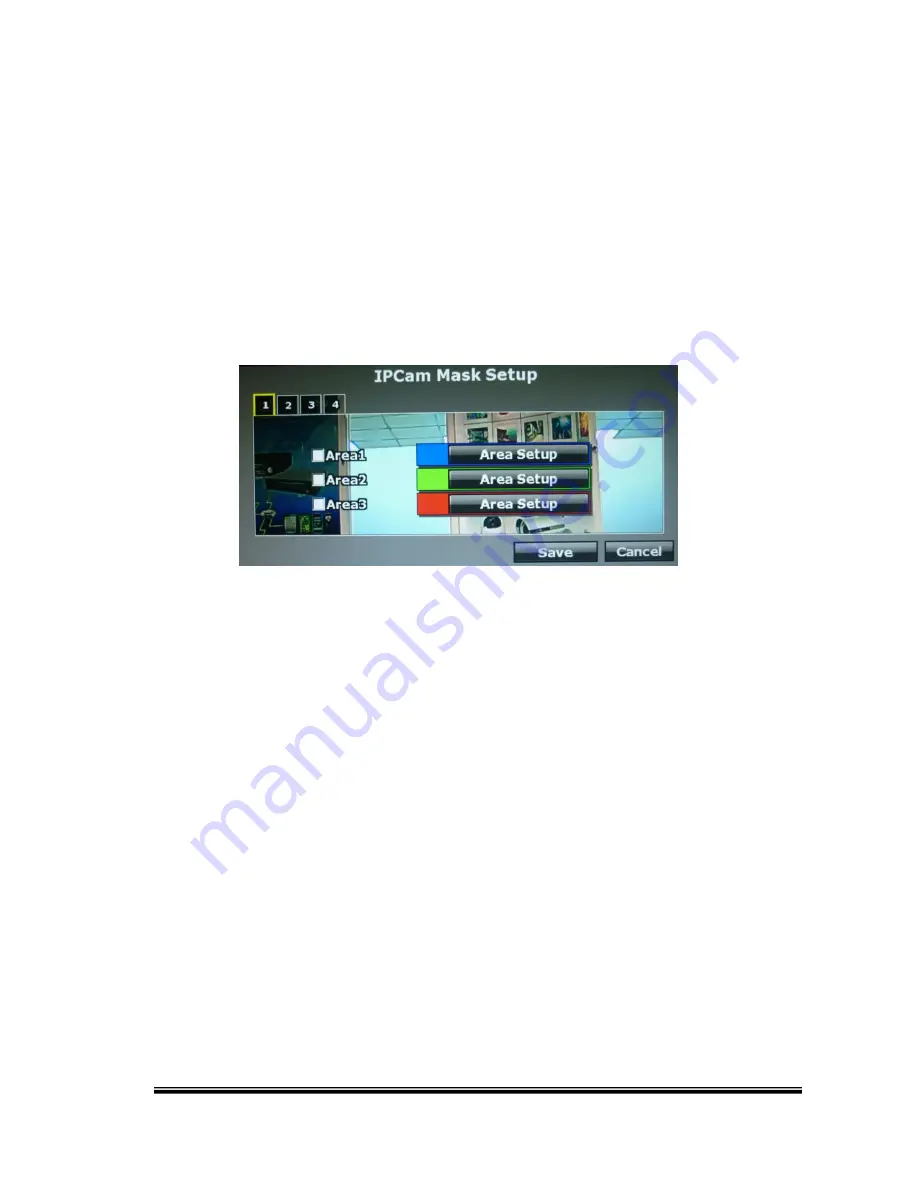
E. Mask Setup
The masked area will not show both in the live view and playback
recording.
a. IP Cameras:
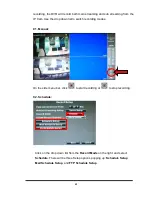
a1. Area1 / 2 / 3
Tick the “Area1/2/3” box and click “
Area Setup
” to drag a
blue
,
green
or
red
area for masking.
a2. Area Setup
After dragging an area, right-
click the mouse, select “
Exit with saving
” to
complete the area setup.
Select “
Enable All
” to set up global masking.
Select “
Clean All
” to clean the area of the current color in the view.
Select “
Exit Without Saving
” to go back to mask setup menu and the setting
you just changed will not be saved.
Summary of Contents for 9 CH Hybrid DVR
Page 1: ...USER MANUAL 4 CHANNELS ANALOG HIGH DEFINITION HYBRID DIGITAL VIDEO RECORDER...
Page 18: ...18 E USER SETUP F DISK MANAGEMENT G SYSTEM SETUP H EXIT...
Page 26: ...26 a IP Cam Setup Caution ONLY channel 1 2 supports IP Cam operations a 1 IP Cam Quick Search...
Page 78: ...78 D ZOOM Tick the Zoom box and drag an area on the screen then click the area to zoom in...


