14
14
INSTALLATION
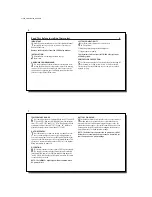
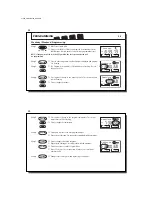
Mount Wallplate and Thermostat
■
Remove the wallplate from your thermostat by pressing the
release tab on the bottom of the thermostat. (See Figure 2.)
■
Position wallplate on wall and pull existing wires through
large opening. Then level for appearance. Mark holes for plas-
tic anchors provided if your existing holes do not line up with
those on the Hunter wallplate.
■
Drill holes with 3/16" bit and gently tap anchors into the
holes until flush with wall.
■
Reposition wallplate to wall, pulling wires through large
opening. Insert mounting screws provided into wall anchor
and tighten. (See Figure 3.)
Figure 2
Figure 3
O
C
F
G
W2
Y1
R
41652_model44760_web.pmd
15
15
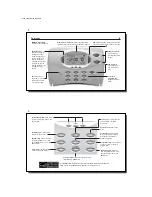
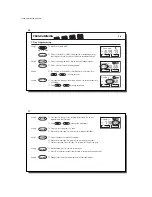
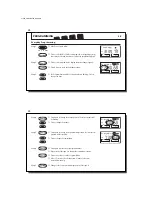
Connect Wires and Mount Thermostat to Wallplate
■
Straighten bare end of each wire and cut or strip it to 1/4”
maximum. Insert each labeled wire into the bottom of the
maching terminal. Refer to figures 4 and 5.
■
Hold the wires in each terminal and tighten the terminal
screws securely, otherwise a loose wire could cause opera-
tional problems with your system or thermostat.
■
Push excess wire back into hole to prevent interference with
mounting of the thermostat.
■
Make sure the Power Switch is set to OFF.
■
Insert two AAA size alkaline batteries, observing the polarity
marked on the unit.
■
Insert the upper tabs on the thermostat body into the slot at
the top of the wallplate. Press bottom of the thermostat body
to snap it into the wallplate.
(NOTE:
Do not force the ther-
mostat onto the wallplate, as the terminal pins may be
damaged. If it does not snap properly, the thermostat
may not work.)
■
Switch on the main power at the panel or furnace.
Figure 4
Figure 5
R
Y1
Insert
R
G C L O W2 B E R Y1
G C L O W2 B E R Y1
G C L O W2 B E R Y1


