background image

2

1886

1886

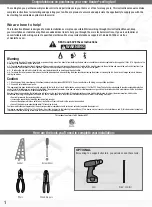
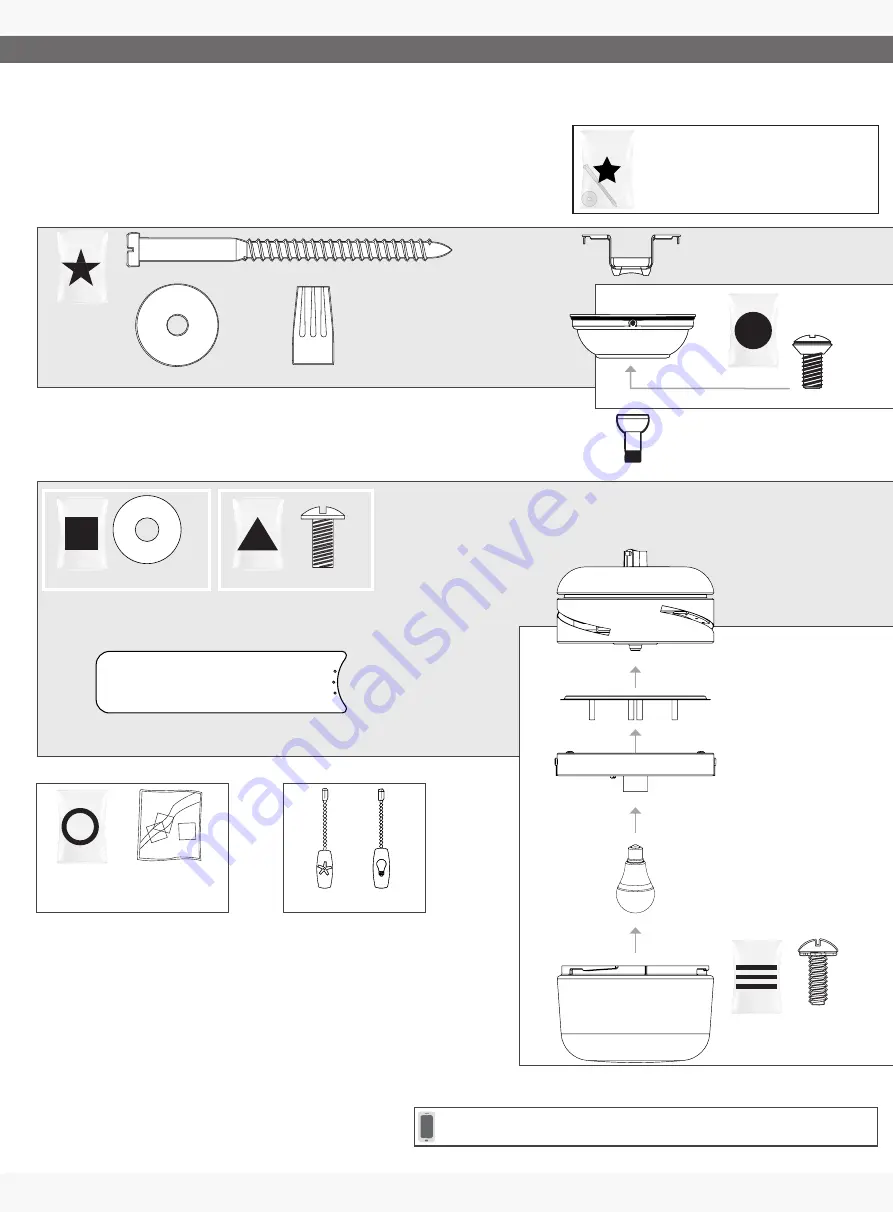
Do not discard the hardware bags or mix parts from 
different bags. Make note of the symbol printed on 
each hardware bag. The symbols can be used to 
identify the appropriate hardware for each step.

We recommend that you pull everything out of the box and lay it out. We have 
grouped the drawn components below with the hardware you’ll need for those 
parts. The screws below are drawn to scale to make it easier to identify what 
piece of hardware is needed to install each component.

x4

x2

x2

x2

For installing the hanger bracket and wiring the fan

For installing the canopy

Canopy

Canopy Screw

Ceiling Bracket

Wood Screw

Wire Nut

Washer

bag

Hunter Pro Tip:

Find a part that is missing or damaged?

Don’t take it back to the store. Let us make it right. Visit us at HunterFan.com or call us at 

1.888.830.1326.

Here is what comes in your box:

bag

x9

x9

For installing the blades

For installing the light kit

Glass

Upper Switch Housing

Motor

Light Kit

Blade Screw

Blade Washer

bag

bag

Spare Parts

For your convenience,  

you may receive extra fasteners.

bag

x7

Fixture Screw

bag

Downrod

M3681-01 r012519

x3

Blade

Pullchains

x1

Bulb

Summary of Contents for Acumen 59409

Page 1: ...Installation Manual 2019 Hunter Fan Co Acumen Model 59409 Fresh White 59410 Matte Black 59411 Matte Nickel Fan weight 2 lbs 15 6 lbs 7 1 kg PG3609 r012519...

Page 2: ...wall control switch w 4 To reduce the risk of personal injury do not bend the blade brackets when installing the blade brackets balancing the blades or cleaning the fan Do not insert foreign objects i...

Page 3: ...install each component x4 x2 x2 x2 For installing the hanger bracket and wiring the fan For installing the canopy Canopy Canopy Screw Ceiling Bracket Wood Screw Wire Nut Washer bag Hunter Pro Tip Fin...

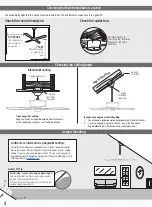
Page 4: ...ort Structure Ceiling Outlet Box required Angled Mounting If you have a flat ceiling Hang your fan by a standard downrod Some fans come with a shorter downrod for a Low Profile installation Support St...

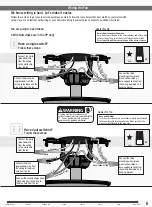
Page 5: ...d Hunter ceiling bracket that came in your fan s box Installing the Downrod Follow below if you are using the downrod that came pre assembled in your box Need to install a longer or shorter downrod Ch...

Page 6: ...i d e c a n o p y o v e r d o wnrod and wires Place the downrod ball into the slot in the ceiling bracket NOTICE To prevent damage to fan ALWAYS lift holding either the fan housing or the downrod Cei...

Page 7: ...e of the wires are loose Connect the white grounded wire from the ceiling to the white wire from the fan Connect the white grounded wire from the ceiling to the white wire from the fan Connect the sec...

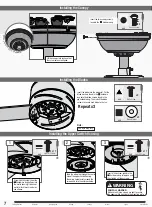
Page 8: ...secure each blade to the fan Screw light kit screws from the hardware bag halfway into the motor housing It does not matter which two screw holes you choose Feed the wire plug through the center hole...

Page 9: ...rdware bag into the posts as shown leaving the circled post empty Empty Post Keyhole Slot Connect the plugs from the upper and lower switch housings Make sure to line up the colored markings on the co...

Page 10: ...he opposite position Restart the fan Updraft clockwise rotation creates a more indirect airflow Updraft airflow is great for moving warm air downward Downdraft counterclockwise rotation creates a dire...

Page 11: ...a replacement part free of charge Light Kits Warranty May Vary Light kits are included in the one year limited warranty However you may qualify for additional warranty coverage if your fan includes on...

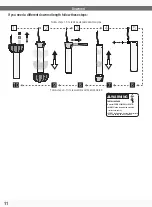
Page 12: ...remove standard downrod pipe Follow steps 6 10 to reassemble with new downrod 1 2 3 4 5 6 7 8 9 10 WARNING FAN FALL HAZARD To prevent SERIOUS INJURY or DEATH ALWAYS follow the downrod assembly instru...

Reviews: