46
2. Use the slider to scroll down on the balancer set up screen until “Enter Shop Name” is shown.
3. Highlight “Enter Shop Name” and then press “Set Up Selected Item” on the right.
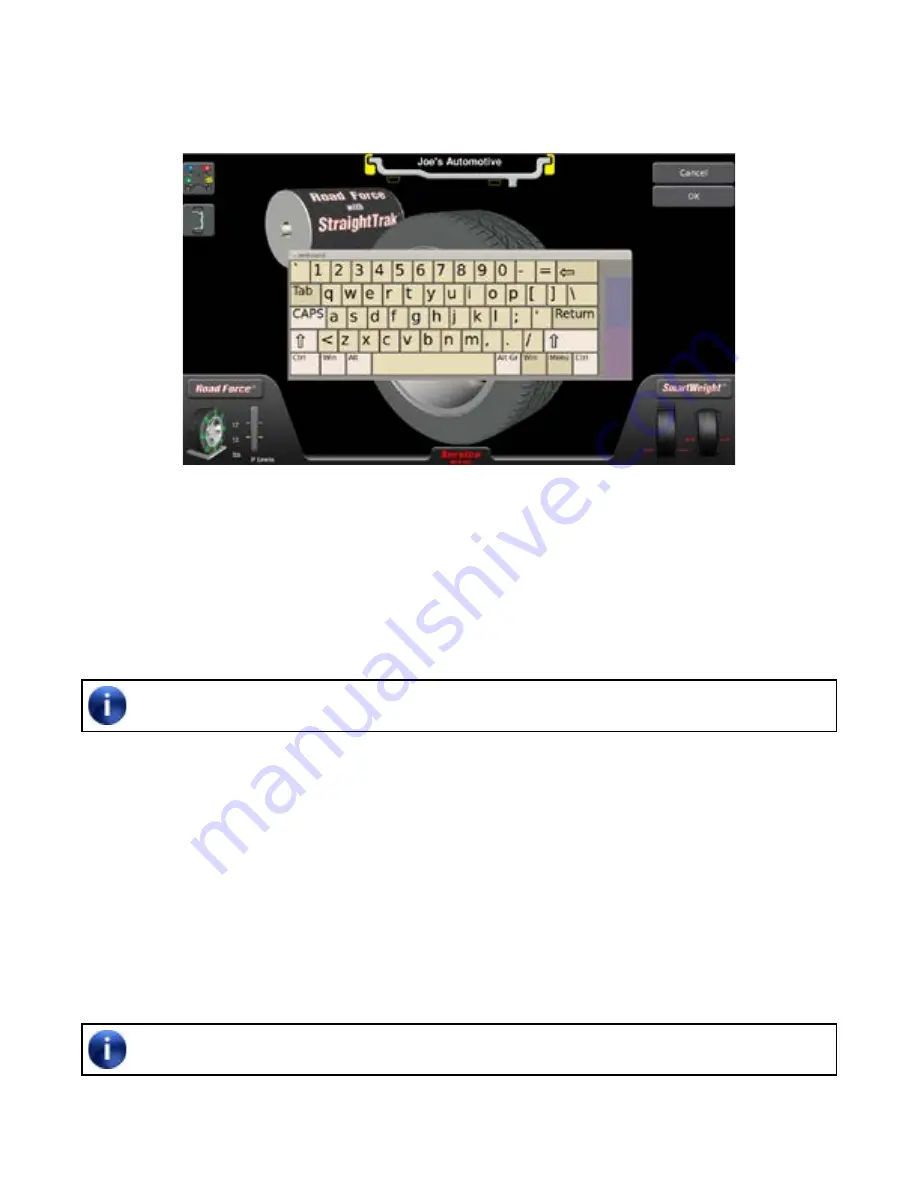
4. Type in the desired shop name either with the on-screen keyboard.
Figure 80
5. After name is typed in, press “OK” on the right and exit service mode.
CALIBRATION
The “Calibration Procedures” primary screen contains a list box of calibration procedures. The procedures are
individually highlighted by selecting the equipment components to be calibrated for each procedure.
Throughout the calibration procedures, “Back Up” can be selected to return to the previous step.
Assure that all calibration procedures listed are completed including lateral force.
1. To enter service mode, first press “Tools”
2. Press the “More” button and then “Enter service mode”.
3. Enter the standard service password when prompted and then press “Enter”.
4. Select “Tools” from the Balance primary screen.
5. Select “Calibration Procedures”, then select a procedure.
6. Follow the on-screen calibration instructions for each of the procedures. Select “More” for the rest of the
procedures.
7. When finished calibrating, select “Exit.”
To exit service either press the Service Mode logo at the bottom of the screen or select Utility/More/
Leave Service Mode.


