23
4.
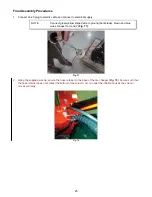
Tighten the top screws
(Fig. 70)
. Install and tighten the bottom screws
(Fig. 71)
.
Fig. 70 Fig. 71
5.
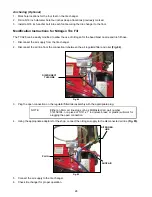
Position the bead blast nozzle holder onto the top of the inflator gauge assembly. Secure the inflator gauge /
bead blast nozzle holder assembly to the side of the storage shelf using two screws as shown
(Fig. 72)
.
TOP SCREW
BOTTOM
SCREW
BEAD BLAST
NOZZLE
HOLDER
INFLATOR
GAUGE
Fig. 72
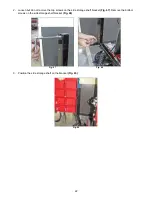
6.
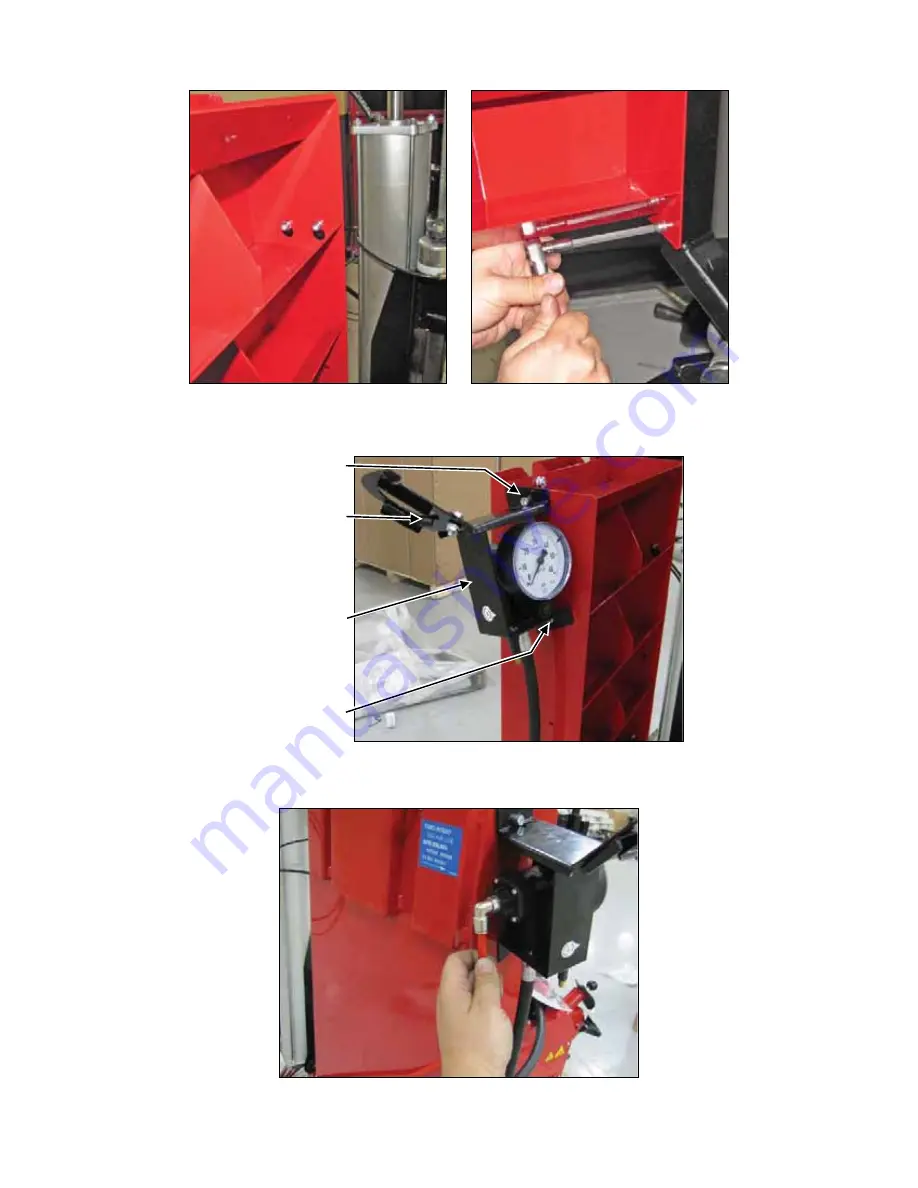
Place the bead blast nozzle in holder. Connect red air line to the inflator gauge
(Fig. 73)
.
Fig. 73


