46
(1*/,6+,QVWUXFWLRQVPDQXDO
7&;
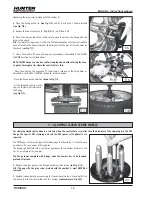
3- Move all the tools to the rest position, leaving enough room for the wheel to be positioned on the chuck correctly.
4- Place the wheel on the chuck by hand, or use the wheel lift if installed, proceeding as follows:
- place the wheel vertical on the lift platform, with the outside of the tyre facing to the left.
- operate the lift pedal to move the platform to the height of the chuck.
- tilt the wheel forward until it is lying horizontal on the chuck.
- lower the wheel lift.
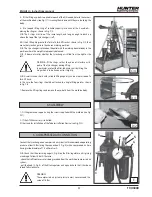
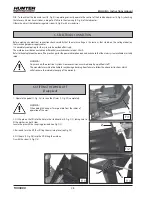
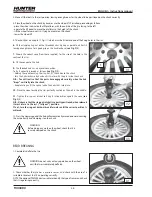
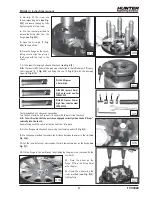
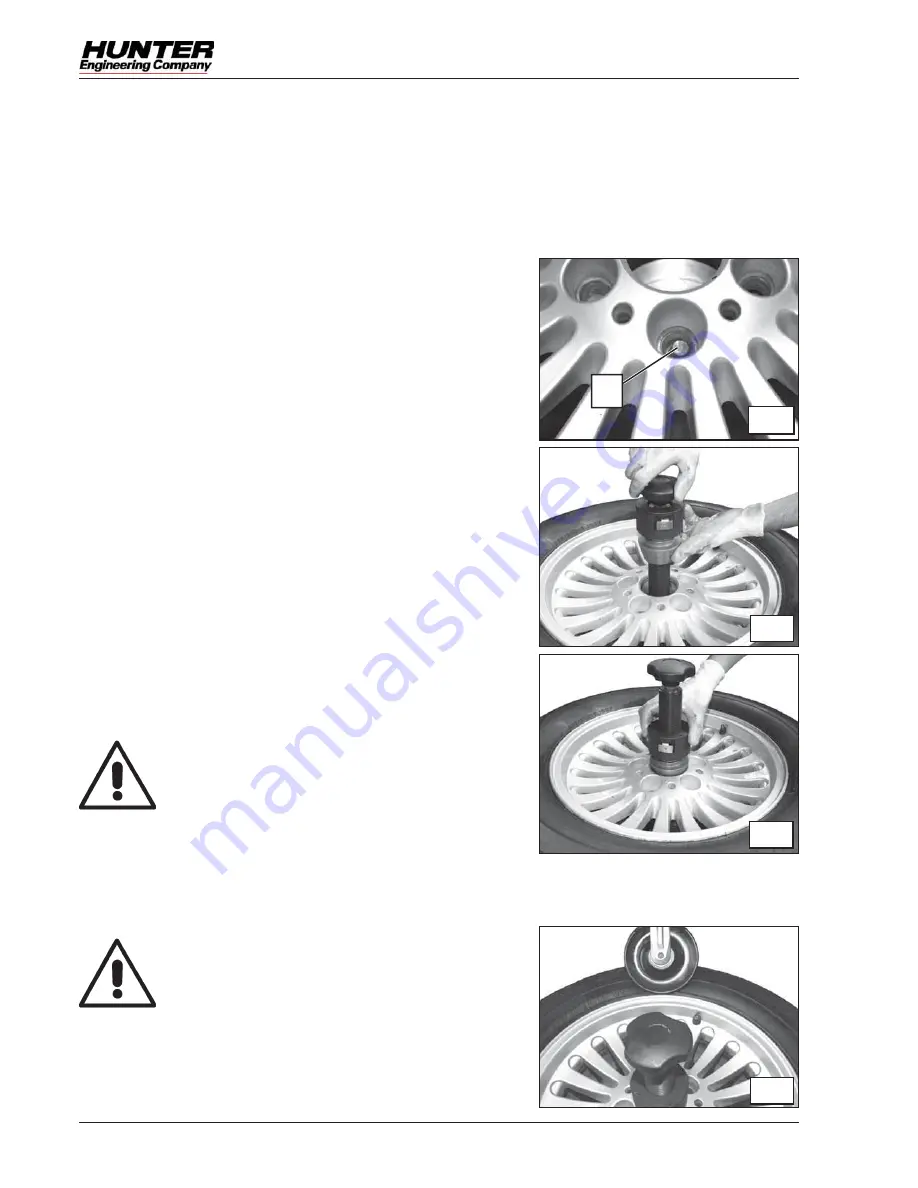
5- The chuck has a drive pin (1, Fig. I/1) which must be fitted into one of the fixing holes in the rim.
6-
Fit the clamping ring-nut on the threaded hub as high up as possible, while still
leaving enough space for a good grip on the handle above (
see Fig. I/2
).
7
- Choose the correct cone (from those supplied) for the size of the hole in the
centre of the rim.
8-
Fit the cone onto the hub.
9-
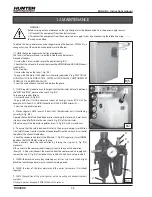
The threaded hub has a bayonet connection.
To fix it correctly, proceed as follows (
see Fig. I/2
):
- holding the cone touching the ring-nut, fit the hub onto the chuck
- turn the hub clockwise by hand until it mates with the pin inside the chuck
N.B.: You will realise that the parts have engaged correctly when the hub
“drops” vertically into the chuck.
- Keep rotating until the spring inside the hub clicks into place.
10
- Place the cone touching the rim, perfectly centred on the well in the middle.
11
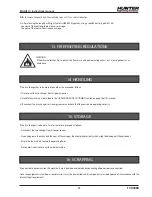
- Tighten the ring-nut ratchet to bring it into position against the cone (
see
Fig. I/3
).
N.B.: Make sure that the ring-nut ratchet is correctly positioned; when released
it must return to the rest (“fully out”) position.
If not, turn the ring-nut backwards and forwards until the correct position is
achieved.
12- Press the clamping pedal: the hub will automatically move downward, centring
the rim perfectly and clamping it on the chuck.
WARNING!
Before doing any work on the wheel, check that it is
securely clamped on the chuck.
BEAD BREAKING
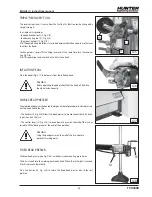
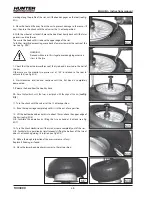
1- Completely deflate the tyre.
WARNING: do not carry out any operation on the wheel
until the tyre is completely deflated.
2- Check whether the tyre has a pressure sensor, and check with the aid of a
suitable instrument that it is operating correctly.
NOTE: The optional TPM300 device is able to identify the type of sensor and check
that it is operating correctly.
L/1
I/1
1
I/2
I/3
Summary of Contents for TCX3000
Page 32: ...32 7 12 0DQXDOH G XVR 7 ...
Page 62: ...62 1 6 QVWUXFWLRQV PDQXDO 7 ...
Page 92: ...92 5 1d 6 0DQXHO G LQVWUXFWLRQV 7 ...
Page 122: ...122 876 HWULHEVDQOHLWXQJ 7 ...

