Installation Overview
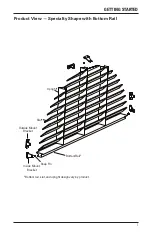
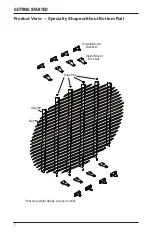
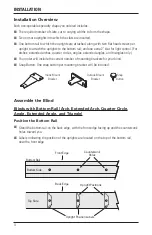
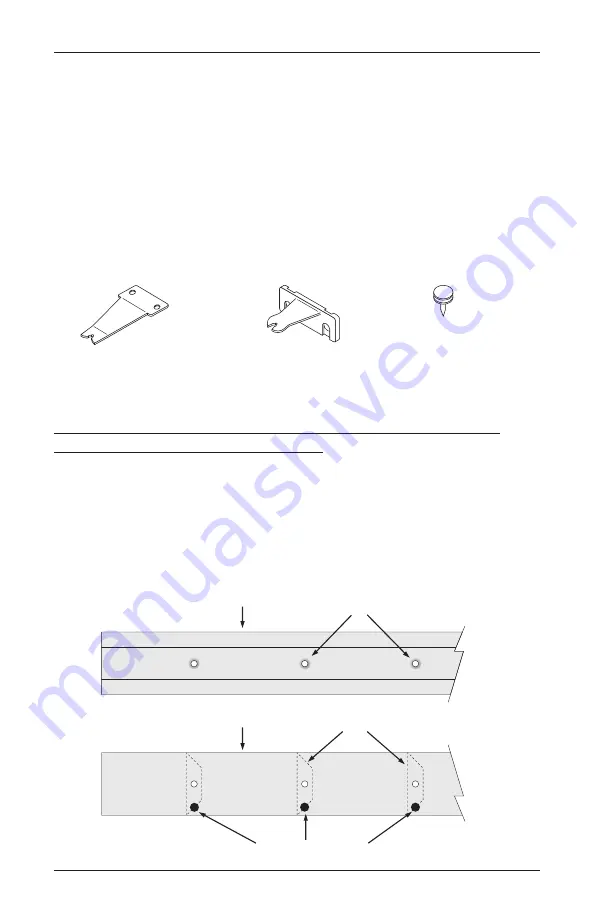
Each non-operable specialty shape you ordered includes:
■
■
The required number of slats, cut to varying widths to form the shape.
■
■
Two or more uprights into which the slats are inserted.
■
■
One bottom rail to which the uprights are attached, along with two flat head screws per
upright to attach the uprights to the bottom rail; and one extra 2" slat for light control. (For
arches, extended arches, quarter circles, angles, extended angles, and triangles only.)
■
■
Your order will include the correct number of mounting brackets for your blind.
■
■
Snap Button: One snap button per mounting bracket will be included.
Assemble the Blind
Blinds with Bottom Rail (Arch, Extended Arch, Quarter Circle,
Angle, Extended Angle, and Triangle)
Position the Bottom Rail
■
■
Stand the bottom rail on the back edge, with the front edge facing up and the countersunk
holes toward you.
■
■
Labels indicating the position of the uprights are located on the top of the bottom rail,
near the front edge.
Bottom Rail
(Arches, Extended Arches, Quarter Circles, Angles, Extended Angles, Triangles only)
Inside Mount
Bracket
Outside Mount
Bracket
Snap
Button
Upright
Slats
B
C
A
Countersunk
Holes
Upright Position Labels
Upright Positions
Bottom Rail
Bottom Side
Top Side
Front Edge
Back Edge
INSTALLATION
4
Summary of Contents for Alternative Wood Blinds
Page 15: ......


