OPERATION
22
Adjusting the Bottom Limit
■
Use the remote to lower the shade to the fully closed position.
■
Deselect all group numbers on the remote.
■
Press and hold the programming button on the shade and press and release
▼
CLOSE on
the remote within 4 seconds.
■
The shade will jog to confirm upper limit has been cleared.
■
Use the remote to position the shade at the bottom where you would like the new lower
limit to be. The shade will move in short increments to help for precise adjustment.
■
Press and hold
■
STOP on the remote until the indicator lights blink (approximately 6
seconds). The remote is now in programming mode.
NOTE:
Make sure a group number is not highlighted
■
Press and hold the programming button on the shade and press and release
▼
CLOSE on
the remote within 4 seconds.
■
The shade will move slightly to confirming the upper limit is set.
■
Press and hold
■
STOP until the lights stop flashing on the remote.
■
The shade should run at normal speed after the limit has been set.
■
Use the remote to raise the shade a few inches and lower the shade to check the position
of the new limit.
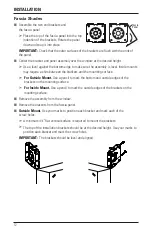
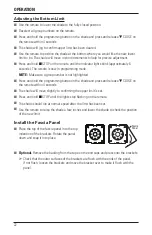
Install the Fascia Panel
■
Place the top of the fascia panel into the top
indention of the brackets. Rotate the panel
down and snap it into place.
■
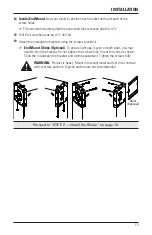
Optional.
Remove the backing from the tape on the end caps and press onto the brackets.
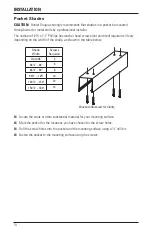
➤
Check that the outer surfaces of the brackets are flush with the ends of the panel.
If not flush, loosen the brackets and move the bracket over to make it flush with the
panel.
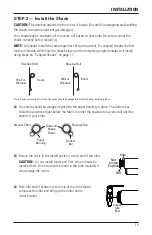
Fascia
Panel
Summary of Contents for Designer Roller
Page 31: ......

