INSTALLATION
13
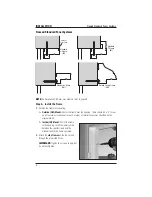
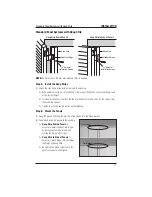
Unframed Standard Panel Systems
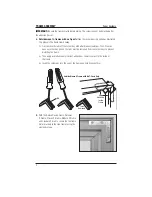
Unframed inside-mounted shutters may be installed flush with the opening or projected out from
the opening using extended leaf hinges, which are
5
/
8
" wider.
NOTE:
If a Decorative Sill Cover was ordered, refer to page 39.
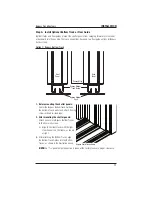
Step A. Install the Bottom Leaf of the Top Hinge
1.
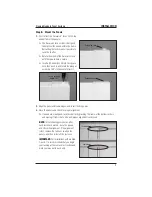
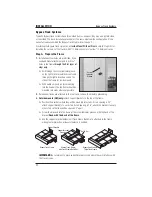
Position the left panel in the opening so that it has equal clearance at the top and bottom.
Mark where the bottom of the top hinge is located.
2.
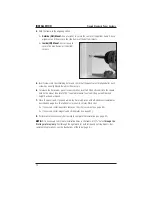
Align the top of the bottom leaf with the mark and attach it using
one
screw.
3.
To check for accurate placement, install the panel by its top hinge, inserting a hinge pin to
hold the panel in place. Adjust placement of the hinge, if necessary.
➤
If placement is accurate, remove the panel and install the second screw into the bottom
leaf of the top hinge.
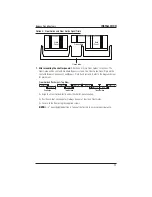
Step B. Install the Bottom Leaf of the Bottom Hinge
1.
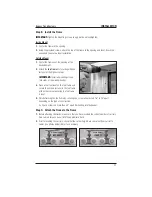
With the panel placed in the top hinge, mark where the bottom of the bottom panel hinge is
located.
2.
Align the top of the bottom leaf of the hinge with the mark and attach it using
one
screw.
3.
To check for accurate placement, install the panel into the two hinges. Adjust placement of
the bottom hinge, if necessary.
➤
If placement is accurate, install the second screw into the bottom hinge.
4.
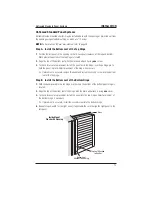
Repeat steps A and B for the right panel, if applicable. Be sure to align the right panel to the
left panel.
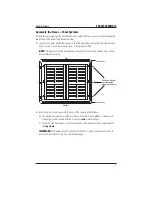
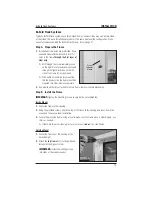
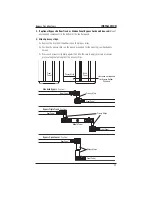
Unframed Standard Panel Systems
Inside Mount
Flush with Opening
Bottom Leaf
Attaches to Opening
Top Leaf Attached
to Shutter
Glass

