INSTALLATION
15
Bi-Fold Track Systems
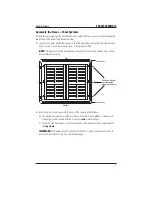
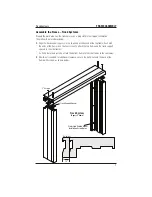
Typically, Bi-Fold track systems have three-sided frames; however, they may also be two-sided
or four-sided. The basic installation procedure is the same whatever the configuration. (If you
haven’t already assembled the Bi-Fold Track Frame, refer to page 7.)
Step A. Prepare the Frame
1.
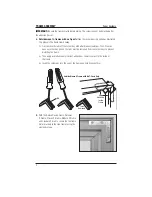
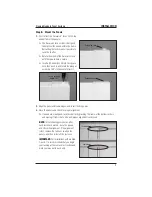
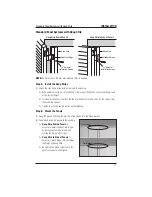
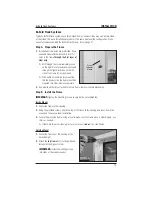
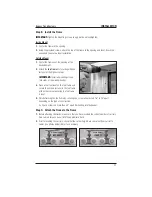
Installation screw holes are pre-drilled. If you
need additional attachment points, drill
3
/
8
"
holes in the frame
through the first layer of
vinyl only
.
➤
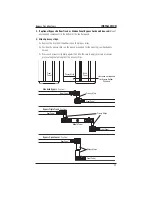
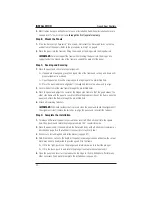
Drill through the screw indicator groove
on the light block for outside mounts and
through the light block channel on the
side of the frame for inside mounts.
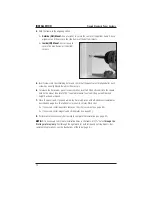
➤
With outside mounts (unless mounting
into the header), the top frame should be
mounted into studs wherever possible.
2.
If an aluminum track is attached to the top frame, remove it before proceeding.
Step B. Install the Frame
IMPORTANT:
Tighten the mounting screws snugly, but do not overtighten.
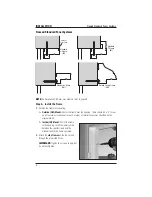
Inside Mount
1.
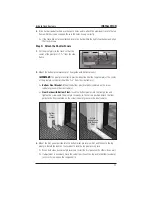
Center the frame in the opening.
2.
Using the provided screws, attach the top of the frame to the opening and level. Use shims
as needed to ensure a level installation.
3.
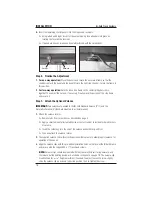
Secure the pivot side frame, using a level to make sure the frame piece is plumb. Again, use
shims as needed.
➤
If there are two pivot sides (split stack), secure only
one
of the side frames.
Outside Mount
1.
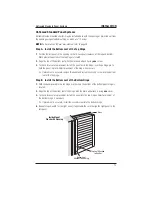
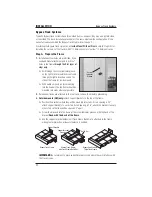
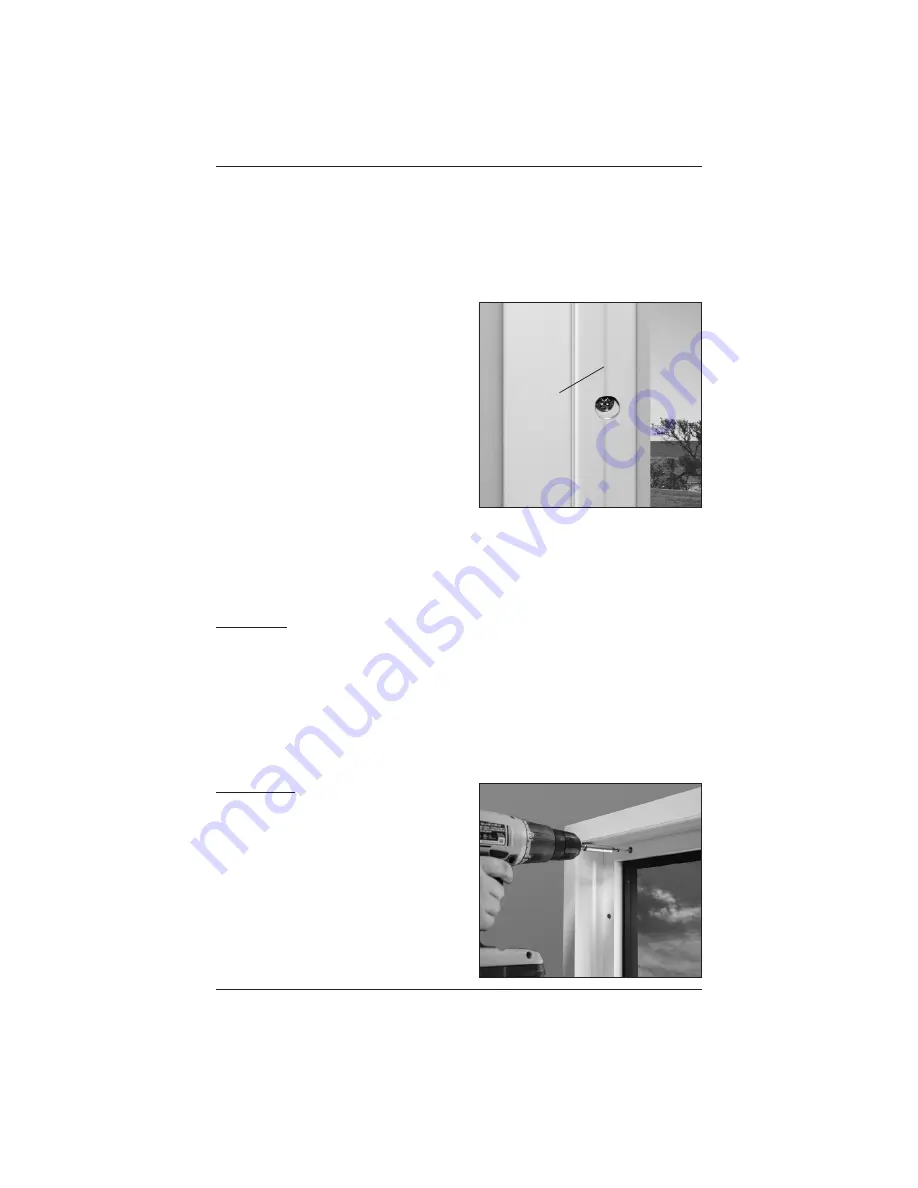
Center the frame over the opening at the
desired height.
2.
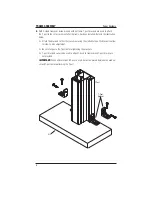
Attach the
top frame
first, starting with one
fastener at the highest corner.
IMPORTANT:
Install all mounting screws
into studs or the window header.
Bi-Fold Track Systems
Screw
Indicator
Groove

