INSTALLATION
17
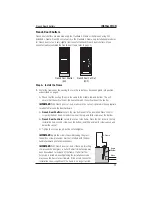
3.
If the track arrived attached, use the same holes and re-attach the aluminum track to the top
frame with the screws supplied. Be sure the holes line up correctly.
➤
If the track did not arrive attached, place the track within the light stop channel and align
the track screws.
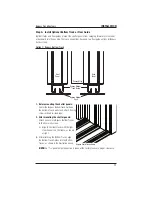
Step D. Attach the Shutter Panels
1.
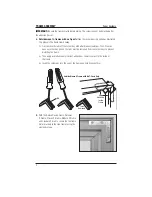
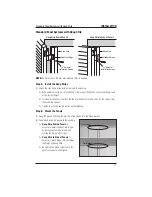
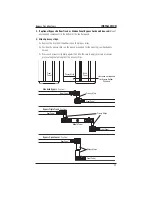
Set the pivot pin(s) in the track so that the
center of the pivot pin is 1
5
/
8
" from the side
frame.
2.
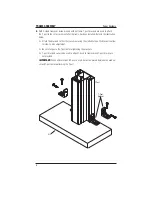
Mount the bottom pivot bracket(s) or floor guide with bottom pivot(s).
IMPORTANT:
The pivot pin receiver(s) must be directly under the top pivot pin(s). The center
of the pivot pin receiver(s) should be 1
5
/
8
" from the side frame(s).
➤
Bottom Pivot Bracket.
Mount the bottom pivot bracket(s) centered on the screw
indicator groove in the side frame(s).
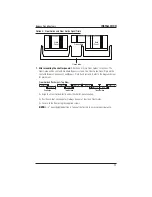
➤
Floor Guide with Bottom Pivot.
Insert the bottom pivot(s) into the floor guide and
tighten the screws with the pivot pin receiver(s) in the correct position. Attach the floor
guide to the floor, centered on the screw indicator groove in the side frame(s).
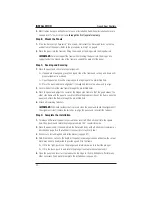
3.
Mount the first panel per side into the bottom pivot pin receiver first and then onto the top
pivot pin. Rotate the lever on the receiver to lock the top pivot pin in place.
➤
When both sides have pivot pin receivers, install the first panel on the other side as well.
➤
If adjustment is necessary, mark the correct position of the top and/or bottom receiver(s)
to correctly re-position the component(s).
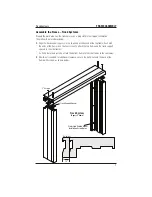
Bi-Fold Track Systems
Bottom
Pivot
Bracket
Bi-Fold
Bottom Track
with Bottom
Pivot
Set Screw
1
5
/
8
"

