INSTALLATION
29
French Door Shutters
French Door Shutters
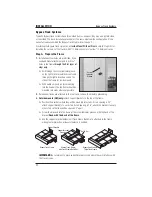
French door shutters are mounted using the Standard L-Frame or the Deluxe Casing Sill/
Extended L-Frame; French door cut-outs use the Standard L-Frame only. Installation procedures
for French door cut-outs vary slightly from those for full panel French door shutters. (If you
haven’t already assembled the French door frame, refer to page 3.)
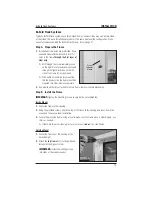
Step A. Install the Frame
1.
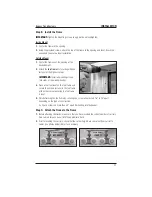
Center the frame over the opening. Be sure the corner keys have been glued into position
as described on page 4.
➤
Check that the overlap (if any) is the same in the middle, top, and bottom. This will
ensure that the vertical line of the door will match the vertical line of the shutter.
IMPORTANT:
With French door cut-outs, make sure the cut-out is placed in the appropriate
location to fit around the door hardware.
➤
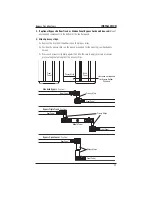
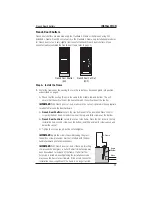
French Door Shutters:
Secure the side frame next to the door knob. Place the first
screw by the door knob, second screw near the top, and third screw near the bottom.
➤
French Door Cut-Outs:
Secure the cut-out side frame. Place the first screw in the top
installation hole, second screw near the bottom, and third and fourth screws above and
below the cut-out.
➤
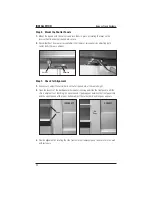
Tighten the screws snugly, but do not overtighten.
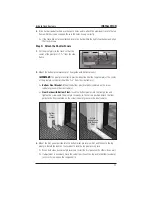
IMPORTANT:
Angle the screws to avoid breaking the glass.
In addition, screw placement must not interfere with the door
handle hardware and lock mechanisms.
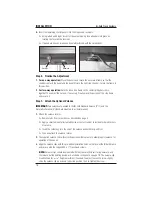
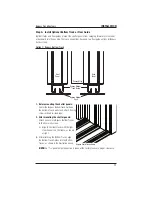
IMPORTANT:
With French door cut-outs, if there is projecting
trim around the door glass, a Full or Partial Trim Extension may
have been added to the back of the frame. If a Partial Trim
Extension is included, over-tightening the installation screws
may cause the frame to twist inward. If this occurs, loosen the
installation screws slightly until the frame is no longer twisted.
French Door Shutter
(SH)
French Door Cut-Out
(FDC)
Glass
Angle
Screw
L-Frame

