INSTALLATION
34
Bay Windows
2.
Attach the frame at the bottom corners, making sure the frame lines up with your mark.
3.
Close the panel(s) and check alignment.
4.
Secure the balance of the frame. There should be one screw within 3" of each corner and no
more than 30" between fasteners.
IMPORTANT:
With each fastener that is placed, close the panels and check the alignment. If the
alignment is lost, go back to the fastener, remove, re-align, and re-install.
Step D. Install the Left Bay Frame
1.
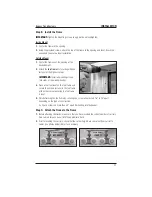
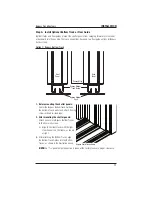
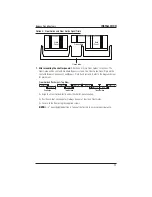
Align the right side of the left bay with the left side of the middle bay frame.
IMPORTANT:
Make sure that the tops are flush, and the bead edge of the butting L-frames
are aligned properly and
do not
overlap.
2.
Attach the top and bottom of the frame within 3" of the right corners.
Step E. Mount the Left Bay Panel(s)
1.
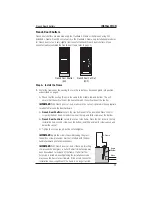
Support the left side of the frame with support blocks (OM) or shims (IM) before inserting
the panel(s).
2.
Place the panel(s) into the left frame by fitting the pin end of the hinges into the hinge
barrels.
Step F. Rack and Secure the Left Bay Panel(s)
1.
After mounting the panel(s), close the panel(s) and check for proper alignment.
➤
If misaligned, grasp the left side of the left frame at the top and bottom and rack the
frame up and down until proper alignment is achieved.
➤
If necessary, mark the position of the frame on the wall and open the panel.
2.
Attach the frame at the left-side top and bottom corners, making sure the frame lines up
with your mark.
3.
Close the panel(s) and check alignment.
4.
Secure the balance of the frame. There should be one screw within 3" of each corner and no
more than 30" between fasteners.
IMPORTANT:
With each fastener that is placed, close the panels and check the alignment. If the
alignment is lost, go back to the fastener, remove, re-align, and re-install.
Step G. Install the Right Bay Frame
■
Repeat Step D for the right frame.

