INSTALLATION
8
Inside and Ceiling Mount Applications WITH A Valance
IMPORTANT:
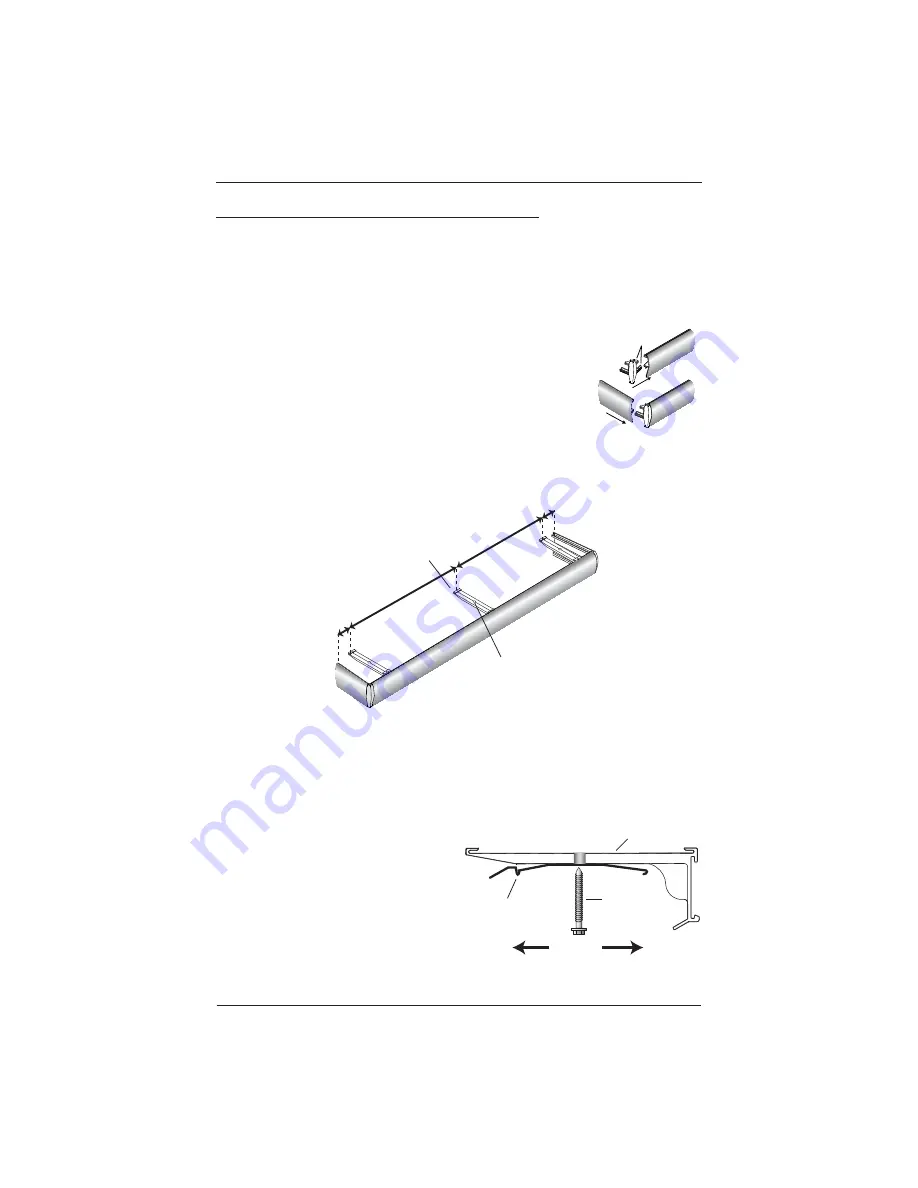
Assemble the valance and then use it as a drilling template.
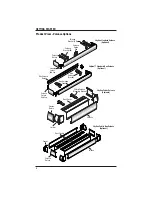
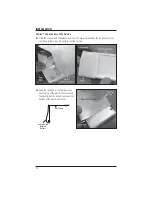
Skyline™ Standard Valance With Returns
Assemble the valance corners and returns
■
➤
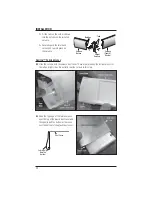
Fit the tabs on the corner end caps into the
notches on the end of the valance piece.
Fit the tabs on the corner end cap into
➤
the notches on the end of the valance
return pieces.
■
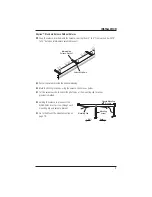
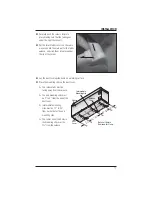
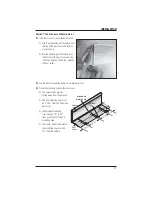
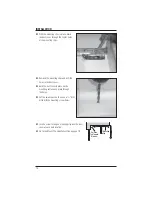
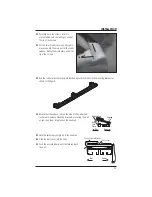
Snap the valance brackets onto the valance, spacing them 2" to
4" from each end with 18" to 24" between intermediate valance brackets.
Center the valance inside the window opening.
■
Mark the drilling locations, using the valance clip holes as guides.
■
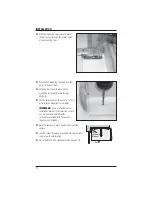
Set the valance aside, then drill the pilot holes at the mounting clip locations
■
previously marked.
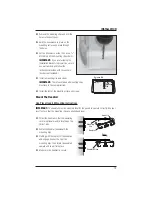
Holding the valance in place over the
■
drilled holes insert a screw through each
mounting clip and valance bracket.
Go to the
■
Mount The Headrail
section on
page 19.
Valance
Tabs
Return
2"-
4"
18
"-2
4"
2"-
4"
18
"-2
4"
Intermediate
Valance Bracket
Valance Clip Hole
Room
Wall
Valance Mounting
Bracket
Mounting Clip
Mounting
Screw
Summary of Contents for Skyline Gliding Window Panels
Page 1: ...Installation Operation Care Skyline Gliding Window Panels...
Page 54: ...Notes...
Page 55: ......


