INSTALLATION
15
Outside Mount Applications
Installation Bracket Placement
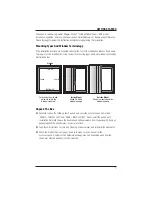
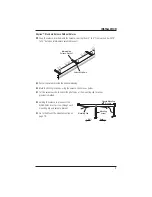
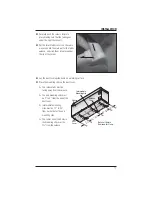
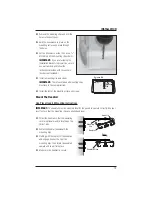
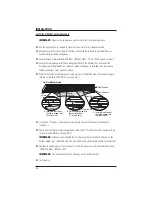
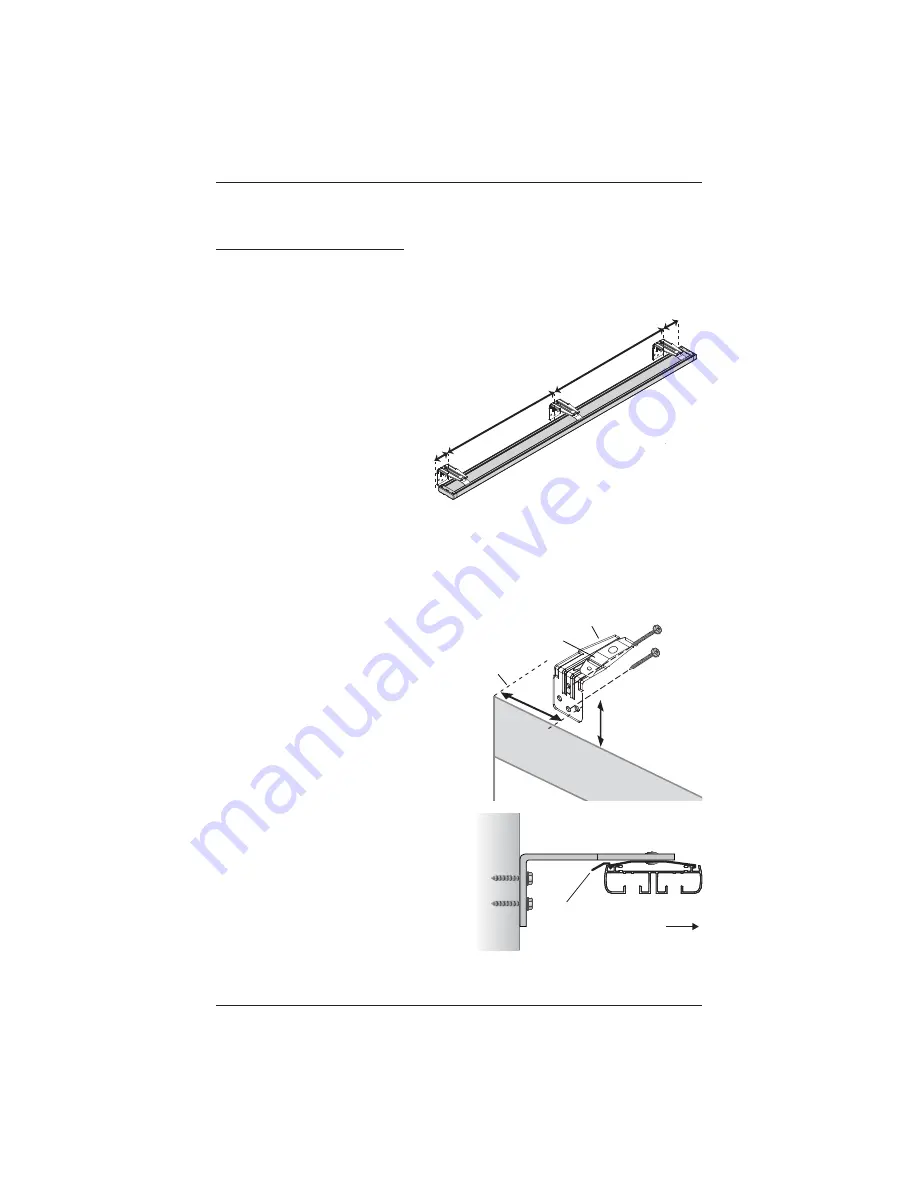
Place the installation brackets between 2" and 4" from each end of the headrail. Evenly
■
space intermediate installation brackets at 18" to 24" intervals along the headrail.
CAUTION:
Do not exceed 24" between installation brackets.
The installation brackets must
■
be mounted level to a fl at,
vertical surface for the shade to
operate correctly.
CAUTION:
Do not mount
installation brackets on
curved molding.
IMPORTANT:
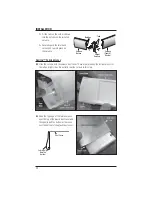
If your shade came with a spliced headrail, see the spliced headrail
installation instructions on page 16.
IMPORTANT:
The installation brackets need to be mounted to the outside mount ordered
height plus an additional ½", for the desired fl oor clearance.
Mark 2" to 4" in for the installation
■
bracket locations.
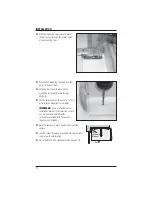
Drill holes at the marked locations.
■
IMPORTANT:
If you are fastening the
installation brackets to drywall, be sure to
use wall anchors and follow the instructions
provided with the anchors. (Anchors
not included.)
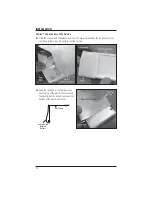
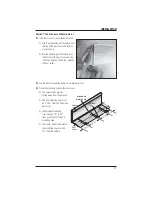
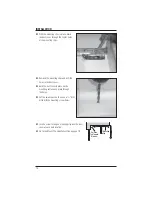
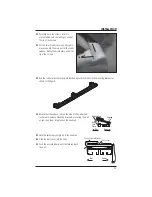
Attach each installation bracket to the
■
mounting surface using two screws.
IMPORTANT:
Ensure the installation
bracket is positioned so the release tab on
the mounting clip is closest to the wall.
Verify that the installation brackets are
■
mounted level and aligned with each other.
2"-
4"
2"-
4"
18
"-2
4"
18"
-24"
Mounting Clip
Installation Bracket
2" Minimum
Flat Vertical
Surface
2"
To 4"
Casement
Wall
End Of
Headrail
Release Tab
Toward Wall
Room
Summary of Contents for Skyline Gliding Window Panels
Page 1: ...Installation Operation Care Skyline Gliding Window Panels...
Page 54: ...Notes...
Page 55: ......

