INSTALLATION
16
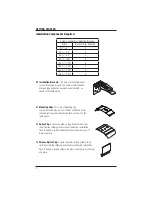
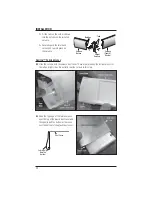
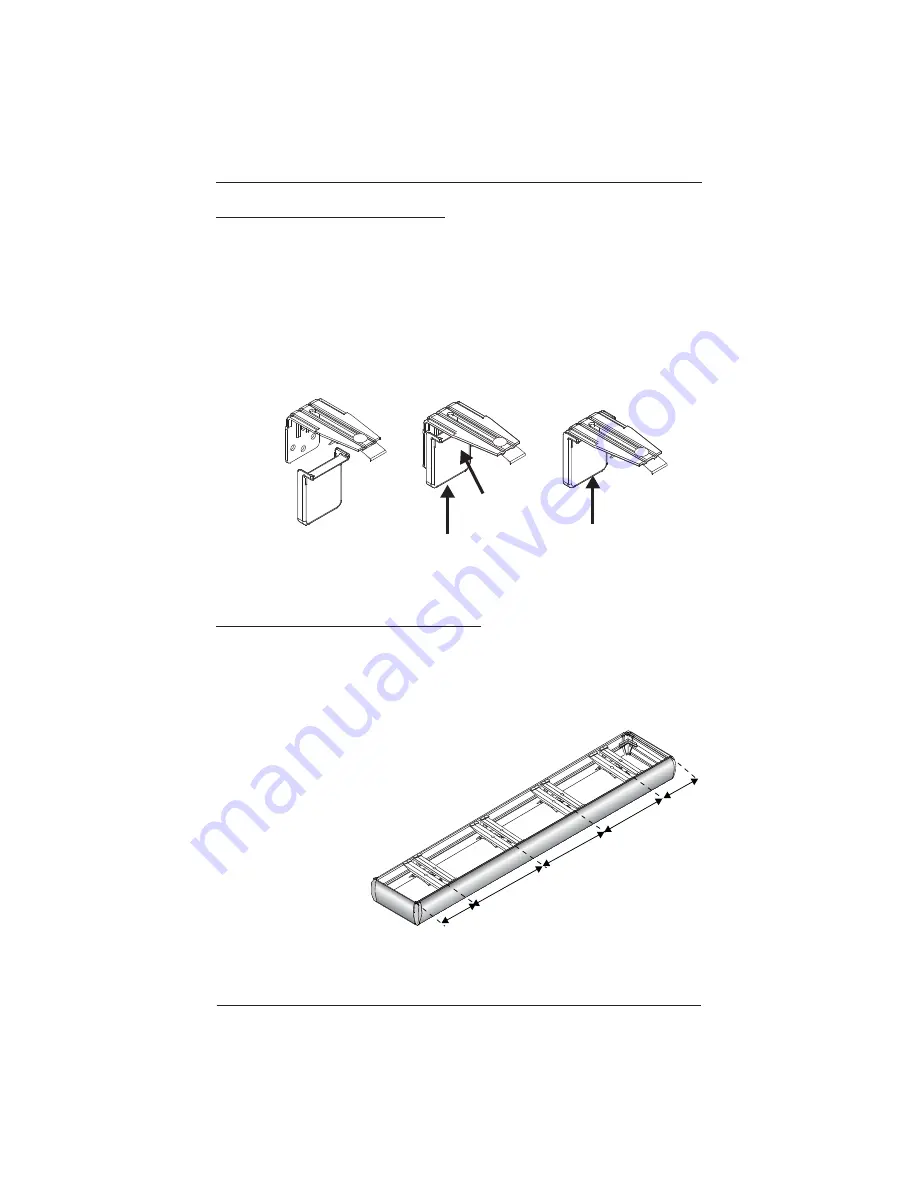
Attach The Installation Bracket Covers
IMPORTANT:
Bracket covers are optional and do not have to be installed.
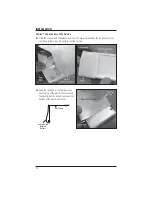
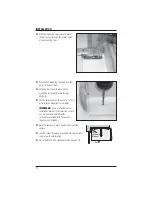
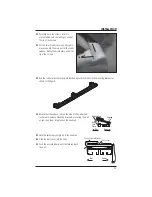
Position the cover beneath the installation bracket, centered over the base of the
■
installation bracket.
Slide the cover up as far as possible.
■
With the cover positioned up as far as possible under the installation bracket, push against
■
the cover to clip the cover on the base of the installation bracket. The cover will snap over
the installation bracket base in two locations (against the back and at the top).
Go to the
■
Mount The Headrail
section on page 19.
Box Valance Installation
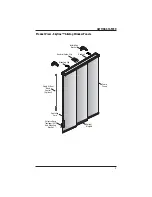
Skyline™ Standard Box Valance Installation
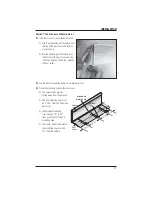
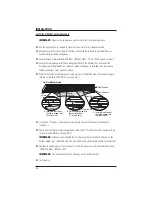
Assemble the valance using all four corners, both return pieces, and the front and rear
■
pieces (see
Skyline Standard Valance
on page 8, also see
Product View - Valance Options
on
page 6).
IMPORTANT:
The assembled valance and clips will serve as a drilling template.
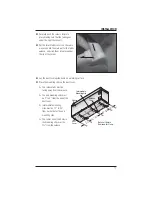
Attach the box valance
■
brackets inside the box
valance as shown.
Make
sure all of the release
tabs on the mounting
clips are facing the
same direction.
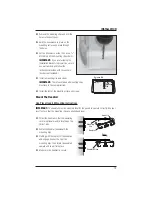
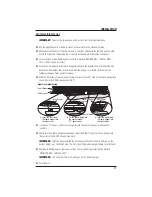
Position the valance
■
assembly in its place
against the ceiling.
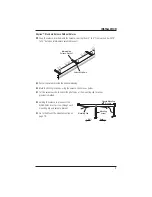
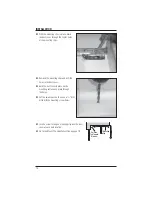
Drill the center hole (or near the center) fi rst and install a mounting screw.
■
2-4"
18-24"
18-24"
18-24"
2-4"
Summary of Contents for Skyline Gliding Window Panels
Page 1: ...Installation Operation Care Skyline Gliding Window Panels...
Page 54: ...Notes...
Page 55: ......

