GETTING STARTED
1
Thank you for purchasing Hunter Douglas Skyline
™
Gliding Window Panels. With proper
installation, operation, and care, your new shades will provide years of beauty and performance.
Please thoroughly review this instruction booklet before beginning the installation.
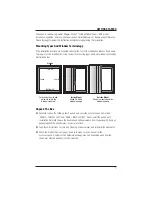
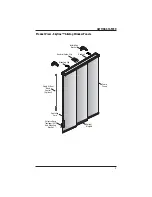
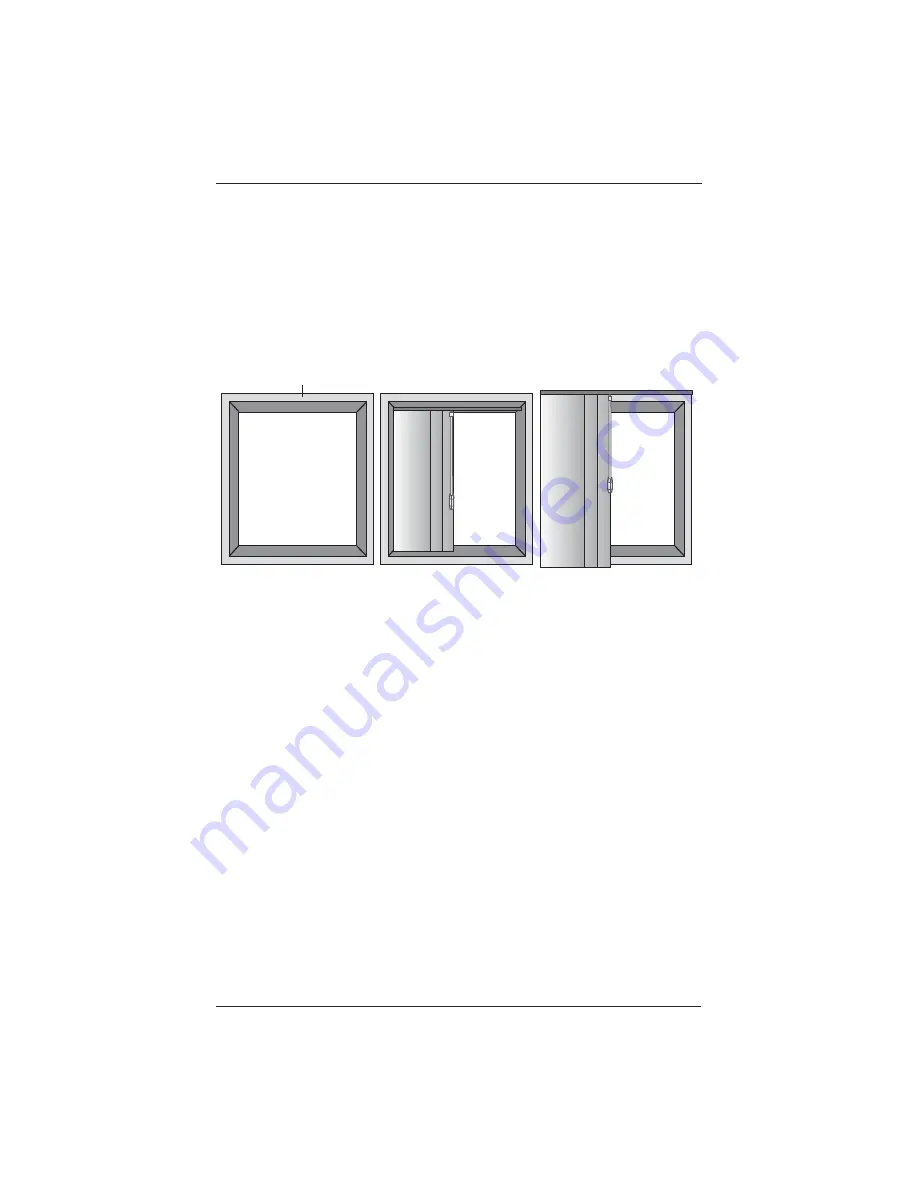
Mounting Types And Window Terminology
If the installation brackets are mounted correctly, the rest of the installation process fl ows easily.
To prepare for this important fi rst step, review the mounting types and basic window terminology
illustrated below.
Unpack The Box
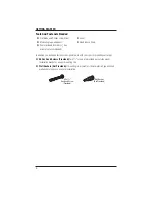
Carefully remove the rolled up fabric panels and set aside. Locate the panels marked
■
“FRONT – INSTALL LAST” and “REAR – INSTALL FIRST.” Do not unroll the panels until
installation. Carefully remove the headrail and optional valance from the packaging. Keep all
packaging until the unit operates to your satisfaction.
Save these instructions for care and cleaning, shade removal, and reinstallation procedures.
■
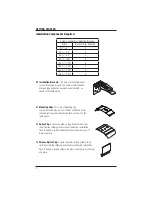
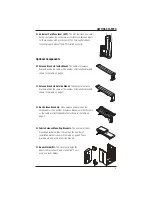
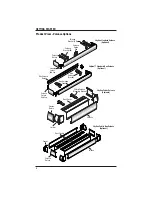
Check the Product Views on pages 5 and 6 to make sure you have all of the
■
necessary parts. Contents of the hardware package may vary depending upon how the
shade was ordered and how it will be mounted.
Outside Mount
Shade is mounted outside
window opening.
Inside Mount
Shade fits within
window opening.
Collectively, the sills and
jambs are called the
“window casement.”
Molding
Top Sill
Bottom Sill
Jamb
Jamb
Summary of Contents for Skyline Gliding Window Panels
Page 1: ...Installation Operation Care Skyline Gliding Window Panels...
Page 54: ...Notes...
Page 55: ......


