INSTALLATION
12
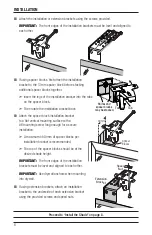
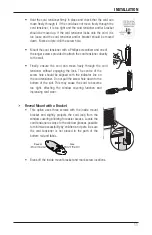
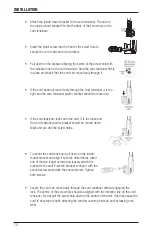
• Attach the inside mount bracket to the cord tensioner. The nub on
the inside mount bracket fits into the back of the screw hole in the
cord tensioner.
• Insert the small screw into the front of the screw hole to
secure the cord tensioner to the bracket.
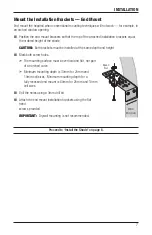
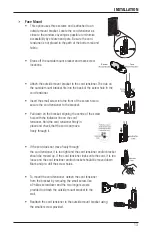
• Pull down on the bracket, aligning the centre of the screw hole with
the indicator line on the cord tensioner. Hold the cord tensioner firmly
in place and check that the cord can move freely through it.
• If the cord does not move freely through the cord tensioner, it is too
tight and the cord tensioner and/or bracket should be moved up.
• If the cord tensioner locks onto the cord, it is too loose and
the cord tensioner and/or bracket should be moved down.
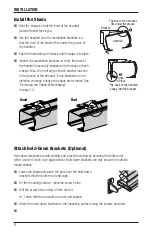
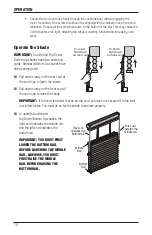
Mark and pre-drill the screw holes.
• To mount the cord tensioner pull down on the inside
mount bracket and align it with the drilled holes. Insert
one of the two longer screws and loosely attach the
bracket to the wall. Pivot the bracket to align it with the
second screw and attach the second screw. Tighten
both screws.
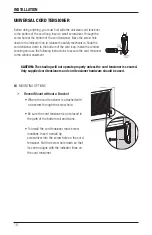
• Ensure the cord can move freely through the cord tensioner without engaging the
lock. The centre of the screw hole should be aligned with the indicator line on the cord
tensioner. Do not pull the screw hole down to the bottom of the slot. This may cause the
cord to become too tight, affecting the window covering function and increasing cord
wear.

