background image


3 HUSKYTOOLS.com


  Please contact 1-888-43-HUSKY for further assistance.

Safety Information (continued)

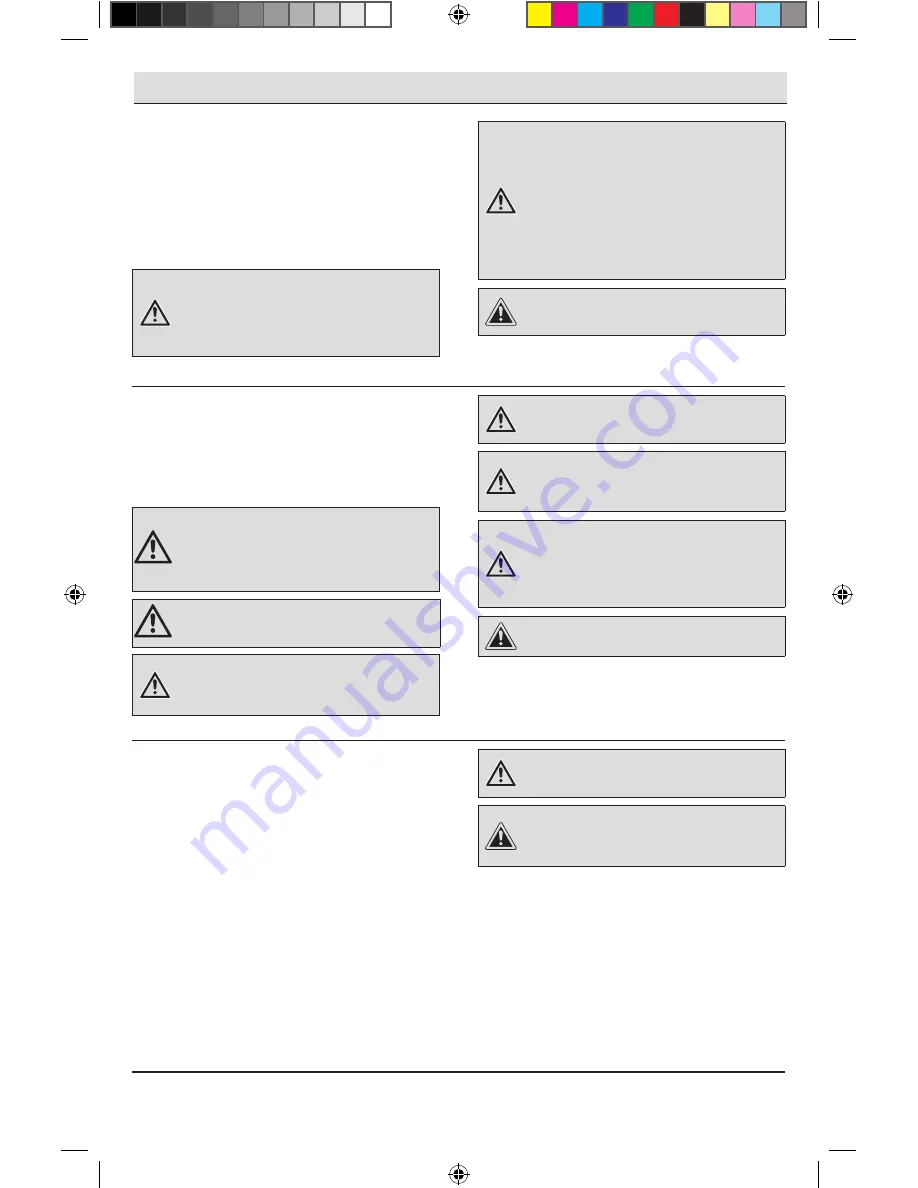
WORK AREA SAFETY


Keep your work area clean and well lit. Ensure 
floors are not slippery from wax or dust. 


Operate the air compressor in an open area at least 
18 in. (0.5 m) away from any wall or object that 
could restrict the flow of fresh air to ventilation  
openings. 

WARNING

:

 Do not operate power tools in explosive 

atmospheres, such as in the presence of flammable 
liquids, gases, or dust. Power tools create sparks which 
may ignite the dust or fumes. Keep bystanders, children, 
and visitors away while operating tools. Distractions can 
cause you to lose control.

PERSONAL SAFETY


Keep proper footing and balance at all times. 
Proper footing and balance enables better control 
of the tool in unexpected situations


Do not use on a ladder or unstable support.


WARNING

:

 Operating any power tool can result in foreign 

objects being thrown into your eyes, which can result in 
severe eye damage. Before beginning operation, always 
wear safety goggles, safety glasses with side shields, or 
a full face shield when needed. Always use eye protection 
marked to comply with ANSI Z87.1.  


WARNING

:

 This product contains chemicals known to 

the State of California to cause cancer and birth defects or 
other reproductive harm. Wash hands after handling. 

WARNING

:

 Use safety equipment. Always wear eye 

protection with side shields when operating power tools. 
A dusk mask, non-skid safety shoes, hard hat, or hearing 
protection must be used for appropriate conditions.

MOVING THE AIR COMPRESSOR


Grasp the handle of the compressor and tilt the 
compressor back to rest on the wheels.


When the location is reached, slowly lower the 
compressor to the ground. Always store the 
compressor in a vertical position resting on the 
rubber bumpers and wheels.


When transporting the compressor in a vehicle, 
trailer, etc., make sure the tank is drained and  the 
unit is secured with straps to prevent tipping. Use 
care when driving to prevent tipping the unit over in 
the vehicle. Damage can occur to the compressor 
or surrounding items if the compressor is tipped. 
Always use two people when lifting and lift from 
the recommended lifting points. Do not lift by the 
wheels or shroud.

WARNING

:

 Risk of unsafe operation. Ensure proper 

footing and use caution when rolling the compressor so 
that the unit does not tip or cause loss of balance.

CAUTION

:

 The wheels and handle do not provide 

adequate clearance, stability, or support for pulling the 
unit up and down stairs or steps. The unit must be lifted or 
pushed up a ramp.

WARNING

:

 This compressor is not equipped for, and 

should not be used to supply breathing air. Additional 
equipment would be necessary to properly filter and 
purify the air to meet minimal specifications for Grade D 
breathing, as described in Compressed Gas Association 
Commodity, Specification G 7.1 - 1966, OSHA 29 CF9 
1910.134. Compressed Gas Association, 4221 Walney 
Road, Fifth Floor, Chantilly, VA 20151-2923, (703) 788-2700, 
www.cganet.com. Any such additional equipment has 
not been examined and no implication of proper use for 
breathing air is intended or implied.

CAUTION

:

 Always disconnect the air supply and power 

supply before making adjustments, servicing a tool, or 
when a tool is not in use.

WARNING

:

 Stay alert when operating a power tool. Do 

not use the tool while tired or under the influence of drugs, 
alcohol, or medication.

WARNING

:

 Do not wear loose clothing or jewelry. 

Contain long hair. Keep your hair, clothing, and gloves away 
from moving parts. Loose clothes, jewelry, or long hair can 
be caught in moving parts.

WARNING

:

 Never touch any exposed metal parts on 

compressor during or immediately after operation. The 
compressor will remain hot for several minutes after 
operation. Do not reach around protective shrouds or 
attempt maintenance until the unit has been allowed to 
cool.

CAUTION

:

 The compressor is too heavy to be lifted by 

one person. Obtain assistance from others before lifting.

C302H_HUSKY_manual_5-15-ENG.indd   3

6/10/15   12:05 PM

Summary of Contents for C302H

Page 1: ...sit us online to see our full line of products available for your home improvement needs Thank you for choosing Husky USE AND CARE GUIDE 30 GALLON PORTABLE AIR COMPRESSOR Questions problems missing pa...

Page 2: ...el 22 Torquing the Compressor Head Bolts 23 Care and Cleaning 23 Troubleshooting 24 Service Parts 26 This manual contains information that is important for you to know and understand This information...

Page 3: ...the unit is secured with straps to prevent tipping Use care when driving to prevent tipping the unit over in the vehicle Damage can occur to the compressor or surrounding items if the compressor is ti...

Page 4: ...sed air toward people or animals Protect your lungs Wear a face or dust mask if the operation is dusty Do not use this air compressor to spray chemicals Your lungs can be damaged by inhaling toxic fum...

Page 5: ...ltage drop will cause a loss of power and the motor will overheat If the air compressor does not operate when plugged into an outlet double check the power supply WARNING When using an extension cord...

Page 6: ...es and ordinances Substitution of the signal word DANGER for WARNING is not prohibited when the risk associated with the product is such that a situation exists which if not avoided will result in dea...

Page 7: ...arranty does not apply to any damage to the manufacturer s product that is the result of improper maintenance or to any manufacturer s product that has been altered or modified The warranty does not e...

Page 8: ...nt 15 A Fuse type Time delay Net weight 148 lbs DUTY CYCLE This air compressor pump is capable of running continuously However to prolong the life of your air compressor it is recommended that a 50 av...

Page 9: ...e in the tank E Air Compressor Pump Compresses air into the air tank Working air is not available until the compressor has raised the air tank pressure above that required at the air outlet F Drain Va...

Page 10: ...the air flow to the air compressor 18 in 0 5 m Part Description K Thermal Overload Reset not shown This motor has a manual thermal overload protector If the motor overheats for any reason the overload...

Page 11: ...s are secure at all terminals and connections Make sure all contacts move freely and are not obstructed Open the drain valve 2 fully to permit air to escape and prevent air pressure build up in the ai...

Page 12: ...ools Failure to do so could result in objects being thrown into your eyes resulting in possible serious injury The compressor is assembled at the factory and ready for use Check all components to ensu...

Page 13: ...oof ing nailer Impact Wrench Heavy duty 1 2 in and 3 4 in impact wrench Air ratchet Recommended Tool Use Tool Cutting Drilling Surface Prep Painting HVLP Painting Grease Gun Air hammer Cut off tool Dr...

Page 14: ...unsafe operation Compressed air from the unit may contain wa ter condensation and oil mist Do not spray un fil tered air at an item that could be damaged by moisture Some air tools and accessories may...

Page 15: ...Failure to heed this warning could result in death or serious personal injury The safety valve automatically releases air when the receiver pressure exceeds the preset maximum Check the valve before e...

Page 16: ...ure regulator knob Using a higher pressure than needed will drain air from the tank more rapidly and cause the unit to cycle on more frequently Rotate the pressure regulator knob 1 to the desired line...

Page 17: ...int e g tanks filter after coolers dryers This condensate contains lubricating oil and or substances which may be regulated and must be disposed of in accordance with local state and federal laws and...

Page 18: ...r parts may create a hazard or cause product damage WARNING Always release all pressure disconnect from power supply and allow unit to cool to the touch before cleaning or making repairs on the air co...

Page 19: ...SAE 10 weight oil CHANGING THE OIL Remove the oil fill plug 1 Remove the oil drain plug 2 and drain the oil into a suitable container Replace the oil drain plug 2 and tighten securely Slowly add comp...

Page 20: ...oving parts Never operate the unit with the belt guard removed The belt guard should be removed only when the air compressor power is disconnected Turn the air compressor off lock out the power supply...

Page 21: ...1 2 in 12 7 mm at midway between the pulley and the flywheel when a five pound 2 26 kg weight is applied at the midway point When proper belt tension is achieved tighten all four motor mounting screw...

Page 22: ...should be no more than 1 16 in 1 6 mm If the difference is greater than 1 16 in 1 6 mm loosen the set screw holding the motor drive pulley R to the shaft and adjust the pulley position on the shaft u...

Page 23: ...open ends down to allow any moisture to drain Protect the electrical cord and air hose from damage such as being stepped on or run over Wind them loosely around the compressor handle TORQUING THE COMP...

Page 24: ...ntil the compressor restarts automatically The motor hums while running slowly or it doesn t run at all There is low voltage from the power source Call an electrician The wrong gauge wire or length of...

Page 25: ...is loose or open Tighten the drain valve The check valve is leaking Bring the compressor to a service center There is excessive moisture in the discharge air There is excessive water in the air tank...

Page 26: ...4 22 30 31 32 26 35 27 25 13 33 1 28 12 19 7 3 5 6 36 37 37 36 Torque to 55 100 in lbs 24 Torque to 15 20 lb ft lbs 34 Torque to 35 65 in lbs 32 NOTES Service Parts C302H AIR COMPRESSOR C302H_HUSKY_ma...

Page 27: ...1 9F Head Bolt Kit of 4 E108144 9G Flywheel E108146 9H Flywheel Bolt E108148 9I Flywheel Washer E108150 9J Flywheel Lock Washer E108151 9K Oil Sightglass E108152 9L Breather Plug E108153 9M Oil Plug E...

Page 28: ...24 Assy Nut Sleeve 3 8 E105998 25 Beltguard Inner E106045 26 Beltguard Outer E106046 27 Belt A Section A44 E107337 28 Screw 250 20 X 75 Kit of 3 E108095 30 Tube Press Rel E107338 31 Brass Insert E107...

Page 29: ...ore returning to the store call Husky Customer Service 8 a m 6 p m EST Monday Friday 1 888 43 HUSKY HUSKYTOOLS COM Retain this manual for future use Document Number E109204 05 20 2015 C302H_HUSKY_manu...

Reviews: