NAILER/STAPLER
18
SPECIFIC SAFETY RULES
a) If not used correctly and without suitable mainte-
nance, the nailer/stapler can cause serious injury.
b) Always wear goggles and ear plugs when using the tool.
c) Handle the nailer/stapler holding it firmly by the grip
only.
d) Always disconnect the tool from the air supply
when unattended, performing any maintenance or
repair, clearing a jam, or moving the tool to a new
location.
Do not load the tool with nails/staples when
either the trigger is depressed or the Protector (Fig. 14 -
A) is engaged. The tool could eject a nail/staple causing
death or serious personal injury.
e) Always fit tool with a fitting or hose coupling on or near
the tool in such a manner that all compressed air in the
tool is discharged at the time the fitting or hose coupling is
disconnected. Do not use a check valve or any other fitting
which allows air to remain in the tool. Death or serious
personal injury could occur.
f) Never place hands or any other body parts in the nail/
staple discharge area of the tool.
The tool might eject
a nail/staple and could result in death or serious personal
injury.
g) Do not touch the trigger unless driving nails/
staples.
Never attach air line to tool or carry tool while
touching the trigger. The tool could eject a nail/staple
which will result in death or serious personal injury.
h) Always assume the tool contains nails/staples.
Respect the tool as a working implement; no horseplay.
Always keep others at a safe distance from the work
area in case of accidental discharge of nails/staples. Do
not point the tool toward yourself or anyone whether it
contains nails/staples or not. Accidental triggering of the
tool could result in death or serious personal injury.
i) Do not nail/staple on top of another nail/staple.
This
is able to cause the nail/staple to be deflected and hit
someone, or cause the tool to react and result in a risk of
injury to persons.
j) Do not drop or throw the tool.
Dropping or throwing
the tool can result in damage that will make the tool
unusable or unsafe. If the tool has been dropped or
thrown, examine the tool closely for bent, cracked or
broken parts and air leaks. STOP and repair before using
or serious injury could occur.
k) Always check that the protector (A) is operating
properly.
A nail/staple could accidentally be driven if the
protector (A) is not working properly. Personal injury may
occur.
l) Disconnect air supply and release tension from
the trigger before attempting to clear jams because
nails/staples can be ejected from the front of the tool.
Personal injury may occur.
m) Never use the nailer/stapler against metal or
masonry objects.
n) Never exceed the maximum operating pressure
indicated for this accessory.
o) Use only those fasteners listed in the Accessories
section of this manual.
Fasteners not identified for use
with this tool by the tool manufacturer are able to result in
a risk of injury to persons to tool damage when used in this
tool.
p) Do not attach the hose or tool to your body.
Attach
the hose to the structure to reduce the risk of loss of
balance if the hose shifts.
OPERATION
Technical data
Model No.: 9045616
Max. Operating Pressure: ..................................... 100 PSI
Recommended Operating Pressure Range: .... 60-100 PSI
Magazine capacity: ................................. 100 nails/staples
Fastener Gauge: ............................................................18
Fastener Lengths: .......................10 - 32mm (13/32”-1 ¼”)
Nail size: ........ 1.25x1.05mm (0.05”x0.04”) - Head: 2mm (0.079”)
Staple size: ....... 1.25x1.05mm (0.05”x0.04”) - Head: 5.7mm (1/4”)
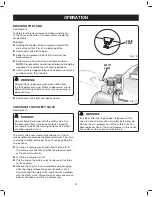
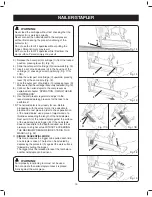
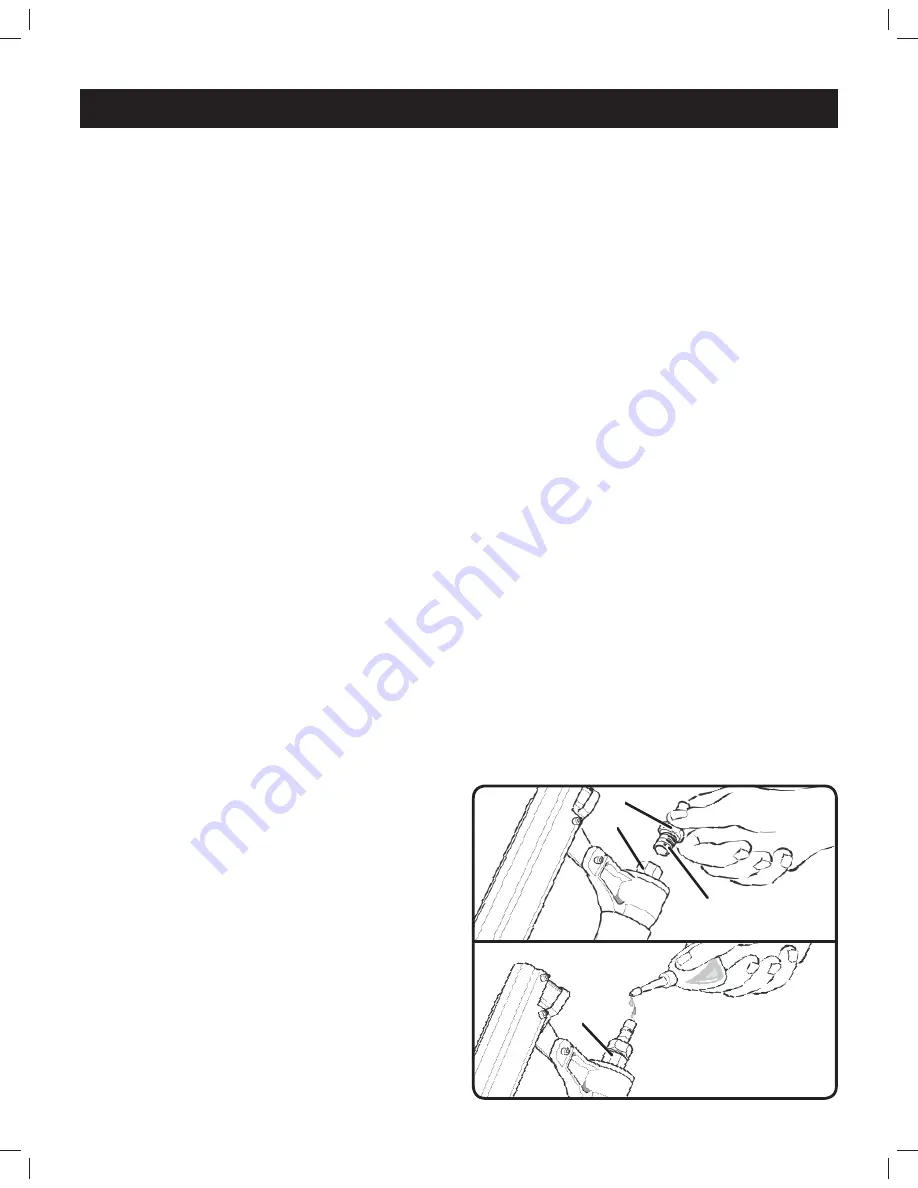
1) Attach ¼ in. NPT male connector fitting (F) to the air
inlet (E) of the tool (Fig. 12).
NOTE:
Apply thread sealing tape on all threaded
connections.
Before using the nailer/stapler for the first time and
after each use, lubricate air inlet (E) of the nailer/
stapler (Fig. 13).
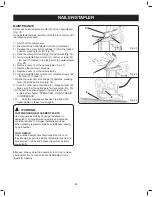
2) Check that protector (A) of the nailer/stapler is working
correctly. Check that is free to move in and out without
any obstruction (Fig. 14).
Fig. 12
Fig. 13
THREAD
SEALING TAPE
F
E
E
Summary of Contents for H2G3TK
Page 13: ...13 Fig 9 Fig 8 THREAD SEALING TAPE...
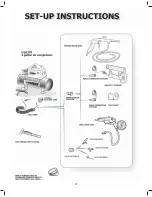
Page 24: ...24 Portable Air Compressor Model No H2G3TK Replacement Parts List...
Page 25: ...25...
Page 27: ...27...
Page 28: ...OPERATOR S MANUAL H2G3TK 2 GALLON PORTABLE AIR COMPRESSOR CUSTOMER SERVICE 1 866 242 4298...
Page 41: ...13 Fig 9 Fig 8 CINTA SELLADORA ADAPTADOR DE INFLADO MANGUERA ESPIRAL...
Page 52: ...24 Compresor De Aire Port til Modelo N m H2G3TK Lista de piezas de repuesto...
Page 53: ...25...
Page 55: ...27...

