Sirvase darnos la siguiente información:
-Número del modelo
-Número de Serie (de haberlo)
-Descripción y número del repuesto según la lista de repuestos
Puede escribirnos a:
The Campbell Group, Attn: Parts Department
100 Production Drive
Harrison, OH 45030
26 Sp
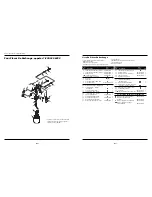
Pistola Pulverizadora Multiuso
1
Boquilla de aire (mezcla externa)
DH100400AV 1
2
Boquilla de aire (mezcla interna)
DH100500AV 1
3
Anillo DH100600AV 1
4
Sello de la boquilla de aire
DH100700AV 1
5
Boquilla, 14mm Hex
1
6
Empaque
(
)(
)
2
7
No se usa
8
Tuerca para sostener el
empaque, 8mm Hex
1
9
Cuerpo de la pistola
No se aplica
1
10
Anillo en O del control del patrón
(
)(
)
1
11
Ensamblaje de la aguja
del control del patrón
1
12
Anillo en O para la cámara
de la válvula
1
13
Tuerca para sostener el anillo en O
1
14
Anillo en O para la parte
del frente del vástago
1
15
Anillo en O para la parte
posterior del vástago
1
16
Vástago de la válvula de aire
DH101900AV 1
17
Ensamblaje de la aguja de flujo
1
18
Resorte para la válvula de aire
DH102100AV 1
19
Resorte para la aguja de flujo
1
20
Perilla para el control
del material
DH102300AV 1
21
Anillo en O para la parte
superior del envase
1
22
Parte superior del envase
DH102500AV 1
23
Tuerca, 14mm Hex
DH102600AV 1
24
Tubo de material
DH102701AV 1
25
Conexión de la entrada
de aire de 6,4mm (1/4”) NPS (M)
DH102800AV 1
26
Disco de la válvula
1
27
Resorte del sistema de presión/sifón
1
28
Ensamblaje de la válvula, 11mm Hex
(Válvula, conexión y perilla)
1
29
Anillo retenedor (anillo en E)
1
30
Pasador del gatillo
1
31
Gatillo
DH103200AV 1
32
Empaques para el envase
(paquete de 3)
DH420400AV 1
33
Envase de 1 litro
DH054001AV 1
JUEGOS DE REPUESTOS DISPONIBLES
PARA LA REPARACIÓN Y MANTENIMIENTO
Empaques
DH530100AV
Control de flujo
DH530200AV
Control de patrón
DH530400AV
Válvula de control de presión/sifón
DH530300AV
No. de
Número del
Ref.
Descripción
Repuesto
Ctd
No. de
Número del
Ref.
Descripción
Repuesto
Ctd
Lista De Repuestos
MATERIAL & PATTERN
ADJUSTMENTS
Always test spray
gun on scrap
material to avoid damage to workpiece.
1. Adjust air pressure to the spray gun
according to the recommendations
supplied with the spray material.
This air pressure usually falls
between 30-50 PSI.
2. Set pattern size to desired shape. For
full pattern, open pattern control
knob by turning counterclockwise.
For a round pattern, turn pattern
control knob clockwise (See Figure 4).
3. Turn fluid control knob fully clockwise
until closed.
4. With gun 8” away from surface,
trigger a short, one second burst while
turning fluid control knob
counterclockwise. Observe the spray
pattern on the target and adjust the
fluid control knob until the desired
pattern (atomization) is obtained (See
Figure 5).
NOTICE
Preparation
MATERIAL PREPARATION
1. Before using desired material in the
spray gun, spray a compatible
thinner or solvent through the gun
to remove any contaminants and
residue.
2. Thoroughly mix the material in
accordance with the manufacturer’s
instructions. If necessary, thin per
paint manufacturer’s instructions.
Strain material through a paint
strainer. Test the consistency of the
material by making a few strokes on
a cardboard target. Be sure the spray
material is clean and free from lumps.
3. Fill the canister about 3/4 full with
material and start the air
compressor. Be sure the hose(s) is
long enough to allow a full
movement of the gun across the
surface to be painted.
4. Be sure that the air pressure
regulator is set for the proper
operation of the gun. Refer to the
specifications section. Air pressure
should be checked at the spray gun
inlet with the trigger pulled.
5. Set up a piece of cardboard or other
scrap material to use as a target and
adjust for best spray pattern.
3
Set Up (Continued)
USING A PRESSURIZED PAINT TANK
This model is readily adaptable for use
with a pressurized paint tank. This
allows continuous spraying of large
quantities of paint without stopping. It
also allows the gun to be used while
being held in ANY position without
spilling paint.
The proper connections to make when
using a pressurized paint tank are as
illustrated in Figure 3. Refer to the
instructions supplied with the paint
tank for connections and usage.
DO
NOT USE A PAINT TANK WITHOUT
READING THOSE INSTRUCTIONS
.
Prepare the spray gun for use with the
paint tank as follows:
1. Remove the canister.
2. Unscrew the material tube.
3. After the tube is removed, locate the
brass locknut and remove the nut
using a 14 mm hex socket.
4. Remove the canister top and gasket.
5. Attach the material hose from the
paint tank to the spray gun.
6. Pressure/siphon valve knob must be
tightened clockwise (S direction)
when using a pressurized paint tank
connected as shown in Figure 3. This
will prevent pressurized air from
escaping out of the canister pressure
valve port when the canister is not
used.
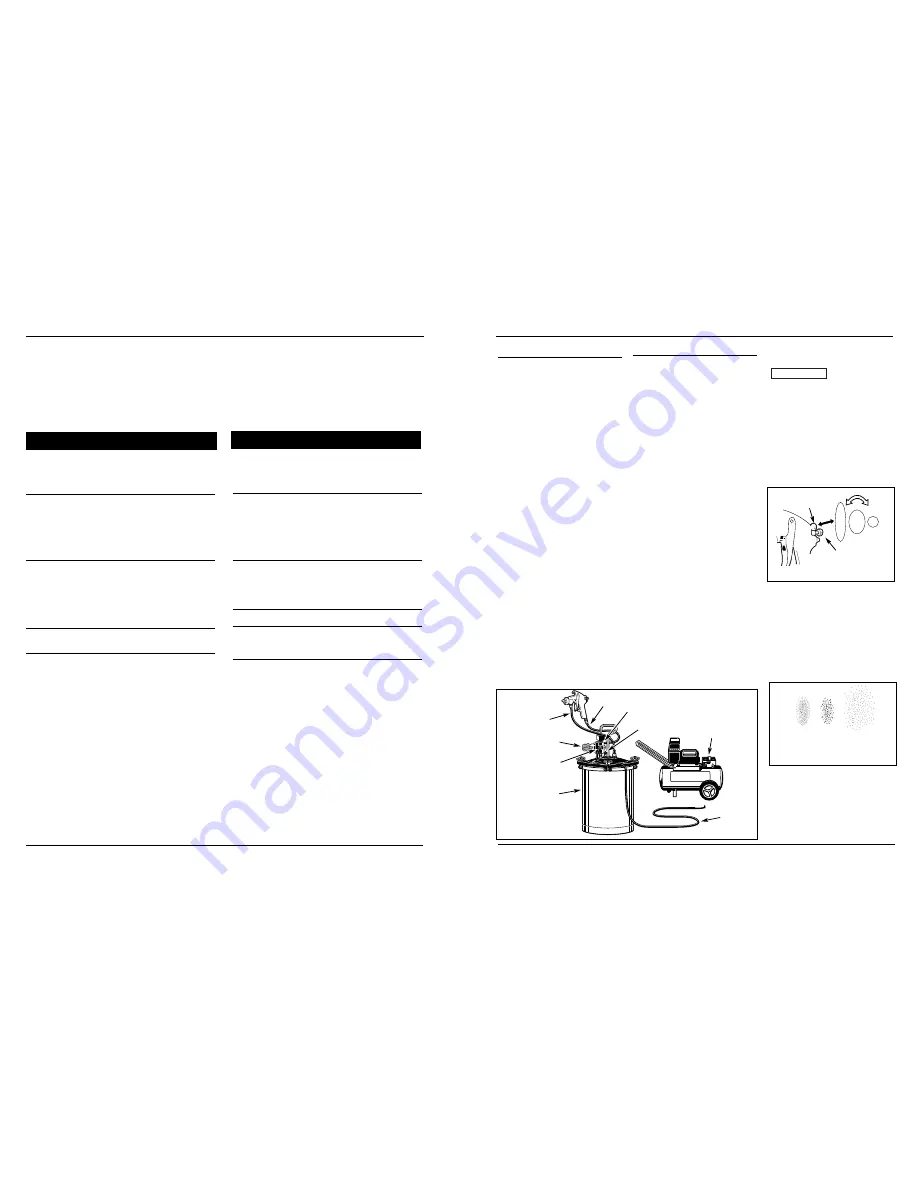
Figure 3 - Paint Tank
Connections
Paint Tank Regulator
Safety Valve
Air Hose
Paint Tank
Material Hose
Air Hose
High - Out To Spray Gun
High - In from
compressor
Air Source
Regulator
Figure 4 - Pattern Size
Pattern
Control Knob
Fluid Control
Knob
Correct
Paint Too
Thick
Paint
Too Thin
Figure 5 - Pattern Consistency
(Atomization)


