Pistola engrasadora neumática
11 Sp
Problema
Posibles Causas
Acciónes a Tomar
La herramienta
no funciona
La herramienta
funciona pero no
emite lubricante
1. La herramienta no tiene grasa
2. Baja presión de aire
3. Fugas en la manguera de aire
1. La grasa está fria y espesa
2. El resorte está comprimido
3. Se terminó el lubricante en el
tubo de lubricante
4. Hay vacíos de aire en el tubo
de lubricante
1. Lubrique la herramienta según las instrucciones de lubricación en
este manual
2. Ajuste el regulador del compresor según sea necesario
3. Apriete y selle las conexiones de la manguera, si consigue fugas
1. Si está trabajando a la intemperie, lleve la pistola adentro de su
casa o taller y permita que la pistola se caliente hasta alcanzar
una temperatura de 22 °C a 29 °C. Coloque la pistola boca arriba
para evitar que se formen vacíos de aire en el medio del cartucho
2. Hale el mango del cilindro hacia atrás y suéltelo rápidamente.
Cerciórese de que el seguro no esté puesto
3. Llene el tube de lubricante
4. Elimine los vacíos de aire (Vea la sección Para Eliminar Vacíos de
Aire)
Funcionamiento
(Continuación)
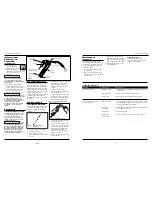
4. Oprima el seguro del cilindro, para
desactivarlo, y empuje el cilindro,
por el mango, hasta introducirlo
dentro del tubo de lubricante.
PARA ELIMINAR LOS VACIOS DE
AIRE DE LA PISTOLA
ENGRASADORA
Para eliminar los vacíos de aire de la
pistola engrasadora, siga los pasos
enumerados a continuación.
1. Destornille parcialmente la cabeza
de la pistola, dele una o una y
media vueltas.
NOTA:
El calentar la grasa le permitirá
eliminar los vacíos de aire. Coloque la
pistola boca arriba para evitar que se
formen vacíos de aire en el medio del
cartucho.
2. Hale el mango del cilindro hacia
atrás y suéltelo rápidamente. Repita
este paso varias veces.
3. Empuje el mango del cilindro, para
introducirlo dentro del tubo de
lubricante, y atornille la cabeza de
la pistola al tubo de lubricante.
4. Oprima el orificio de ventilación
varias veces, para liberar los vacíos
de aire de la parte superior del tubo
de lubricante. Una vez que haya
liberado todo el aire presente, la
grasa comenzará a salir a través del
orificio de ventilación.
Mantenimiento
Libere
toda la
presión de aire del sistema antes de
tratar de instalar, darle servicio,
reubicar o realizar cualquier tipo de
mantenimiento.
Desco-
necte la
pistola engrasadora de la fuente de
suministro de aire antes de lubricarla.
El pistón debe lubricarse
periódicamente. La lubricación
adecuada prolonga la duración de la
herramienta y proporciona un mejor
sistema de sellado para el pistón. Si
utiliza la pistola con mucha frecuencia,
el pistón debe lubricarse con grasa
para cojinetes cada cuatro meses, si el
uso es menos frecuente sólo lubríquela
una vez al año. Para lubricar el pistón,
!
ADVERTENCIA
!
ADVERTENCIA
siga los pasos enumerados a
continuación.
1. Desconecte la pistola engrasadora
de la fuente de suministro de aire.
2. Saque los cuatro tornillos de cabeza
ranurada de la cabeza de la pistola
y quítele el resorte y el pistón.
3. Aplíquele un capa de grasa para
cojinetes alrededor de la parte
exterior de la pieza de goma del
pistón y otro poco de grasa dentro
del cilindro.
4. Instale el resorte, el pistón y los
cuatro tornillos de cabeza
ranuarada.
Servicio Técnico
Para obtener información acera del
funcionamiento o reparación de este
producto, sírvase llamar al 1-800-543-
6400.
Guía de Diagnóstico de Averías
Assembly
SYSTEM SETUP
PLEASE REFER TO AIR TOOL AND
SPRAY GUN SET-UP (IN170102AV) FOR
AIR SYSTEM HOOK-UP INSTRUCTIONS.
Never carry a tool
by the hose or pull
the hose to move the tool or a
compressor. Keep hoses away from
heat, oil and sharp edges. Replace any
hose that is damaged, weak or worn.
Pre-Operation
Air tools require lubrication through-
out the life of the tool. Proper
lubrication is the owner’s responsibility.
Use airtool oil to lubricate, clean and
inhibit rust in one step. Failure to
lubricate and maintain the air tool
properly will dramatically shorten the
life of the tool and will void the
warranty.
Operation
FILLING THE CANISTER
(There are two methods for loading
grease into the air grease gun.)
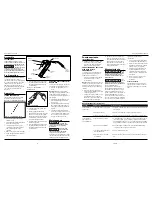
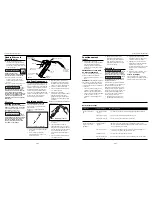
METHOD 1 - CARTRIDGE (SEE FIGURE 1)
1. Unscrew the gun head from the
container tube.
2. Pull the plunger handle completely
back and lock into place.
3. Insert the open end of a grease
cartridge into the container tube
and completely push in the
cartridge.
4. Remove the seal from the cartridge.
5. Screw the gun head and container
tube back together.
!
WARNING
2
6. Press the plunger release to release
the plunger handle rod and push
the plunger handle back into the
container tube.
METHOD 2 - BULK FILLING
(SEE FIGURE 2)
1. Unscrew the gun head from the
container tube.
2. Pull the plunger handle back
approximately 2 to 3 inches and fill
this section of the container tube.
Repeat this process until the entire
container tube is filled. Be careful
to pack without air pockets.
3. Screw the gun head and container
tube back together.
4. Press the plunger release to release
the plunger handle rod and push
the plunger handle back into the
container tube.
REMOVING AIR POCKETS FROM
GREASE GUN
To remove air pockets from the grease
gun, follow the outlined procedures.
1. Unscrew the gun head 1 to 1
1
/
2
turns.
NOTE:
Warming the grease aids in
removing air pockets. Stand the gun in
an upright position to prevent air
pockets from forming in the middle of
the cartridge.
2. Pull the plunger handle back and
release quickly. Repeat this step
several times.
3. Push the plunger handle back into
the container tube and screw the
gun head and container tube back
together.
4. Press the air vent several times to
relieve any air pockets near the top
of the container tube. When all of
the air is gone, grease will start to
seep out of the air vent valve.
Maintenance
Release all pres-
sure from the
system before attempting to install,
service, relocate or perform any
maintenance.
Disconnect the
grease gun from
the air supply before lubricating.
The piston must be lubricated
periodically. Proper lubrication extends
the life of the tool and creates a better
sealing action for the piston. Under
!
WARNING
!
WARNING
Air-Powered Grease Gun
Figure 2 - Bulk Filling
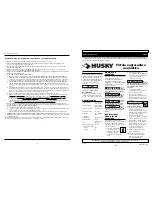
Figure 3
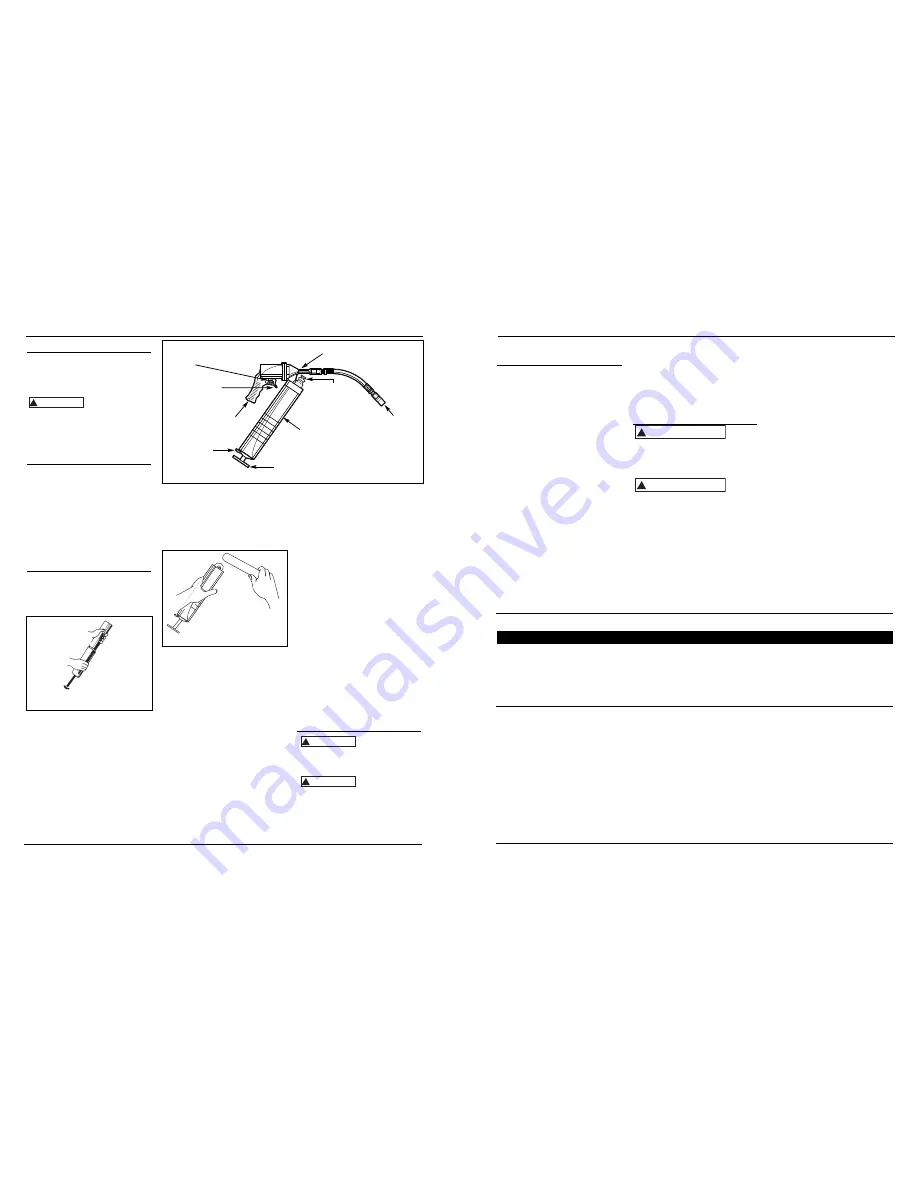
Gun Head
Grease
Fitting
Adaptor
Container
Tube
Plunger
Release
Plunger
Handle
1/4” Female NPT
Air Inlet
Exhaust
Port Hole
Trigger
Air Vent
Figure 1 - Cartridge Replacement


