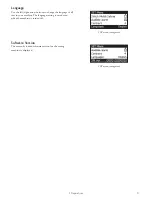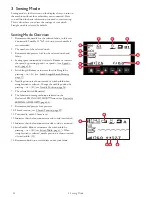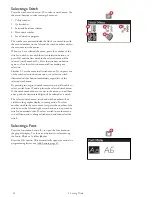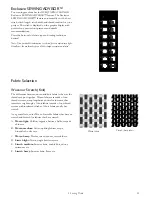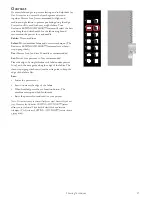
Stitch Settings
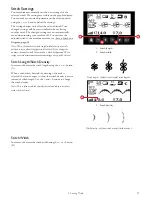
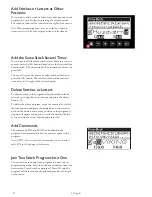
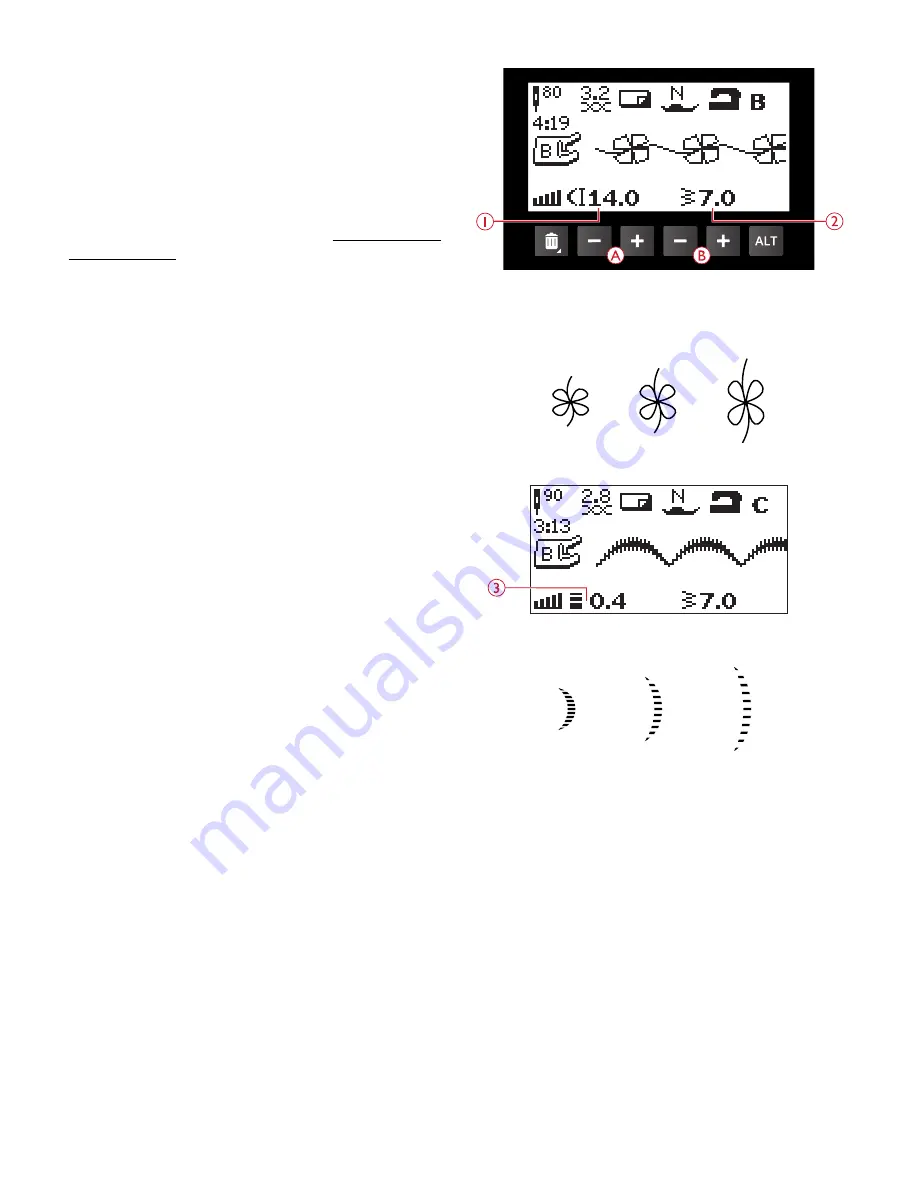
1. Stitch length
2. Stitch width
Your machine automatically sets the best settings for the
selected stitch. The settings are visible on the graphic display.
You can make your own adjustments on the selected stitch
using the + or – buttons below the settings.
The setting changes only affect the selected stitch. Your
changed settings will be reset to default when selecting
another stitch. The changed settings are not automatically
saved when turning your machine off. You can save the
adjusted stitch to the machine memory, see Save a Stitch or a
Program, page 44.
Note: When the number for stitch length/width/density or needle
position is set to default the figures will be black. If you change the
number, the numbers will be inverted on a black background. When
trying to exceed minimum or maximum settings a beep will be heard.
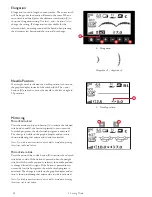
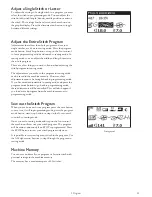
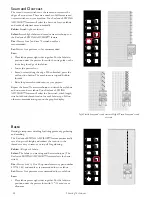
Stitch length –/default stitch length/stitch
Stitch Length/Stitch Density
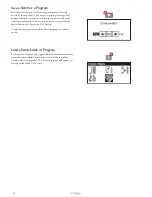
3. Stitch density
Stitch density –/default stitch density/stitch d
Increase or decrease the stitch length using the + or – button
(A).
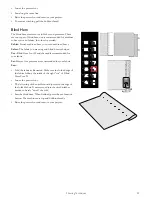
When a satin stitch, buttonhole, darning or bartack is
selected, the icon changes to show that stitch density is active
instead of stitch length. Use the + and – buttons to change
the stitch density.
Note: This is often used with specialty threads and when a less dense
satin stitch is desired.
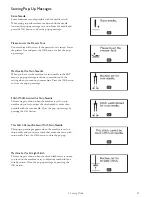
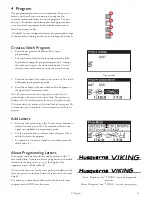
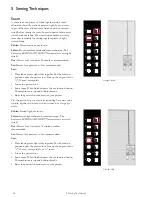
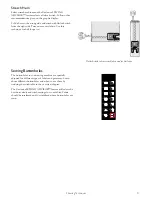
Stitch Width
Increase or decrease the stitch width using the + or – button
(B).
3 Sewing Mode
37
Summary of Contents for Designer Jade 35
Page 1: ...User s Guide KEEPING THE WORLD SEWING ...
Page 82: ......


