S
ewing
4:15
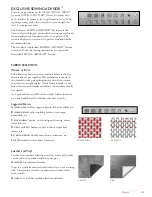
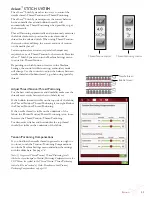
perfeCTly balanCed sensor
one-sTep bUTTonhole
The Exclusive SEWINg ADVISOR
™
feature will select the
best buttonhole and stitch settings for your fabric. Fabric
should be interfaced and/or stabilized where buttonholes
are to be sewn.
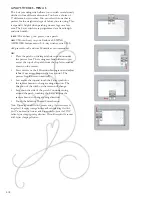
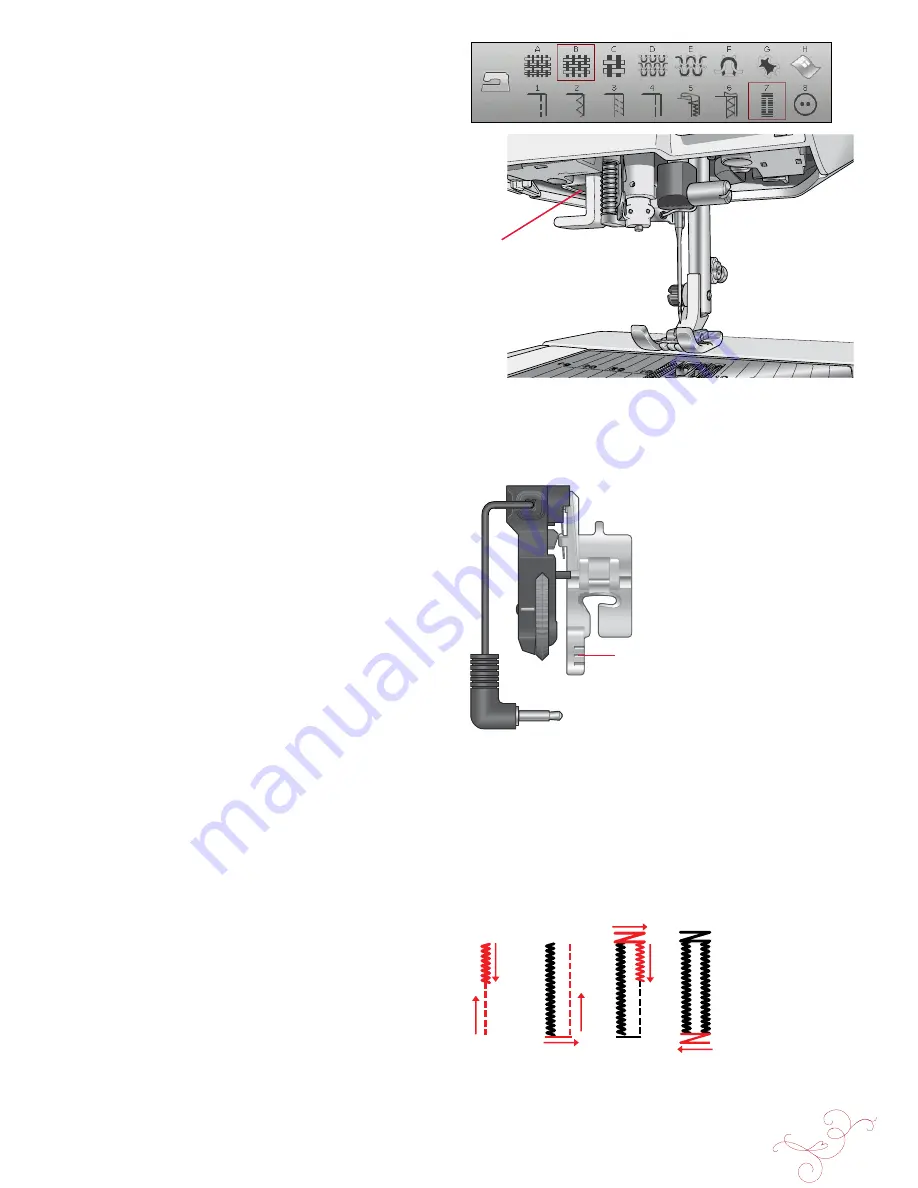
You can also select your buttonhole directly from the
Buttonhole Menu B.
FABriC
:
Woven medium and stabilizer.
seleCt
:
Woven medium fabric and Buttonhole.
use
:
Size 80 needle as recommended.
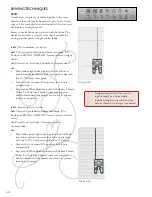
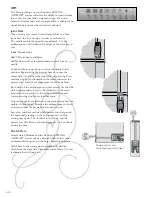
1. Snap on the Sensor One-Step Buttonhole Foot.
2. Plug the cord into the socket (A) to the left above the
needle area.
3. Place your button on the buttonhole ruler on the
baseplate.
4. Set the size of the button in mm on your screen.
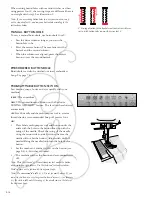
Before sewing, line up the white area on the side of the
wheel with the white marking line on the foot.
When sewing, your machine automatically sews the
buttonhole long enough to fit the selected button size.
The buttonhole size needed will vary with the thickness and
style of your button. Always stitch a sample buttonhole on
scrap fabric first.
Note: For woven heavy and leather, the Exclusive SEWING
ADVISOR
™
feature selects buttonholes that should not be sewn with
the Sensor One-Step Buttonhole Foot.
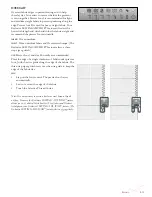
sew the buttonhole:
• Fold fabric in two and place stabilizer underneath.
Mark the buttonhole placement on your fabric with
your
Pictogram Pen. Set the length of the buttonhole.
• Place fabric under Sensor One-Step Buttonhole Foot.
The measurement wheel can be raised by lifting it,
which makes it easier to place the fabric under the
presser foot.
Note: Use the markings on the left toe of the Sensor One-Step
Buttonhole Foot to position the garment edge. Place the edge of the
garment at the middle mark to have 5/8’’ (15 mm) from the edge to
the buttonhole.
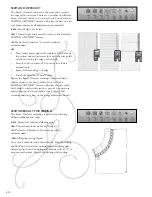
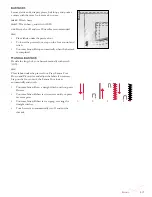
• Step on the foot control. The Sensor One-Step
Buttonhole Foot lowers automatically. A straight stitch
is sewn away from you stabilizing the left buttonhole
column, then the satin column is sewn toward you.
This is repeated for the right column. The bartacks are
automatic (see illustration 1). Keep the foot control
depressed until the Selective Thread Cutter cuts the
threads and the Sensor One-Step Buttonhole Foot is
raised.
Place fabric edge here to place
buttonhole 5/8'' (15 mm) from edge
Sensor One-Step
Buttonhole Foot socket
a
1. Sewing direction for satin stitch buttonholes sewn with
the Sensor One-Step Buttonhole Foot
Summary of Contents for Designer Ruby Deluxe
Page 1: ...User s Guide KEEPING THE WORLD SEWING ...
Page 5: ...Getting to knowyour machine 1 ...
Page 18: ...1 18 Script Alphabet Cyrillic Alphabet Hiragana Alphabet Brush Line Alphabet ...
Page 19: ...2SET UP ...
Page 31: ...3SeTTINGS FUNCTIONS ...
Page 45: ...4Sewing ...
Page 67: ...5PROGRAM ...
Page 73: ...6EMBROIDERY SET UP ...
Page 79: ...7EMBROIDERY EDIT ...
Page 91: ...8EMBROIDERY STITCH OUT ...
Page 103: ...9FILE MANAGER ...
Page 109: ...10MAINTENANCE ...

